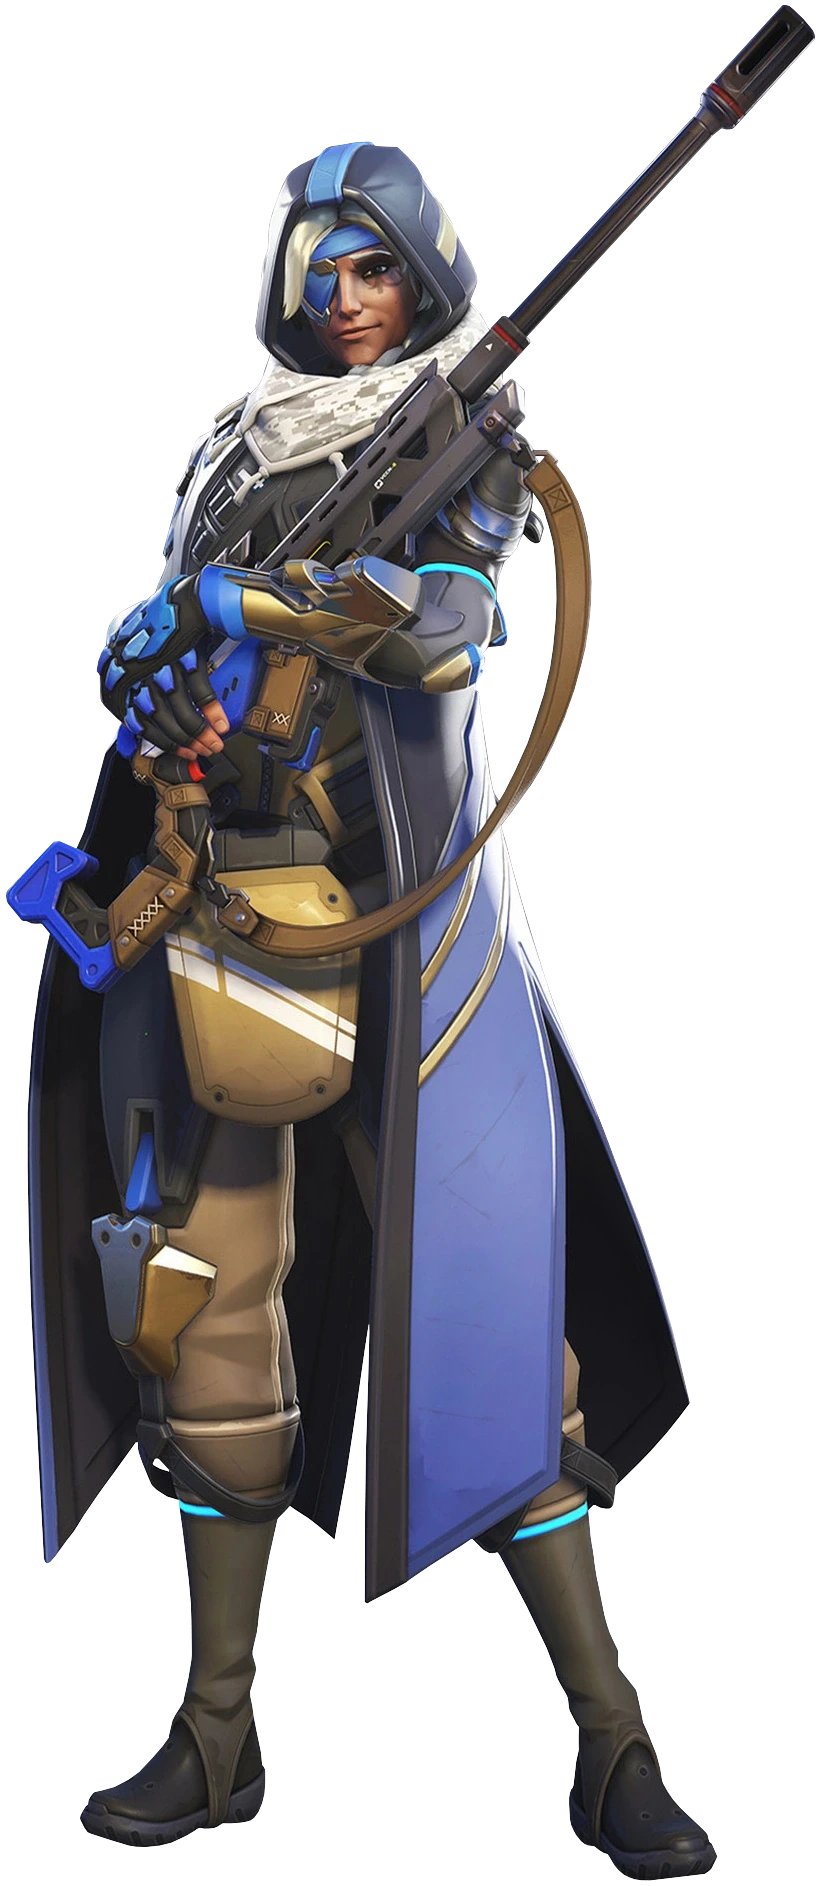
The ana habits keeping you in plat: resource discipline over raw mechanics
Stop outplaying yourself — the deliberate timing and cooldown hierarchy that separates a climbing Ana from a support who farms stats and loses winnable games.
TL;DR
- →Nano the blade before she dies — damage reduction is the real value
- →Suzu nerf means anti-nade is a kill confirm, not a cooldown trade
- →Ranked Nano is a save and a kill enabler — stop searching for the perfect combo
- →Long-range sniper maps let Ana play hitscan — abuse the headshot perk to force DPS duels
- →Hold fight-winning cooldowns for enemy ults — stop reacting to poke damage
- →Ceiling nade denies Reinhardt's shield cover — splash beats geometry
The ana habits keeping you in plat
If you're hardstuck on Ana despite solid aim, the problem isn't your mechanics — it's your timing. This guide breaks the resource discipline that turns a heal-bot into a win condition.
Ana is the highest-skill-cap support in Overwatch 2 precisely because every ability in her kit is a double-edged sword. can win a fight or leave your tank dead because you threw it for chip damage. can enable a team-wipe or get wasted on a retreating teammate because you panicked. can shut down a Blade or miss because you fired it on cooldown at a pocketed tank.
The ranked climb on Ana is not about hitting more sleeps — it's about understanding that your cooldowns are the most valuable resources on the map, and every wasted ability is a window the enemy gets to push through. The footage below shows exactly what that discipline looks like: holding Nano for the right ult, positioning to abuse range, and tracking enemy cooldowns so you can deny their win condition before it materializes. If you want to stop dropping games you should win, stop treating Ana's kit like a rotation and start treating it like a chess clock.
Nano the blade before she dies — damage reduction is the real value
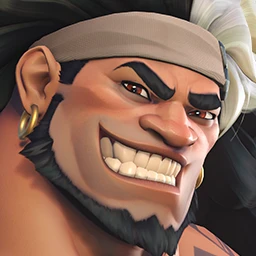
Shion ultimate is a tempo engine: high damage, high risk. at the moment of activation does two things — the damage boost secures kills faster than the enemy can react, and the 50% damage reduction keeps her alive through the focus fire that would normally shut her down. The window where she's vulnerable and the enemy is panicking is exactly when Nano creates the most value. Don't pre-Nano. Don't wait until she's critical. Hit it the frame she Q's.
Suzu nerf means anti-nade is a kill confirm, not a cooldown trade
The Protection Suzu gave burst healing on cleanse, which meant your often traded evenly — you denied healing, they cleansed and healed. Now the burst heal is gone. If you anti a target and Kiriko Suzu's, that target is sitting at the low HP the grenade damage left them at. That's a free kill window. The counterplay shifts: coordinate a dive or a follow-up shot before the enemy gets secondary healing. Your anti is now a kill button, not a pressure tool.
Ranked Nano is a save and a kill enabler — stop searching for the perfect combo
In organized play, Nano is often held for a specific ult combo. In ranked, that discipline loses fights. The footage shows a simple truth: Nano's 50% damage reduction makes it an incredibly efficient save on a tank taking heavy pressure, and the damage boost turns a 1v1 into a clean pick. If you see your Reinhardt low and the enemy team is pushing, Nano him. If your Soldier has high ground and is shooting a squishy, Nano him. The value of a won fight far exceeds the value of a highlight reel combo that never happens.
Long-range sniper maps let Ana play hitscan — abuse the headshot perk to force DPS duels
On Havana, Gibraltar, and Junkertown, the geometry favors Ana's range. The headshot perk that removes damage falloff turns her into a legitimate long-range threat. Position yourself on a backline angle where the enemy DPS has to traverse open ground to close the distance. You win that trade because you're healing from range and they're taking chip damage they can't answer. You're not hiding — you're dictating the engagement distance. If they can't close, they can't contest your value.
Hold fight-winning cooldowns for enemy ults — stop reacting to poke damage
The biggest elo difference between diamond and masters Ana players is cooldown discipline. , , and Nano are fight-win conditions. Using to stop a Tracer from tickling your backline means you don't have it for the Blade that comes 10 seconds later. Track the enemy ult economy. If you know the enemy Genji has Blade, you hold like it's the only ability on your bar. The same logic applies to every defensive cooldown: if it's not stopping a lethal threat, it's a wasted resource.
Ceiling nade denies Reinhardt's shield cover — splash beats geometry
Reinhardt players hold shield expecting you to try to break it or wait for him to drop it. The arc and splash radius let you bypass the shield entirely by throwing it at the ceiling or a high wall above him. The splash lands behind the barrier and anti-heals the entire team. This is a free team fight advantage because Reinhardt has to choose: keep shield up and let his team eat anti, or drop shield and eat damage. Either way, you win the exchange.
Kiriko suzu is her panic button — bait it, then anti when she's empty
Kiriko· SUPPORT // MEDIC→Kiriko self-sustain Suzu makes her a nightmare to duel. She pops it reactively when she takes damage, gaining invulnerability and a burst heal. That's her only get-out-of-jail card. The counter is patience: chip her once to force the Suzu, then immediately throw . Without Suzu, she has no burst heal and no cleanse. Two body shots or one shot-melee and she's dead. Do not let her hold Suzu forever — create the pressure that forces the cooldown, then punish.
Bait her Suzu with a single hip-fire shot, then immediately throw . She can't cleanse the anti without her cooldown, and her self-heal from the Support passive won't save her from two follow-up shots.
Doomfist lives and dies by his escape cooldowns — sleep him after he commits
Doomfist· TANK // STALWART→Doomfist engage pattern is scripted: he checks that Rocket Punch or Seismic Slam is available before diving. The moment he uses either to close the distance, his escape is gone. That's your window. Do not try to sleep him during the wind-up or the punch — the hitbox is too inconsistent. Wait for the slam landing or the punch connect. He's stuck in the animation and has no way out. One sleep and your team deletes him. Track his cooldowns. If he has both escapes up, he's baiting you. Wait.
Count his cooldowns. The instant he uses Rocket Punch or Seismic Slam to engage, at his landing point. He cannot cancel the animation. One anti-nade follow-up kills him before he escapes.
Junker queen heals by dealing damage — anti-nade removes her entire sustain
Junker Queen· TANK // BRUISER→Junker Queen entire value engine is wound damage. Every Jagged Knife, every axe swing, every Gracie bleed heals her. She's a raid boss in brawl because she out-sustains incoming damage. shuts that entire loop down. One anti-nade and she goes from self-sustaining frontliner to a 500 HP body with zero recovery. She can't shout through anti. She can't bleed through anti. She has to either disengage immediately or die. The grenade is your win condition against her comp — do not throw it for chip damage.
Hold for the moment Junker Queen initiates an axe swing or Commanding Shout. Apply anti-heal and watch her health bar freeze. She has no self-cleanup and no burst heal. Two shots from your team and she's dead.
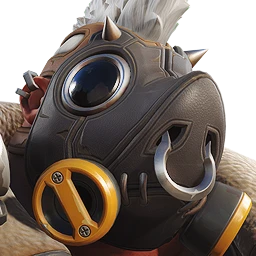
Mauga overrun ignores sleep — punish the landing, not the charge
Mauga· TANK // STALWART→Overrun gives Mauga a few seconds of stun immunity, which means your bounces off him during the charge. Do not waste it. The counterplay is clear: let him charge, let him land, and the second he exits Overrun, . He's a massive hitbox and the stun connects after the immunity window. Better yet, use during his charge — if he's anti'd before he lands, his entire sustain loop (cardio healing from fire damage) is dead on arrival. He relies on burn healing to survive extended fights. Take that away.
Wait for Overrun to end, then the landing. Or throw during the charge so he lands already anti'd. He has no self-cleanse against anti-heal from his own kit.

Reinhardt's charge is repositioning, not just a pin — sleep him at the wall
Reinhardt· TANK // STALWART→Good Reinhardt players use Charge as a movement tool to cross gaps and take space, not just to go for pins. The footage shows him using it to slide from cover to cover. This means you cannot predict where he'll land based on an enemy target. The counterplay is the same: the moment he pins a wall or stops charging, he's locked into a recovery animation. That's your window. He can't block it. He can't shield it. He's a sitting tank. One sleep and your team collapses on him.
the instant Reinhardt Charge ends — he recovers in place and cannot block or shield during the animation. Anti-nade follow-up deletes him before he can swing.
Roadhog's hook confirms kills through mobility — sleep him during the reload
Roadhog· TANK // BRUISER→The footage shows Roadhog hooking Shion off her bike, proving the hook can interrupt mobility abilities even during charge animations. That's the threat: if you're in hook range, you're dead unless you sleep him first. The counter is timing. Roadhog has to reload after two shots. He's stationary, he has no damage output, and his hook is on cooldown. That's when you step forward and him. If you're the target, sleep him the instant he hooks you — the stun can land before he gets the shot off if you react fast enough.
during Roadhog reload window — he's immobile and has no hook to cancel your cast. If hooked, sleep him mid-pull before the shotgun blast; the dart connects before his damage registers.