Stop bleeding games on Domina: The resource discipline that separates climb from plateau
Domina's kit looks simple, but the difference between a hard-stuck tank and a climber is how you meter your shields, time your detonations, and read the enemy's win condition before they do.
TL;DR
- →Domina answers Shion's poke — but only if you respect the range breakpoint
- →Barrier Array's wrap shape is a flanker's worst nightmare — if you place it with intent
- →Break specific barrier pieces instead of praying at the center — this is how you control engagement windows
- →Panopticon is not a team wipe — it is a bubble check that the enemy will fail if you shoot fast enough
- →Hold Panopticon for Baptiste's Immortality Field — the single best tank counter to Lamp in the game
- →Pre-fire the beam before you peek — this one habit cuts your exposure time in half
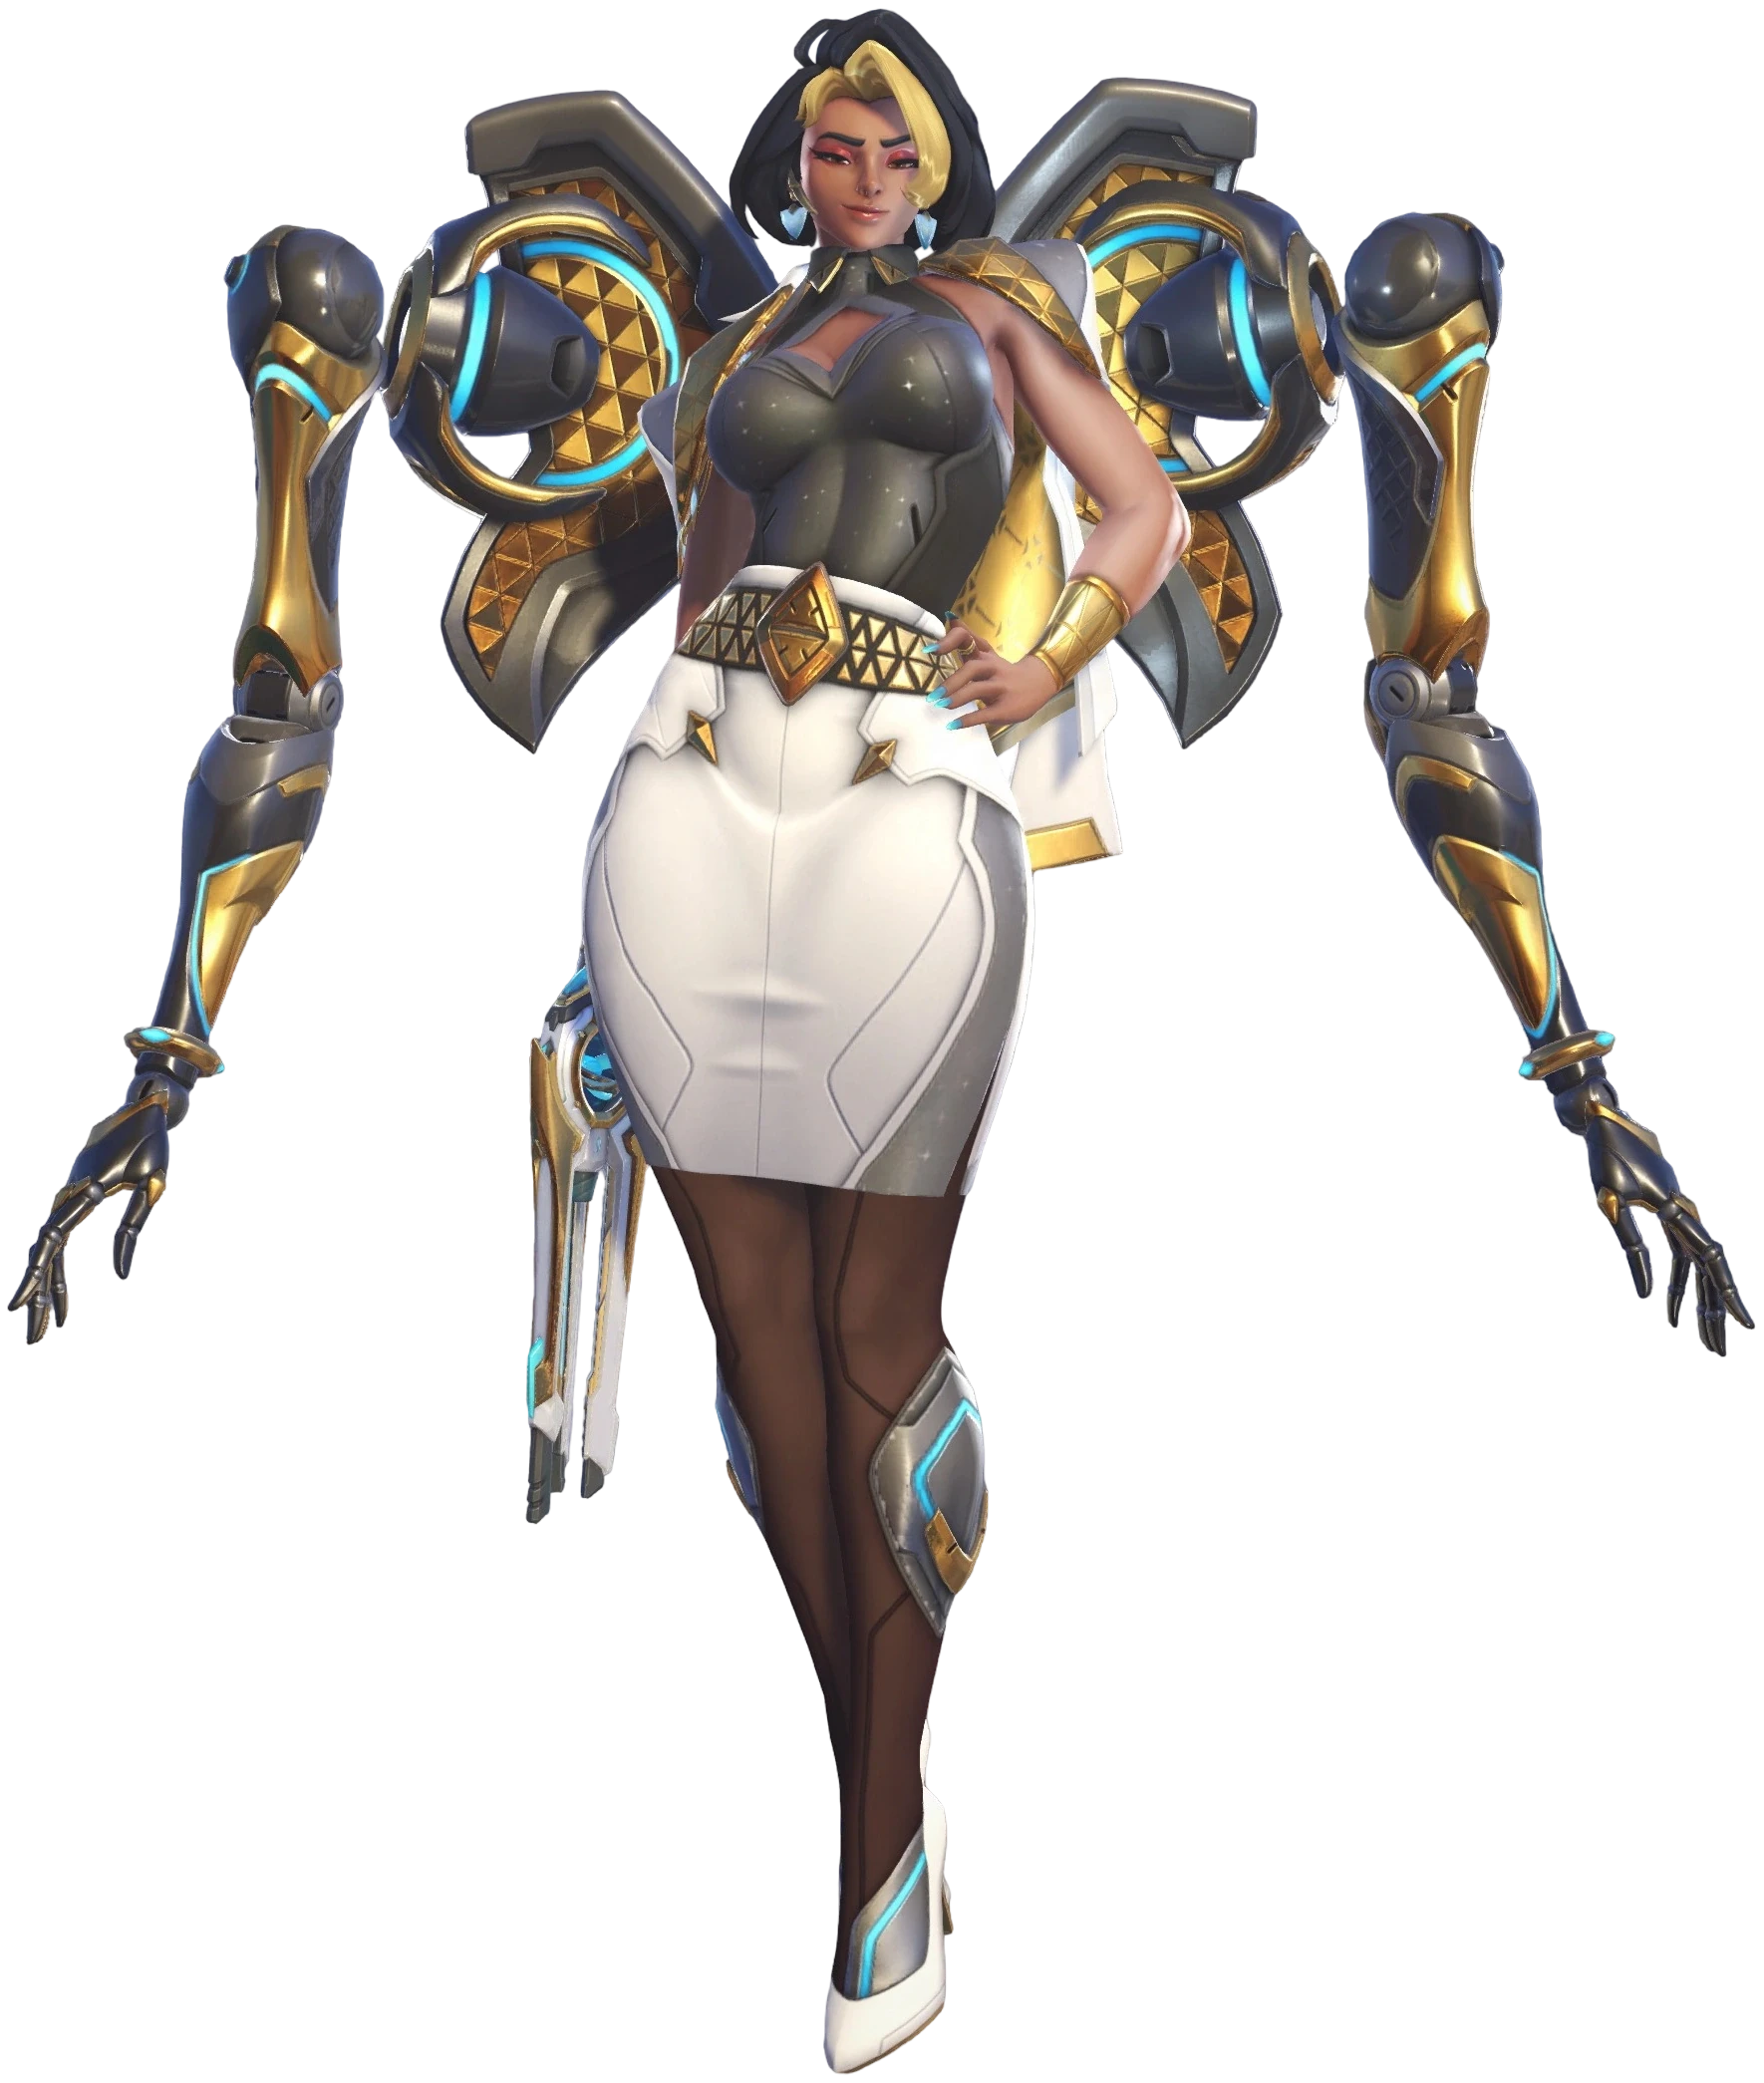
Domina is not a stat check tank — she is a timing tank, and you are playing her too slow
If you are losing games you should win on Domina, it is almost never because the enemy tank out-traded you. It is because you are feeding ultimate charge, wasting shield segments on nothing, or holding your abilities for a perfect moment that never comes.
Domina feels forgiving because is a thick, segmented wall and lets you recover from chip damage. But that forgiveness is a trap. It teaches you to absorb damage without asking whether the damage is meaningful. A good Domina does not just block damage — she controls when damage is traded and where the fight happens.
Every segment of is a resource. Every detonation is a tempo swing. And every is a win condition — not a panic button. The players who climb on this hero understand that her kit is built around denial, not absorption. You deny space with the shield's shape. You deny cooldowns with . You deny the enemy team's structure with a well-timed ultimate that either traps their backline or forces them out of their safety net.
The footage below does not show flashy mechanical outplays. It shows the discipline of watching the enemy's cooldowns, knowing when to pre-fire, and understanding that your barrier's health pool is not for tanking damage — it is for forcing the enemy to waste their time. That is the gap. Close it.
Domina answers Shion's poke — but only if you respect the range breakpoint
This source shows the hard counter: Domina's completely shuts down Shion mid-to-long range poke. Shion pistols hit the shield blocks and her secondary fire cannot one-tap through it. But the moment the fight closes to melee range, that protection evaporates. The shield does not cover your back, and Shion can walk through it. If you are standing in her face with the barrier up, you are wasting your shield health and feeding charge. Win the range war or swap — do not try to brawl a brawler with a poke tool.
Barrier Array's wrap shape is a flanker's worst nightmare — if you place it with intent
This source demonstrates why geometry matters more than its total HP. The wrapped shape covers angles that a flat shield leaves exposed, and the segment-by-segment health pool means a solo flanker has to chew through nearly the entire barrier to break it. That is a massive time commitment. If a Genji or Tracer is trying to farm you on an off-angle, a single well-placed forces them to either waste three clip cycles or abandon the angle. You are not just blocking damage — you are taxing their uptime.
Break specific barrier pieces instead of praying at the center — this is how you control engagement windows
Most players shoot Domina's barrier like a Reinhardt shield: center mass, hope it breaks. This source shows the smarter read. Because breaks in individual pieces, a segment that goes down creates a sightline gap or a path for an ability. If you are the Domina, watch which segments the enemy is targeting. If they punch a hole on your right, they are about to rotate through that gap. Pre-aim it. If you are the enemy shooting the barrier, stop spreading damage. Coordinate with your team to pop a specific segment and create a kill window faster than Domina can reposition.
Panopticon is not a team wipe — it is a bubble check that the enemy will fail if you shoot fast enough
This source clearly breaks down counterplay: the bubbles that trap enemies can be destroyed by shooting them. That is your team's priority the instant Domina ults. If you are the Domina, do not expect the explosion to kill anyone who has a support looking at them. If you are the enemy, shot-call to focus fire the bubbles immediately — a trapped tank is dead in three seconds if your team reacts. Also note: invulnerability abilities like Wraith Form or Fade can dodge the explosion damage entirely if timed. This is not a free fight win; it is a forced cooldown check.
Hold Panopticon for Baptiste's Immortality Field — the single best tank counter to Lamp in the game
This source shows exactly why Domina is one of the best Baptiste answers in the tank role. When Baptiste drops Immortality Field, most tanks either shoot it (slow) or try to burst through it. Domina can simply press and displace every enemy out of the field's radius. The field does not break — the enemies just leave it. That is a tempo swing that wins the fight in the next two seconds. Do not waste your ultimate on neutral fights. Wait for the enemy Baptiste to commit Lamp, then punish that cooldown with your own.
Pre-fire the beam before you peek — this one habit cuts your exposure time in half
This source teaches a simple but high-impact mechanic: because Domina's primary fire is a continuous laser that ends with a high-damage burst, starting the laser behind cover means the burst lands the instant you round the corner. You are not trading damage while exposed — you are delivering the payload of your clip in a fraction of a second. This changes your poke game completely. On a medium-range angle, you can peek-deal 70+ damage and duck before the enemy even registers they are being shot. Practice this on every corner hold.

D.Va's ammo perk rewards aggressive rotation — punish her booster cooldown with Repulsors
D.Va· TANK // INITIATOR→This source shows the smart D.Va player using her ammo generation perk not as a reload crutch, but as a reward for active repositioning. She gains 150 ammo while using Boosters, meaning she can dive, shoot, and stay in the fight longer. The threat here is sustained uptime after engagement. Domina's counter is to wait for that booster use — the moment D.Va commits her mobility to engage, she has no escape. Sonic Repulsor her into a wall for the stun, then at her feet. Without Boosters, D.Va is a big hitbox with no disengage. Do not let her farm your backline for free.
Wait for D.Va to use Boosters to engage, then hit into a wall stun. Follow with a detonation at her feet to chunk her armor before she can reactivate flight.
Winston's deployable damage is scary — but his bubble is a free resource if you play the edges
Winston· TANK // INITIATOR→This source highlights Winston new deployable damage bonus: 50% extra damage to turrets and constructs. That means he will shred your segments faster if you place them carelessly. But this also means Winston is spending time shooting shield instead of shooting you or your team. The real counter is positioning. Domina's can be placed in a way that forces Winston to choose: bubble your backline or break your shield. He cannot do both efficiently. If he commits his bubble to protect his dive, you can walk through it and Repulsor his Primal Rage into a wall. Winston wins the deployable war, but Domina wins the space war.
Place at an off-angle from your team's main position so Winston must choose between breaking it or protecting his dive with his own bubble. Repulsor him into a wall if he commits his leap without bubble cover.

Vendetta's health pack perk means she never needs to reset — you must deny her the packs
Vendetta· DAMAGE // SPECIALIST→This source shows Vendetta flanker passive: mini health packs heal for 150 instead of 75. That is a massive sustain buff for a hero who lives off off-angles and health pack rotations. If you let her control the small pack on your flank, she effectively has a pocket healer that never runs out of cooldown. Domina's answer is not to chase her — it is to claim the health pack room with . Place the shield so it blocks access to the pack, then stand in the room. Vendetta either fights you for the pack (bad trade for her) or starves and has to retreat to her supports. Control the pack, control the flank.
Place to block the entrace to the health pack room. Stand inside the room. Vendetta cannot sustain without that pack and must either duel you in close range (where Repulsors punish her) or abandon the angle.

Cassidy's long-range perk is the ladder meta — respect his falloff or eat headshots from 30 meters
Cassidy· DAMAGE // SHARPSHOOTER→This source explains that in 5v5, Cassidy should take the long-range major perk to pressure flankers and hold off-angles. That means he is landing consistent poke from distances where Domina's barrier health matters less. The threat is not his close-range burst — it is the chip damage that bleeds your uptime. Domina's counter is to not stand in his sightline for free. If Cassidy has the long-range perk, use corners to peek with pre-fired beam, then duck. His shots are loud and slow. You can also use to trap him if he overextends on an off-angle, because he has no mobility to escape the bubbles.
Peek corners with pre-fired beam trades to punish Cassidy slow fire rate. If he takes an aggressive off-angle, hit to displace him from cover and follow with a detonation to force his roll.
Genji holding dash means you can bait him into a no-escape engagement
Genji· DAMAGE // FLANKER→This source makes a crucial point: Genji should use dash to secure kills, not to escape. That means a good Genji is holding his dash until he sees a kill confirm. Domina can exploit this by playing with false vulnerability. Stand slightly out of position with half-deployed. A Genji who sees an exposed tank will dash in for the combo — and then he has no escape. That is your window. into a wall, then at his landing spot. Without dash, Genji is a slow, fragile target who cannot disengage from the stun lock.
Play slightly forward with a low shield to bait Genji dash engage. The moment he dashes in, hit into a wall stun, then detonate at his feet. He has no dash to escape the combo.

Pharah lives in the sky — Domina lives in the space she cannot reach
Pharah· DAMAGE // RECON→This source shows Pharah aerial dominance: she bypasses shields entirely and farms from angles where your barrier is irrelevant. Domina cannot out-duel a Pharah in the air. But Domina does not need to. The counter is to ignore the Pharah and make the ground so dangerous for her team that she is forced to drop. Use to hold tight corners and chokes where Pharah cannot angle her rockets without exposing herself. If she drops low to get a better angle, hit to displace her into a wall or off a ledge. You are not shooting her down — you are denying her team the space that makes her flight valuable.
Hold tight corners with to block ground sightlines. If Pharah drops low to angle rockets, hit mid-air to stun her into a wall or boop her off high ground. Do not chase the sky — compress the ground.