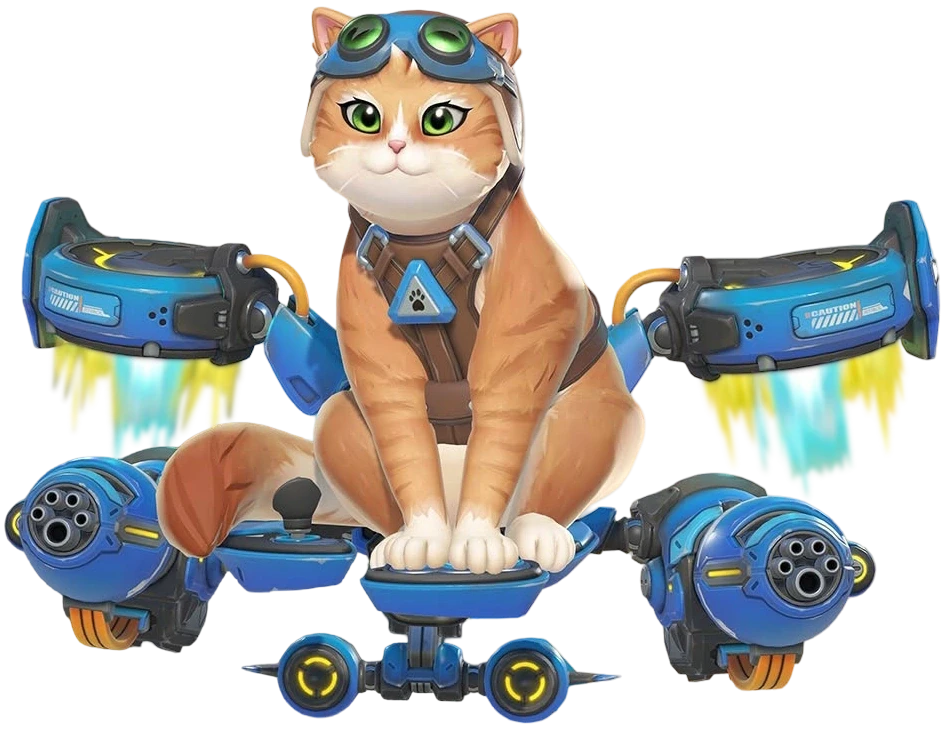
Stop bleeding games on Jetpack Cat: the resource discipline that wins
The difference between a hardstuck Jetpack Cat and a climbing one isn't aim — it's knowing when to carry, when to dive, and when to cut a tether.
TL;DR
- →The taxi is a tempo play, not a taxi service
- →The perpetual motion cycle that breaks Ana's ankles
- →Headbutt is a burst tool now — treat it like one
- →The Pickpocket recovery cancel that saves your life
- →Ult into train — the cheapest team wipe you'll ever land
- →Stop dragging tanks into the abyss — you're too slow
The resource discipline that separates a climb from a plateau
Jetpack Cat is a playmaker's support, but his kit punishes recklessness harder than most. If you're dropping winnable games, it's because you're treating mobility as freedom instead of fuel.
The core tension on Cat is simple: every action costs mobility. heals your ally but drains your fuel. locks down a target but plants you on the ground. zones enemies but roots you in place. The players who climb understand that Cat's real resource isn't his health pool — it's his flight time and ability uptime.
Most plateaus happen because players overcommit to the flashy play. They taxi the ulting Cassidy into the sky while their backline collapses. They dive the enemy backline with Claws Out but have no fuel to escape. They hold Pickpocket for the perfect moment and die with it off cooldown. The fix isn't mechanical — it's tactical patience. Force yourself to ask: 'What am I giving up to make this play?' If the answer is 'my positioning' or 'my ability to peel,' don't take the fight.
The footage below shows exactly where that discipline breaks down and how to rebuild it. Watch for the reads on fuel economy, the animation cancel that shaves a full second off your vulnerability window, and the hard truth about carrying tanks into environmental kills. Cat wins by out-tempoing the enemy support rotation, not by out-dueling the enemy DPS. Internalize that, and your climb starts tonight.
The taxi is a tempo play, not a taxi service
This clip shows exactly why is a win condition, not a movement perk. Tethering an ulting Cassidy and flying him above the point turns his Deadeye into a cross-map execution tool that the enemy cannot interrupt. But here's the discipline most players miss: you cannot just taxi anyone, anywhere, anytime. If you're dragging a Genji back from spawn while your Ana is getting dived, you've bled the fight. The value of is velocity — getting the right hero into the right position before the enemy can rotate. Use it to compress your team's rotational tempo, not to play Uber driver.
The perpetual motion cycle that breaks Ana's ankles
Ulterior Motive turns your healing spread into literal fuel, which enables a hit-and-run loop that never ends. The clip demonstrates the rhythm: dive with Claws Out, chunk a target, heal a teammate while retreating, watch your fuel bar refill, and go again. This is the single biggest 'free elo' mechanic on the hero right now because it removes the downtime that usually kills Cat's pressure. If you're not actively weaving healing pellets into your retreat path to regenerate fuel, you're playing with one hand tied. The cycle only breaks if you overstay — know your exit before you take the engagement.
Headbutt is a burst tool now — treat it like one
The patch changes gutted Headbutt's fuel refund but dropped its speed threshold to 14 m/s and pumped the damage to 50. That means Headbutt is no longer an escape button — it's a commit button. The clip shows exactly how to use it: fly high, dive onto a squishy, deal the burst, and get out before the enemy tank reacts. The increased carry fuel penalty (3x slower) means you should almost never be holding a tank for long-distance plays. The carry is still good for short repositioning, but if you're flying a Roadhog across the map, you're costing your team tempo and yourself mobility. Prioritize aerial engagements, cut the taxi trips short, and use Headbutt only when you intend to kill.
The Pickpocket recovery cancel that saves your life
This is the cleanest mechanical tech in Cat's current kit and the one most players ignore. The clip shows the full Pickpocket animation ending with a long, vulnerable recovery. By holding right-click immediately after the connect, you cancel the recovery and stay mobile. This shaves about a full second off your downtime — a second that enemy hitscans will use to farm your head. Practice this in deathmatch until it's muscle memory. The combo chain is Pickpocket > right-click hold > or Flight. You go from a sitting duck to an uncatchable gremlin in one input.
Ult into train — the cheapest team wipe you'll ever land
Environmental kills are the best kind of kills because they bypass all sustain. This clip on Shion train map shows exactly that: + drag into the moving train = instant elimination on any target. The read here is map awareness. If you're not checking the train's position before you ult, you're leaving free value on the table. The same logic applies to any map with pits, cliffs, or Hazard. can tether a target and you can drag them into the zone. The margin for error is tight — you have to land the tether and have enough fuel to steer — but the reward is a pick that no support can save.
Stop dragging tanks into the abyss — you're too slow
The clip makes the math brutally clear: carrying a tank cuts your movement speed and effective range dramatically. If you try to drag a Reinhardt from mid-map to a cliff, you'll take so long that his team will either kill you or the tank will escape. The only time you carry a tank is when you're already within a second of the edge — think King's Row first point pit. Otherwise, focus on dragging squishies. A single on a Zen or a Soldier is a much faster kill than fighting a tank's health pool. Conserve your fuel and your time for targets that die in one trip.

Domina's shield shuts down your poke — so don't poke
Domina· TANK // STALWART→Domina can absorb your all day with her shield, and her secondary shot threatens you at mid-to-long range. The clip shows exactly how oppressive her poke game becomes if you let her set up in a corridor. Her weakness? Close quarters — if she's inside your effective range, her shield uptake doesn't cover the angles.
Close the distance using from an off-angle, force her to turn her shield away from your team, then her when she's isolated. She cannot block your tether once you're on top of her.
Winston shreds deployables — force him to peel instead
Winston· TANK // INITIATOR→The Tesla Cannon buff to deployable damage means Winston will melt your team's Symmetra turrets or Torb turret during a dive. The clip shows how efficiently he clears space. Against Cat, Winston threat is his ability to track you through flight with Tesla's tick damage and then Leap to close.
Save for when he lands his Leap — knock him back and fly upward. Winston cannot out-damage your healing if you create vertical space. Stay above him and heal your team through the pressure.

Zarya feeds on Junker Queen's combo — she feeds on your spam
Zarya· TANK // BRUISER→The clip shows Zarya reading the Junker Queen knife-pull and bubbling the pulled target to gain 40 energy from Carnage. Zarya will do the same to your . If you spam her barriers, you're giving her free charge.
Do not shoot her bubbles. Period. Heal through them, reposition, or target her team. If she has high energy, play corners and force her to overextend before she can use the charge. Cat's healing spread is too slow to break her — just avoid her.

Ana on Shion's ult is a team-wipe ticket
Ana· SUPPORT // TACTICIAN→
Bastion's Recon mode is the real threat now
Bastion· DAMAGE // SPECIALIST→Bastion faster Recon fire at 23 per bullet means he can apply consistent pressure without needing Assault form. The clip shows him using Recon to farm ult charge and force cooldowns. Against Cat, Bastion spread can track your flight if you fly in open lanes.
Bastion in Recon is vulnerable to burst. Dive him with Claws Out + Headbutt from an off-angle, then kite before he transforms. If he goes Assault, use to knock allies out of his LOS and heal through the damage from cover. Never fly straight at him in Recon.
Doomfist without escape is a dead Doomfist — punish him
Doomfist· TANK // STALWART→The clip emphasizes checking cooldowns before engaging — Doomfist players who commit Rocket Punch and Seismic Slam without an escape die after the kill. That's your window. If Doomfist uses both mobility abilities, he is a sitting duck.
Wait for Doomfist to use his second mobility cooldown, then him the instant he lands. The tether prevents him from using his remaining ability to escape. He has no self-heal — your team will burn him while he's rooted. knocks him away if he tries to punch through your team.