The hook discipline that breaks your roadhog plateau
Stop feeding and start trading: the resource and timing habits that turn your hook into a ranked win condition.
TL;DR
The hook discipline that breaks your roadhog plateau
You're not losing because you miss hooks. You're losing because you don't know what each hook should cost the enemy team.
Roadhog is the tank that punishes hesitation—yours and theirs. But in ranked, the difference between a Hog who feeds ult charge and one who closes maps is resource discipline: when you , how you position before the hook, and whether you create a trade the enemy can't afford.
Every embed below shows a deliberate mechanic that turns a single hook or cooldown into a multi-second window for your team. That's the tempo swing you're missing. You don't need to hit every hook—you need to make the ones you land matter more than the enemy's cooldowns. isn't just a kill button; it's a displacement tool, a peel tool, and a tempo tool. The footage here shows you how to read each situation and pick the right one.
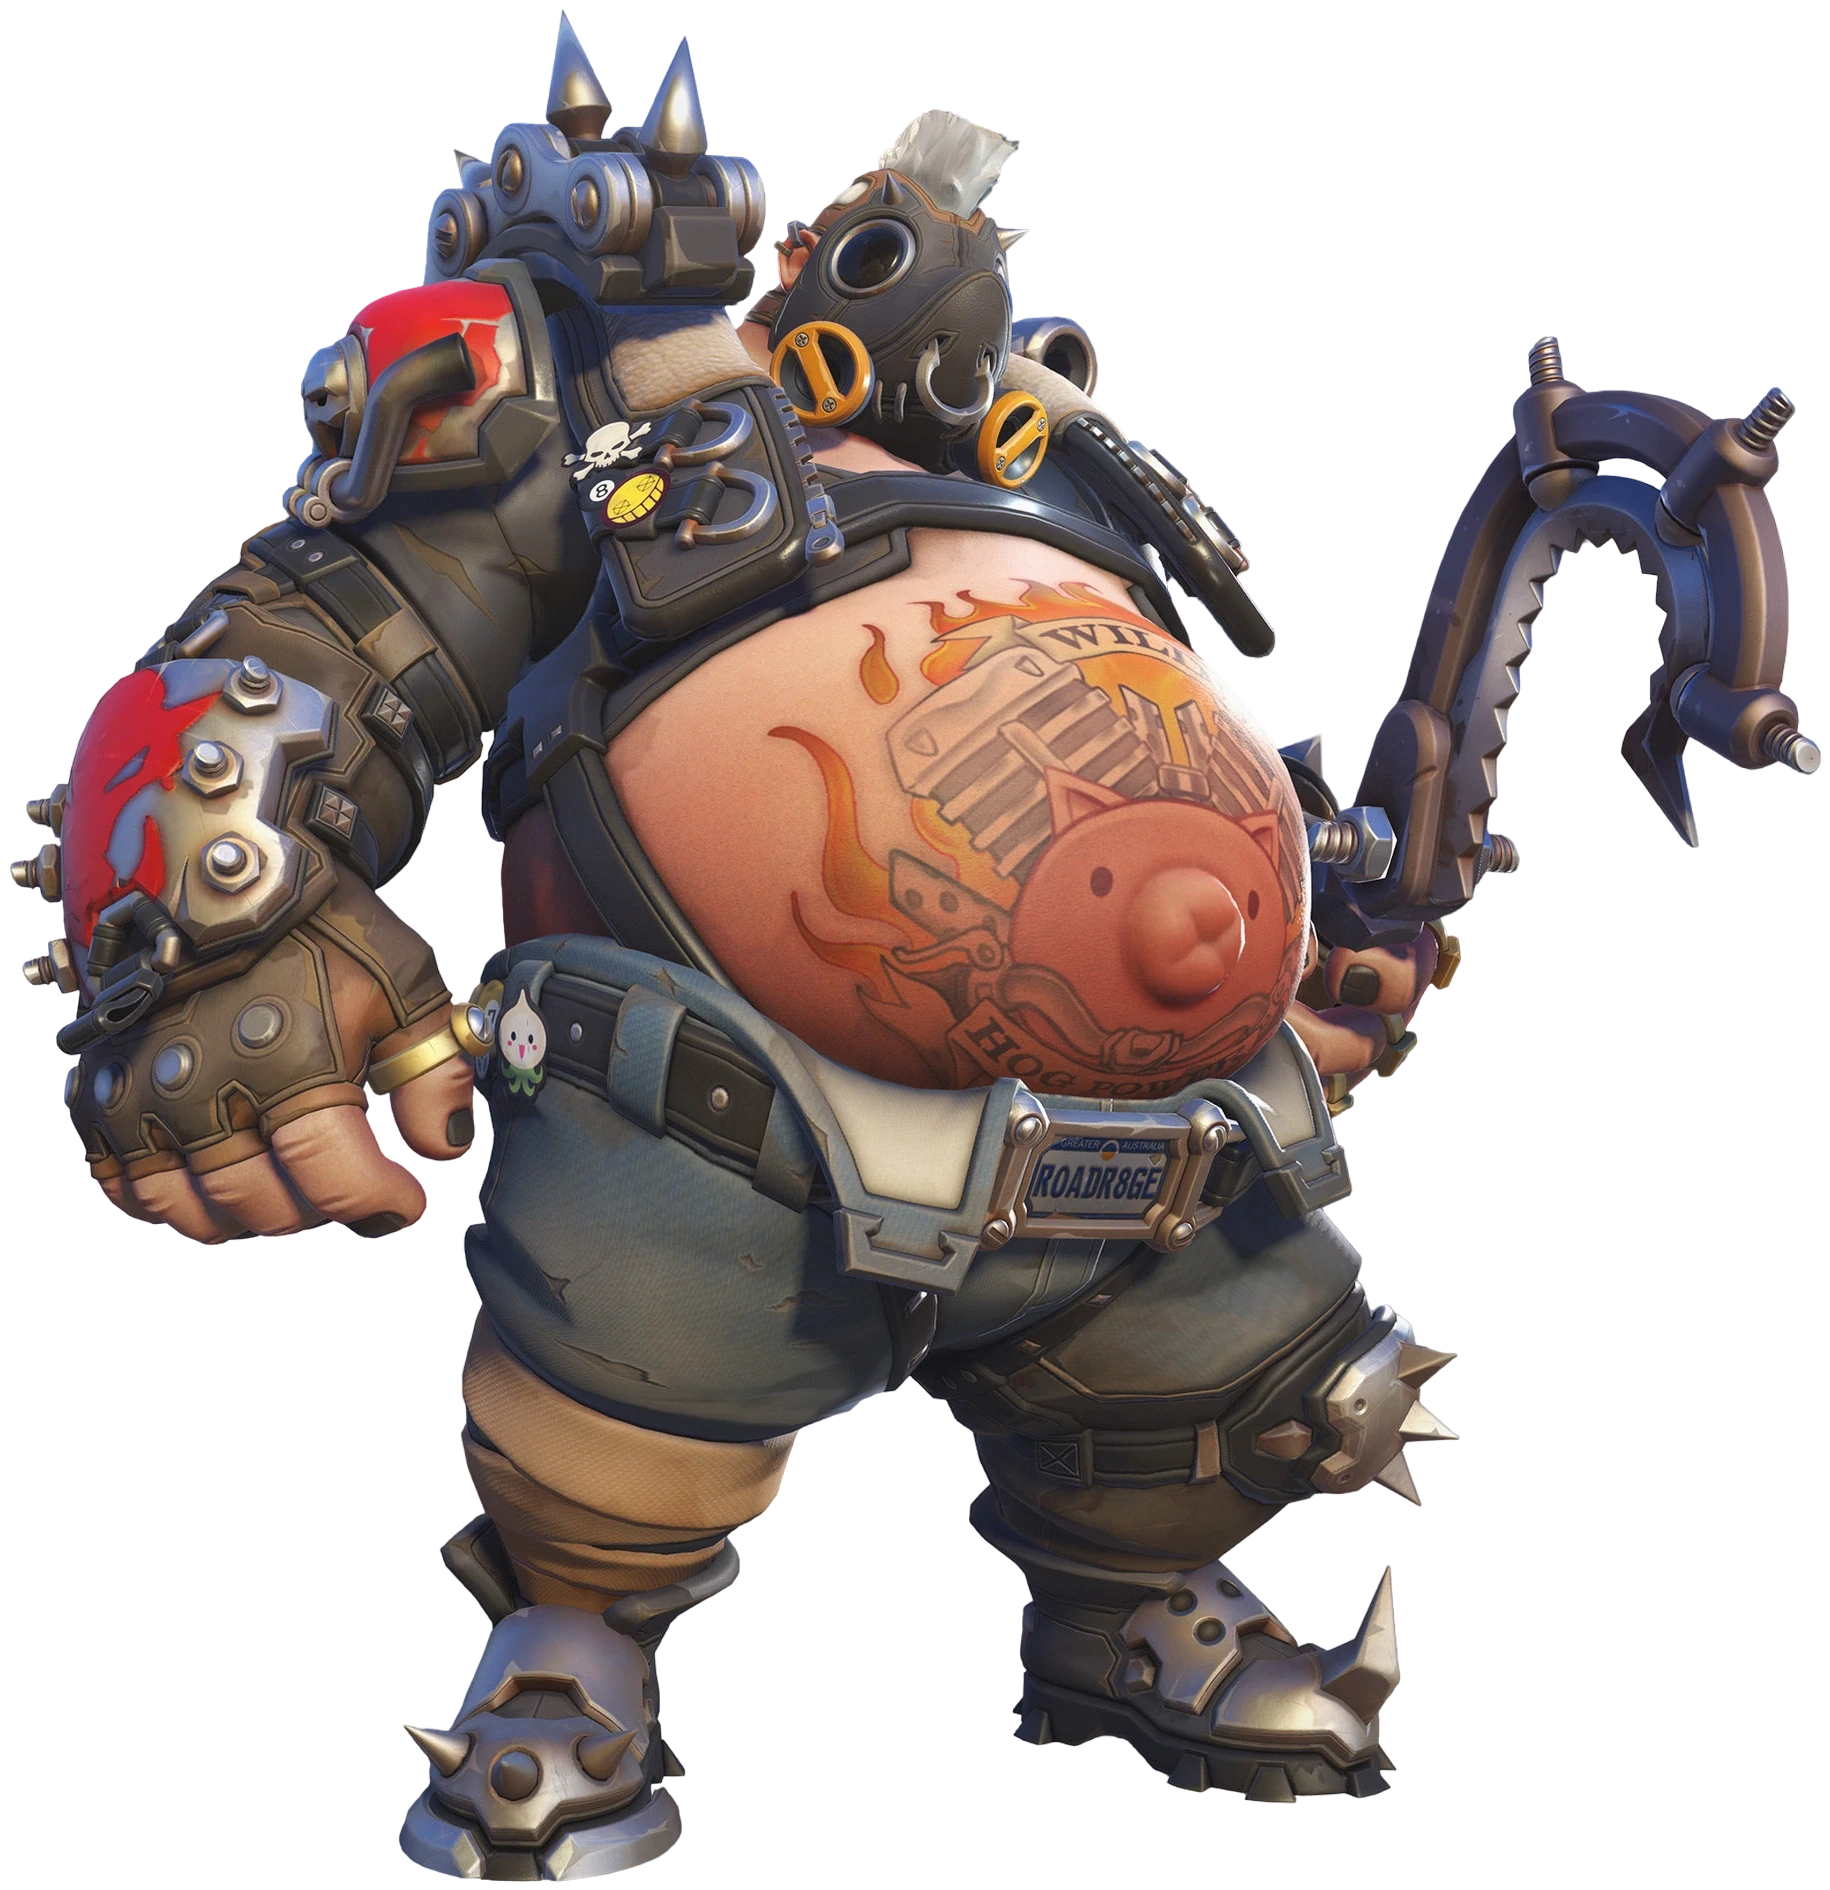
Stop playing Roadhog like a fat DPS. Start playing him like a tank who forces the enemy to waste their mobility, their positioning, and their patience. Your climb starts when your hook stops being a gamble and starts being a schedule.
Hook Shion mid-bike to cancel her entire tempo
Shion bike charge is her mobility and her engagement tool, but it's also her biggest vulnerability. The hook goes through the bike model—she can't block it with the vehicle. If you see her winding up a direct charge at you or your backline, throw the hook early in her path. You cancel her movement and strand her in your face with no cooldown to escape. That's a dead Shion before her team can follow up.
Turn your hook into a team delivery system
A hook that pulls a target directly in front of you is a 1v1. A hook that lands the target behind you, in your team's crosshairs, is a team wipe. As soon as the hook connects, snap your camera 90 degrees left or right—or even a full 180 if your team is behind you. The enemy ends up disoriented and exposed to your entire squad's fire. This is the difference between trading 1-for-1 and winning the fight for free.
Shoot first, hook second—except when you don't
Against high-HP targets or tanks, one blast before the hook pulls them into lethal range. The damage stacks, and they can't react between the shot and the displacement. Against slippery heroes with escapes, skip the pre-shot—catch them off guard before they can react. The rule: if they have time to use a cooldown after you shoot, don't shoot first. If they're a fat tank with no instant escape, always soften them up.
Double your escape speed when critical
When you're low, the Bruiser passive grants 20% movement speed at critical health. Activate with the Invigorate perk and you stack another 30% speed on top. That's a 50% movement speed burst while healing. You can literally run from a losing duel, reposition around a corner, and re-enter the fight full HP. Don't just sit still and heal—use the speed to create space for your next hook angle.
Jump-turn your hook to steal high ground
If you hook an enemy from low ground, jump and turn your camera 180 degrees as the hook lands. The enemy's momentum carries them up to your platform instead of stopping at the edge. Now they're on your high ground, isolated from their team, with no cover. This is especially free against tanks who think they're safe on a low-ground angle. You don't just pull them closer—you pull them into a worse position.
Hook D.Va to force her boosters and open space
D.Va biggest strength is her ability to take and hold high ground. Hooking her forces her to use Boosters to return to safety, burning her 5-second mobility cooldown. During those 3-5 seconds, your Ashe can toss Dynamite uncontested, your hitscan can take an off-angle, and your team can push through a choke. You don't always need to kill the hook target—sometimes the best value is making her waste her tempo tool.

D.Va's ammo perk forces a cooldown trade she can't afford
D.Va· TANK // INITIATOR→D.Va major perk gives 150 free ammo, but the catch is she has to activate it without Boosters to get the full reload speed benefit. If she uses it during a rotation or aggressive play, she keeps mobility value—but if you force her to pop it as a panic reload, she's stuck with no boosters for 5 seconds. That's the window you exploit.
Hook her during the 5-second booster downtime. Once she's burned her mobility to reload or escape, she has no way to disengage from your hook combo. Land the hook, shoot first, and she's either dead or forced to use her second life with no boosters to reposition.

Mauga's Overrun is a CC dodge—so bait it before you hook
Mauga· TANK // STALWART→Mauga Overrun gives him temporary immunity to stuns, sleep, and displacement ults like Graviton Flux. If you hook him during Overrun, you'll just pull him closer while he's still immune—wasting your cooldown. The smart Mauga holds Overrun for your hook or for enemy CC. You need to force it out before you commit.
Poke Mauga from range or pressure him with body shots until he Overuns to close the gap or escape. Then hook him the moment Overrun ends. He has no stun immunity for 6 seconds. Shoot before the hook against his high HP pool, and he eats a full combo with no escape.

Shion's wallhack perk makes her a backline tracker—but she's hookable
Shion· DAMAGE // FLANKER→Shion major perk grants wallhacks on low-health enemies, faster reload on kills, and reduced mobility cooldowns on crits. This lets her chain kills through the backline and maintain pressure nonstop. The threat is that she always knows where you're weak. But the counterplay is that her mobility is linear.
Shion has no defensive cooldown during her bike charge. Bait her into using it aggressively, then hook her mid-charge. The hook cancels her bike and leaves her stranded in your team's line of sight with no mobility. Without her bike, she's a squishy 225 HP hero with no escape—one shot-hook combo deletes her.

Nano Shion ult is a wiper—but Ana is your free hook target
Ana· SUPPORT // TACTICIAN→The Ana-Shion combo is devastating: Nano Boost on Shion during her ultimate gives 50% damage reduction and 50% extra damage, turning Shion already lethal ult into an almost uncounterable team-wipe. But Ana has to position aggressively to Nano Shion at the right moment, and that means she's often exposed.
Focus Ana before Shion gets Nano. If Ana is playing far back to Nano, she's still a 200 HP support with no mobility. Hook her when she's scoped in or reloading—her sleep dart has travel time, so a close-range hook beats it. With Ana dead, Shion Nano never lands, and the entire combo collapses. If Ana does Nano, hook Shion post-ult to displace her and burn the Nano duration.

Cassidy's perk choice changes his kill range—but not his hook vulnerability
Cassidy· DAMAGE // SHARPSHOOTER→In 5v5, Cassidy takes the long-range major perk to pressure flankers and poke tanks. In 6v6, he takes the fan-damage perk for double tank shred. Either way, Cassidy is immobile in a duel—no dash, no wraith, no invuln. His only defense is his grenade and his roll. If you catch him without roll, he has no disengage.
Force Cassidy roll by faking an engage or body-blocking his angle. Once roll is down, he's a 225 HP hero with no escape. Hook him from an off-angle or behind cover so he can't Flashbang you before the hook lands. Shoot first against his high HP—one blast plus hook and another shot confirms the kill before he can react.
Doomfist's escape check is your hook window
Doomfist· TANK // STALWART→Doomfist bread-and-butter is engaging with Rocket Punch or Seismic Slam, then escaping with the other ability. A good Doomfist always checks his cooldowns before diving—if he has both abilities up, he can kill and leave. If you see him burn both to engage or escape, he's stranded in your backline with only punch or slam on cooldown.
Doomfist has no damage reduction during his abilities. When he commits to a dive and burns his escape, wait for him to land—then hook him before he can recharge. A hooked Doomfist with no cooldowns is dead in under a second. If he uses Meteor Strike, wait for the landing animation and hook him as he drops. His 250 HP evaporates to one shot-hook-melee combo.