The discipline you're missing on Sombra
Stop throwing games by overextending and under-valuing your cooldowns — here is the real resource and timing discipline that separates a climb from a plateau.
TL;DR
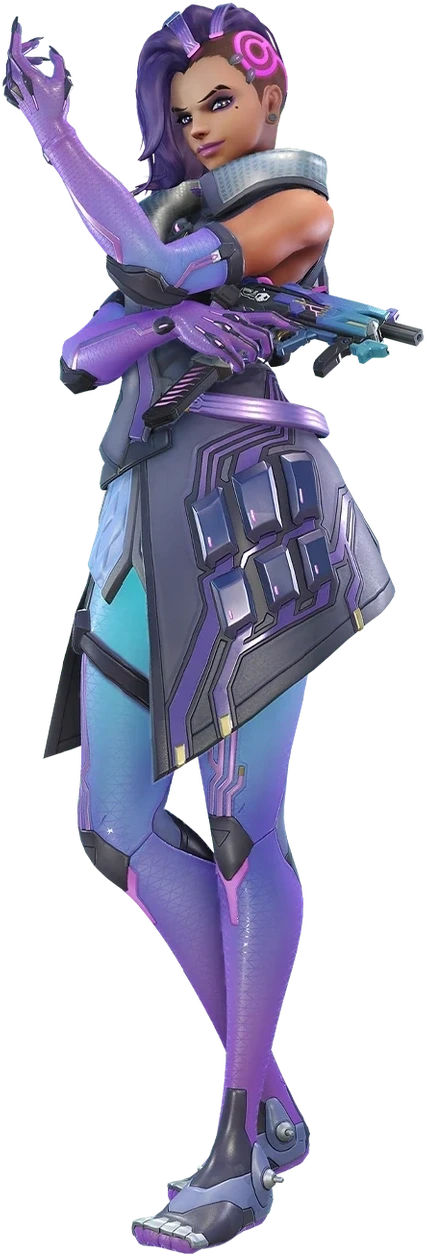
Stop playing Sombra like a discount Tracer
If you're dropping games you should win on Sombra, you're probably confusing activity with impact.
Sombra is not a flanker who gets picks — she's a tempo disruptor who turns teamfights into 5v4s before a single shot lands. The ranked Sombra trap is mistaking stats for value: high damage, high elims, but your team still loses because you never actually disabled the thing that beats them. You farm on the enemy tank, then pop it into a team that wasn't ready, or worse, you hold it for a perfect 6-man that never comes.
The footage in this guide shows exactly where the margin lives. isn't a damage tool — it's a shutdown. isn't a finisher — it's a psychological lever. And isn't a get-out-of-jail card if you use it as a crutch to play stupid positions. Every embed below isolates one real discipline: the exact timing to a support before they cleanse, the exact moment to when your tank is already committed, the exact reason you should leave a fight before you take damage, not after.
Climbing on Sombra means internalizing one rule: your cooldowns are more valuable than your life. If you burn to survive a misposition, you've lost the next fight. If you a target with no follow-up, you've wasted 3 seconds of pressure. This guide gives you the direct source examples — watch the footage, then fix the habit.
Hack the vehicle before it moves
completely denies the Joyride bike's launch and its associated damage. You don't need to kill the rider — you need to kill the ability. That single saves your team from eating 100 burst damage and prevents the map from shifting under your feet.
Paranoia is your primary damage
You are not playing Sombra to secure every kill. + out is a valid trade: you force at least one enemy to turn, often two, and they waste time looking for a threat that's already gone. The value is not the damage number — it's the momentary chaos that lets your frontline walk forward uncontested.
Translocator is your only mistake buffer
Sombra's margin for error is directly tied to cooldown. If you use it to reposition into a bad spot or panic-escape from a duel you picked wrong, you are now a squishy with no disengage for 6 seconds. Play around the cooldown — not the other way around.
Hack then kill Kiriko before she reacts
removes Suzu and Swift Step. That window is your only chance — if you don't kill her within the 3 seconds, she Suzus your and Steps out. Commit to the kill or don't engage at all. The duel is winnable, but only if you respect that she wins the long fight.
EMP is a setup tool, not a solo ultimate
does 40% current HP damage and everything in range, but you cannot solo kill off it. The value comes from your team following up while the enemy has no abilities, no barriers, and no Suzu. Pop it from an off-angle when your Reinhardt is already swinging or your Genji already has blade out. If you alone, you waste it.
Hack the Ball before he slams
Wrecking Ball entire engage relies on Grapple and Adaptive Shield. him during his rollout or right before he slams and he becomes a giant hitbox with no escape. He cannot disengage, cannot self-sustain, and your team deletes him in under a second. Do not shoot him — him first.

Doomfist needs cooldowns to exist — deny them
Doomfist· TANK // STALWART→Doomfist threat comes from Slam + Punch combos, but he cannot escape without a cooldown up. The source footage shows a Doomfist player checking his ability icons before engaging — because if he commits with nothing, he dies. Your job is to make sure he never has that safety net.
Doomfist in the middle of his Seismic Slam windup. He cannot cancel the animation once started, and without Slam or Punch to escape, he is a free kill for your team. Track his cooldowns — if he just used both, you can engage without and save it for the moment he tries to leave.

Ground Echo before she learns to fly forever
Echo· DAMAGE // RECON→Echo can achieve near-permanent flight by canceling Flight early, making her untouchable for ground-based heroes. The source shows her hovering indefinitely with zero cooldown downtime. If you let her stay in the sky, you cannot contest her value.
Wait for Echo to commit her Flight cooldown, then her during the brief window she touches the ground or after she cancels. A grounded Echo with no abilities is a 200 HP target with a big hitbox. If she stays high, Translocate to high ground and her during her descent — never try to duel her in the air.

Force Suzu before you commit the kill
Kiriko· SUPPORT // MEDIC→Kiriko Suzu is her panic button against your . The source shows a Kiriko player saving Suzu reactively against a Tracer dive — she will do the same to you. If you her and she Suzus, you must disengage immediately; the window is gone.
Kiriko from an off-angle. If she Suzus, Translocate out and re-engage in 6 seconds when Suzu is still on cooldown. Do not chase her through Swift Step — let her run, then the next support. The goal is to cycle her cooldowns, not force a kill.

Force Ball into low ceilings, then Hack him
Wrecking Ball· TANK // INITIATOR→Ball needs high ceilings to generate unpredictable momentum. The source shows a Ball player struggling when forced into straight-line approaches — his path becomes readable and easy to track. Your positioning can create this constraint.
Position near low doorframes or indoor choke points before engaging Ball. him during his grapple windup — he cannot cancel it once started. Without grapple, he cannot generate speed, and your team collapses on a stationary tank. If he ults, his mines and him on the way down.

Hack Ana before she Nano Boosts the carry
Ana· SUPPORT // TACTICIAN→
Hack Mercy during Guardian Angel to ground her
Mercy· SUPPORT // MEDIC→Mercy Flash Heal gives her a 60-120 burst heal on a 12-second cooldown, letting her save critical allies from your . The source shows a Mercy using it reactively during GA to clutch a save. If you her mid-flight, she cannot use GA or Flash Heal.
Do not engage Mercy on the ground — she will GA away before your finishes. Instead, wait for her to GA to a low ally, then her during the flight animation. She cannot cancel GA, and once Hacked, she is a slow target with no escape. + primary fire kills her before expires if your aim is clean.