The resource rhythm that stops your Wuyang from climbing
Stop bleeding games you should win by mastering the deliberate timing discipline that turns Wuyang from a stat padder into a ladder-winning tempo support.
TL;DR
- →Backline dive initiation: overhealth is your insurance, not your health bar
- →Rage cancel tech: armor without the rage lock-in
- →Three-range orb trajectory: arc, straight, or curve — choose before you click
- →Poke support identity: heal less, end fights with Tidal Blast
- →Dive tank checkmate: save Flying Step for after their mobility
- →Pre-fire corners: prediction is your projectile's best friend
The resource rhythm that stops your Wuyang from climbing
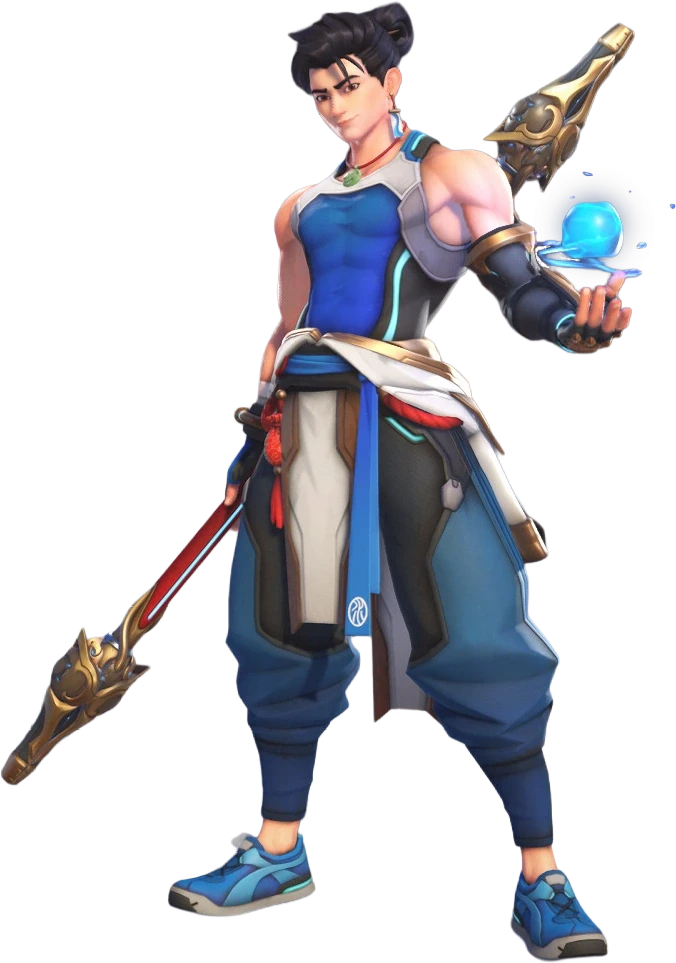
Wuyang is a poke support whose win condition is tempo, not healing throughput, and if you're plateauing, you're playing him like a main healer with a projectile secondary.
Your is a limited resource, not an infinite heal beam, and every second you hold it on a full-HP ally is a second you aren't building ult charge with or threatening a rotation. The best Wuyang players end fights quickly because they understand that his value spikes when supercharges an ally at the exact moment the enemy commits — not when they're poking from a mile away. If you're dropping games you should win, it's because you're holding the stream too long and not applying the pressure that forces errors.
Your survivability comes from movement ability passives, not raw hitpoints, which means your engagement discipline has to invert how you think about cooldowns. Save Flying Step for after the dive tank commits their mobility, not before. Lead orbs around corners to punish predictable rotations. Against high-mobility flankers, your charged shot is useless in melee range — so you trade on your terms, at mid-range, where your projectile arc and your team's sightlines protect you. The ladder does not reward passive Wuyang. It rewards the one who knows exactly when to dry for ult, when to save the stream for the burst, and when to pre-fire a corner to deny space before the fight even starts.
Backline dive initiation: overhealth is your insurance, not your health bar
The old-school dive combo — bike, jump, blast, shift, ult, dash, dash — works because it front-loads overhealth to survive the initiation, not sustain afterwards. If you skip the vertical angle or burn the overhealth before you land, you arrive at the backline with nothing but cooldowns and no margin for error.
Rage cancel tech: armor without the rage lock-in
Cancelling rage early with R+parry keeps the armor while letting you preserve rage for the next fight. That tenacity buffer stops CC from interrupting your combo without costing your engagement tempo — meaning you can eat a stun, finish the kill, and still have rage ready for the next pressure wave.
Three-range orb trajectory: arc, straight, or curve — choose before you click
Your is a Junkrat grenade at mid-range, a hitscan at point-blank, and a guided missile at long-range. If you're missing orbs, it's because you're defaulting to one arc pattern instead of reading the distance and adapting your trajectory on release.
Poke support identity: heal less, end fights with Tidal Blast
Wuyang wins by building ult charge from safe angles and finishing the fight with supercharging the right ally at the right moment. Your is a finite fuse — if you treat it like Ana rifle, you'll run dry when the fight actually matters.
Dive tank checkmate: save Flying Step for after their mobility
You cannot land charged shots in melee range against a dive tank or flanker. If you panic-step before they use their movement, you step into their rhythm. Wait for their cooldown, then step — now you control the distance, and they're stuck in your mid-range.
Pre-fire corners: prediction is your projectile's best friend
Lead your orbs by predicting where the enemy will be two seconds from now, not where they are. Pre-firing around a corner cuts their reaction window, turns your poke into unavoidable pressure, and builds ult charge before they even see you.

D.Va: bait the ammo perk, then punish the overextension
D.Va· TANK // INITIATOR→D.Va ammo regeneration perk looks like a reload tool, but good D.Va use it to enable aggressive rotations without spending Boosters. If she activates it mid-rotation, she's telling you she plans to overextend — punish the predictable path with pre-fired orbs and force her to waste Matrix on your damage instead of your team's.
Wait for D.Va to commit Defense Matrix on your frontline's damage, then curve a orb behind her Matrix angle — she can't block what she doesn't see, and her large head hitbox eats the explosion.
Genji: his escape is your kill window — make him waste dash
Genji· DAMAGE // FLANKER→Genji dash is his only mobility, and he wants to save it for kills to get the reset. If you force him to use it defensively to dodge your orb or escape , he loses tempo and can't re-engage without walking through your team's sightlines.
Pre-fire an orb at the angle Genji will dash to for a kill, then immediately your target — the knockback cancels his blade follow-up and the burst heal saves your ally.
Mauga: Overrun is his CC immunity, not his initiation — punish the second life
Mauga· TANK // STALWART→Mauga Overrun lets him ignore stuns and escape control effects, but it's a cooldown on a long timer. If he burns it to initiate, he's vulnerable to every stun in your team comp for the next 6 seconds. He also can't hold space during Overrun — his team gets no pressure while he's charging.
When Mauga uses Overrun to charge in, plant a charged orb at his landing point — the explosion catches his large hitbox as he exits the unstoppable state, and on your tank negates his follow-up passive healing.
Tracer: deny her flanker health pack advantage to break her uptime
Tracer· DAMAGE // FLANKER→Tracer sub-role passive doubles small health pack value, letting her sustain entirely off the map if you let her. If she can dip for a mini pack every time she takes a sliver of damage, your poke is worthless — you have to pressure her so she can't reach those packs without recalling.
Save for when Tracer pokes into your backline — the knockback pushes her out of blink range and your boosted healing denies her the chip damage she's fishing for.
Winston: the deployable damage buff is bait — his real threat is the bubble dance
Winston· TANK // INITIATOR→Winston 50% deployable damage lets him clear turrets faster, but his real matchup threat against Wuyang is the bubble dance. He drops bubble, cuts your healing to anyone outside, and forces you to either step in or let your tank die. If you panic-step back, he chases with Tesla.
Position so your connects through the edge of Winston bubble — if he drops it to isolate a target, you still heal through partial line of sight — and pre-fire an orb into the bubble's exit so he eats it when he jumps out.

Domina: her shield is your orb's worst enemy — so curve around it
Domina· TANK // STALWART→Domina shield blocks Shion secondary fire, but it also blocks your orb. She can play the shield poke war all day while you tickle her barrier. The counter? Don't throw through the shield — throw over or around it with your parabolic arc, and make her choose between absorbing your team's damage or dodging your curve.
Curve a charged orb high and outside Domina shield radius so it explodes just behind her — she's forced to either eat the damage or drop shield, opening her to your team's follow-up.