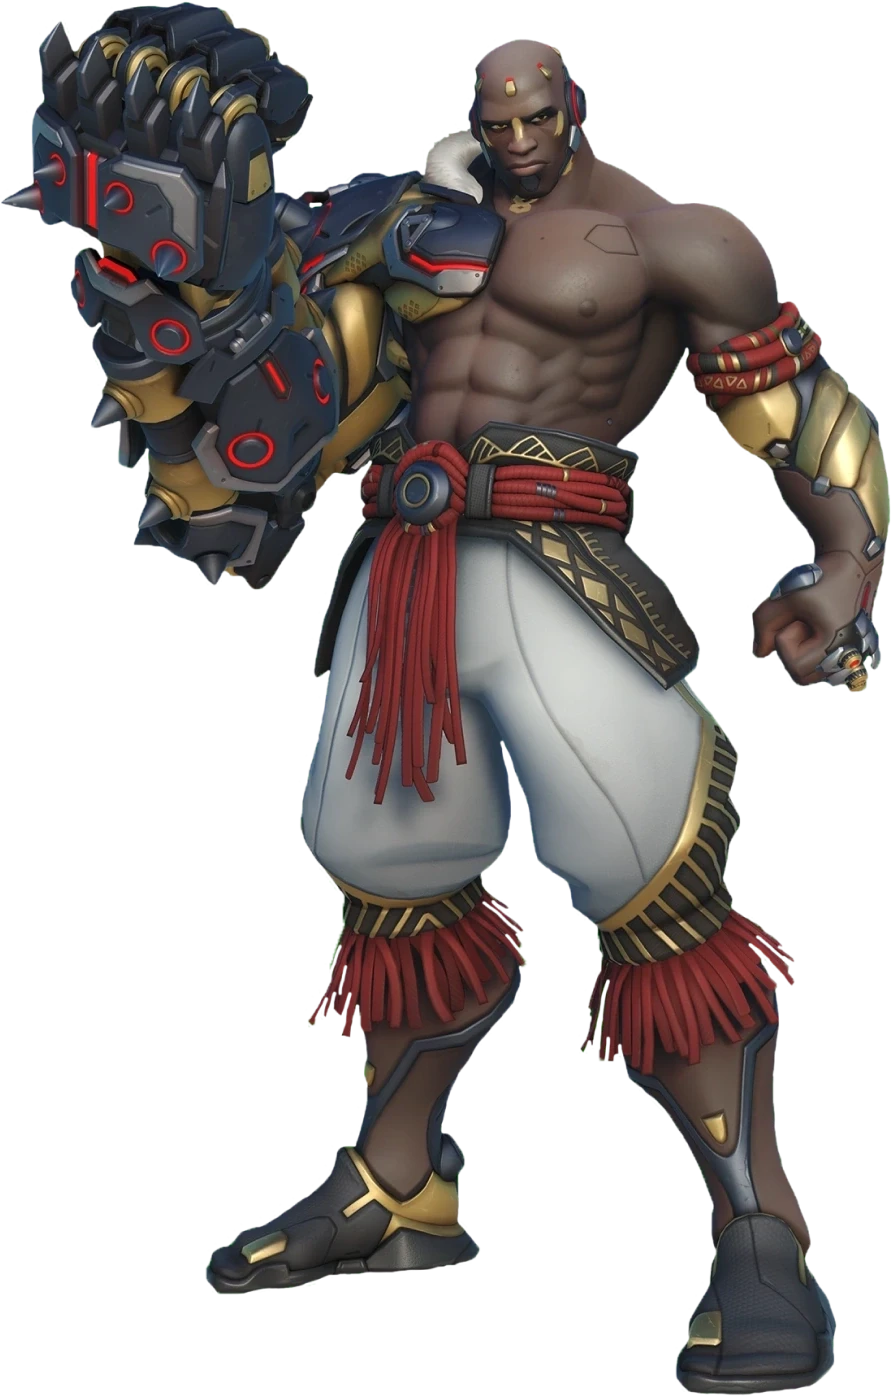
The resource discipline that stops Doomfist from feeding
Stop pressing every key at once and start rotating with purpose — the difference between a Doomfist who climbs and one who staggers is one saved cooldown.
TL;DR
The resource discipline that stops Doomfist from feeding
Doomfist players lose games they should win because they treat his movement kit as a one-way combo instead of a resource to manage. This guide breaks the cycle — every embed below is a real mechanical habit that separates a climbing tank from a feeding one.
Doomfist's power budget is almost entirely in his ability rotation. His spread is unreliable at range, his health pool is moderate, and his passive overhealth only generates if you land abilities. That means every engage demands a deliberate cost-benefit check: does this dive win the fight, or does it just use up my escape?
The footage you are about to read shows the same lesson from seven angles: always keep one movement cooldown for retreat. The players who climb are the ones who check their icons before punching in, cancel into to escape a bad angle, and never burn both charges for a single kill. The players who plateau are the ones who land a clean punch, then die because their Slam is on cooldown.
Check your cooldowns before you commit
The single most common death on Doomfist is pressing with Slam on cooldown and no plan to get out. This source shows the solution is trivially simple: glance at your ability icons before pressing W. If you see two cooldowns counting down, do not dive. Wait the three seconds.
Cancel Seismic Slam into Rocket Punch to chain distance
This tech extends your max travel range by roughly a full second of sprint distance. Slam forward, then immediately charge and release Punch to launch yourself even further. Use it to rotate to an off-angle faster than the enemy expects, or to bail from a losing duel when your backline is too far to peel.
Never enter a fight with zero cooldowns up
This is a direct reinforcement of read-1 with a sharper edge: if both Slam and Punch are on cooldown, you are not a tank — you are a fat hitscan with a spread shotgun. The source shows that dying after a kill is the same as not getting the kill. Save one movement ability for exit, every time.
Punch in, Slam out — not the reverse
The cleanest engage template: lead with for the wall stun and burst, then use to bounce backward to your team. If you Slam in first, you burn the vertical-safe option and now must commit Punch forward through the enemy team — which means you are now a brawler without an exit. Do not reverse the order.
Wall punch into headshot is your only reliable kill confirm
Your does 5.5 damage per pellet — that is 66 per body-shot magazine. You are not burning through anyone without headshots. The source shows the only consistent pattern: an enemy into a wall, the stun gives you a free window, then track their head with your crosshair and dump the magazine. Miss the headshot follow-up and you lose the duel.
Dive Sigma — he cannot escape you
Sigma has zero mobility tools. His barrier is huge but he cannot move it quickly. As Doomfist, you can Slam over the barrier, land on top of him, and now his only answer is Accretion (rock stun) or Kinetic Grasp (absorb), neither of which creates distance. Brawl him in melee range where his projectiles are impossible to land and his damage drops off.

Domina shields from range but crumples up close
Domina· TANK // STALWART→The footage shows Domina using her shield to absorb Shion pistol poke at mid-to-long range. That shield has 500 HP and a cooldown — but it only protects one direction. Doomfist does not care about one-directional protection. You have vertical mobility to bypass the shield entirely. The counter is a Punch through her shield or a Slam over it to land on her face.
Wait for Domina to commit her shield in a direction you are not standing. Use to jump over it and land behind her, then immediately her into the nearest wall. She has no escape to create distance — you own the duel.

Baptiste lives through Immortality Field — bait it first
Baptiste· SUPPORT // TACTICIAN→Baptiste whole identity is grouped sustain. His grenades heal in an AOE, his hitscan damage chips at you, and Immortality Field is a hard counter to burst combos. The footage shows him dropping Lamp to save a team from Riptire or D.Va bomb. Your kill combo is a burst — so you must force the Lamp out first, then punish the cooldown window.
Poke Baptiste with a Slam at max range to force him to Lamp himself or his team. The moment Lamp drops, count 5 seconds. Then dive him with a full Punch-Slam-headshot chain during the cooldown window. If he does not Lamp, the Slam alone might not kill him, but it applies pressure that wins the space.

D.Va's ammo perk is a rotation reward — do not let her use it for free
D.Va· TANK // INITIATOR→D.Va ammo generation perk gives 150 ammo instantly but costs her Boosters cooldown. Good D.Va use Boosters for mobility first, so the perk is a tempo bonus. The footage shows her using it during repositioning — meaning she is saving Boosters for aggressive play, not reloading. You cannot win a duel against a D.Va with full ammo and full mobility.
Track D.Va ammo. When she uses Boosters aggressively (not to reposition), she cannot use the perk to reload. Dive her in that window with a wall punch. If she uses her perk to reload instead of saving Boosters, she is immobile for 4 seconds — that is your kill window.

Freja's Execution perk means she kills you under half health — do not brawl against it
Freja· DAMAGE // SPECIALIST→Freja Execution major perk adds 20% damage to targets below half health. If she is not being dove, this is her preferred choice. The footage shows her picking it for consistent damage. That means you cannot trade with her below 225 HP — she will win. You must either burst her from above 50% or disengage before she gets the damage buff active.
Do not engage Freja with less than 250 HP. Hit her with a Slam from an off-angle, land the wall punch, and finish with headshots before she can react with her dash. If she dashes away, do not chase — she wins the kiting game. Instead, rotate to a new angle and re-engage when your cooldowns reset.

Hazard's Deep Leap perk makes him a flanker — respect the range
Hazard· TANK // STALWART→Hazard Deep Leap major perk increases his Leap range by 20%, turning him into a dive tank that can close distance faster than you expect. The footage shows him using it to reposition quickly. If he takes Explosive Impalements instead, he has more burst in brawls but less mobility. Identify which perk he picked within the first fight — it changes how you track him.
If Hazard takes Deep Leap, respect his engage range — do not stand in open sightlines. Wait for him to commit Leap, then counter-dive his backline while his cooldown is gone. If he takes Explosive Impalements, he has less reach but more burst — block his Spike Guard with to reduce damage, then punch him while he is stunned from the block.
Illari's pylon is the only thing keeping her alive — destroy it first
Illari· SUPPORT // TACTICIAN→Illari loses a team fight, and the elite play is to destroy her own Healing Pylon before respawning to reset the cooldown. The footage shows this exact macro play. That means if you kill Illari but leave the Pylon alive, she returns with a full-cooldown pylon ready. You must destroy the Pylon during the fight — before you dive her, or immediately after she dies.
When you dive Illari, land next to her Pylon — the Slam damage kills it in one hit. If you are punching her into a wall, angle the punch so she lands near the Pylon, then punch again to break it. Do not let the Pylon survive any longer than Illari does.