The discipline gap: Why your Hazard still feeds when he should carry
Stop blaming your supports — the habits that turn Hazard from a chaotic brawler into a climb-winning initiator are all about resource timing and mobility discipline.
TL;DR
- →Perk choice is a pace decision, not a preference
- →Shoot through the leap — don't wait for the slam
- →Wall-climb resets: Hazard's hidden high-ground key
- →The same mechanic, different context: verticality as a win condition
- →Spike Guard is a tempo tool, not a damage button
- →Block delayed damage — Pulse Bomb and stickies are free negates
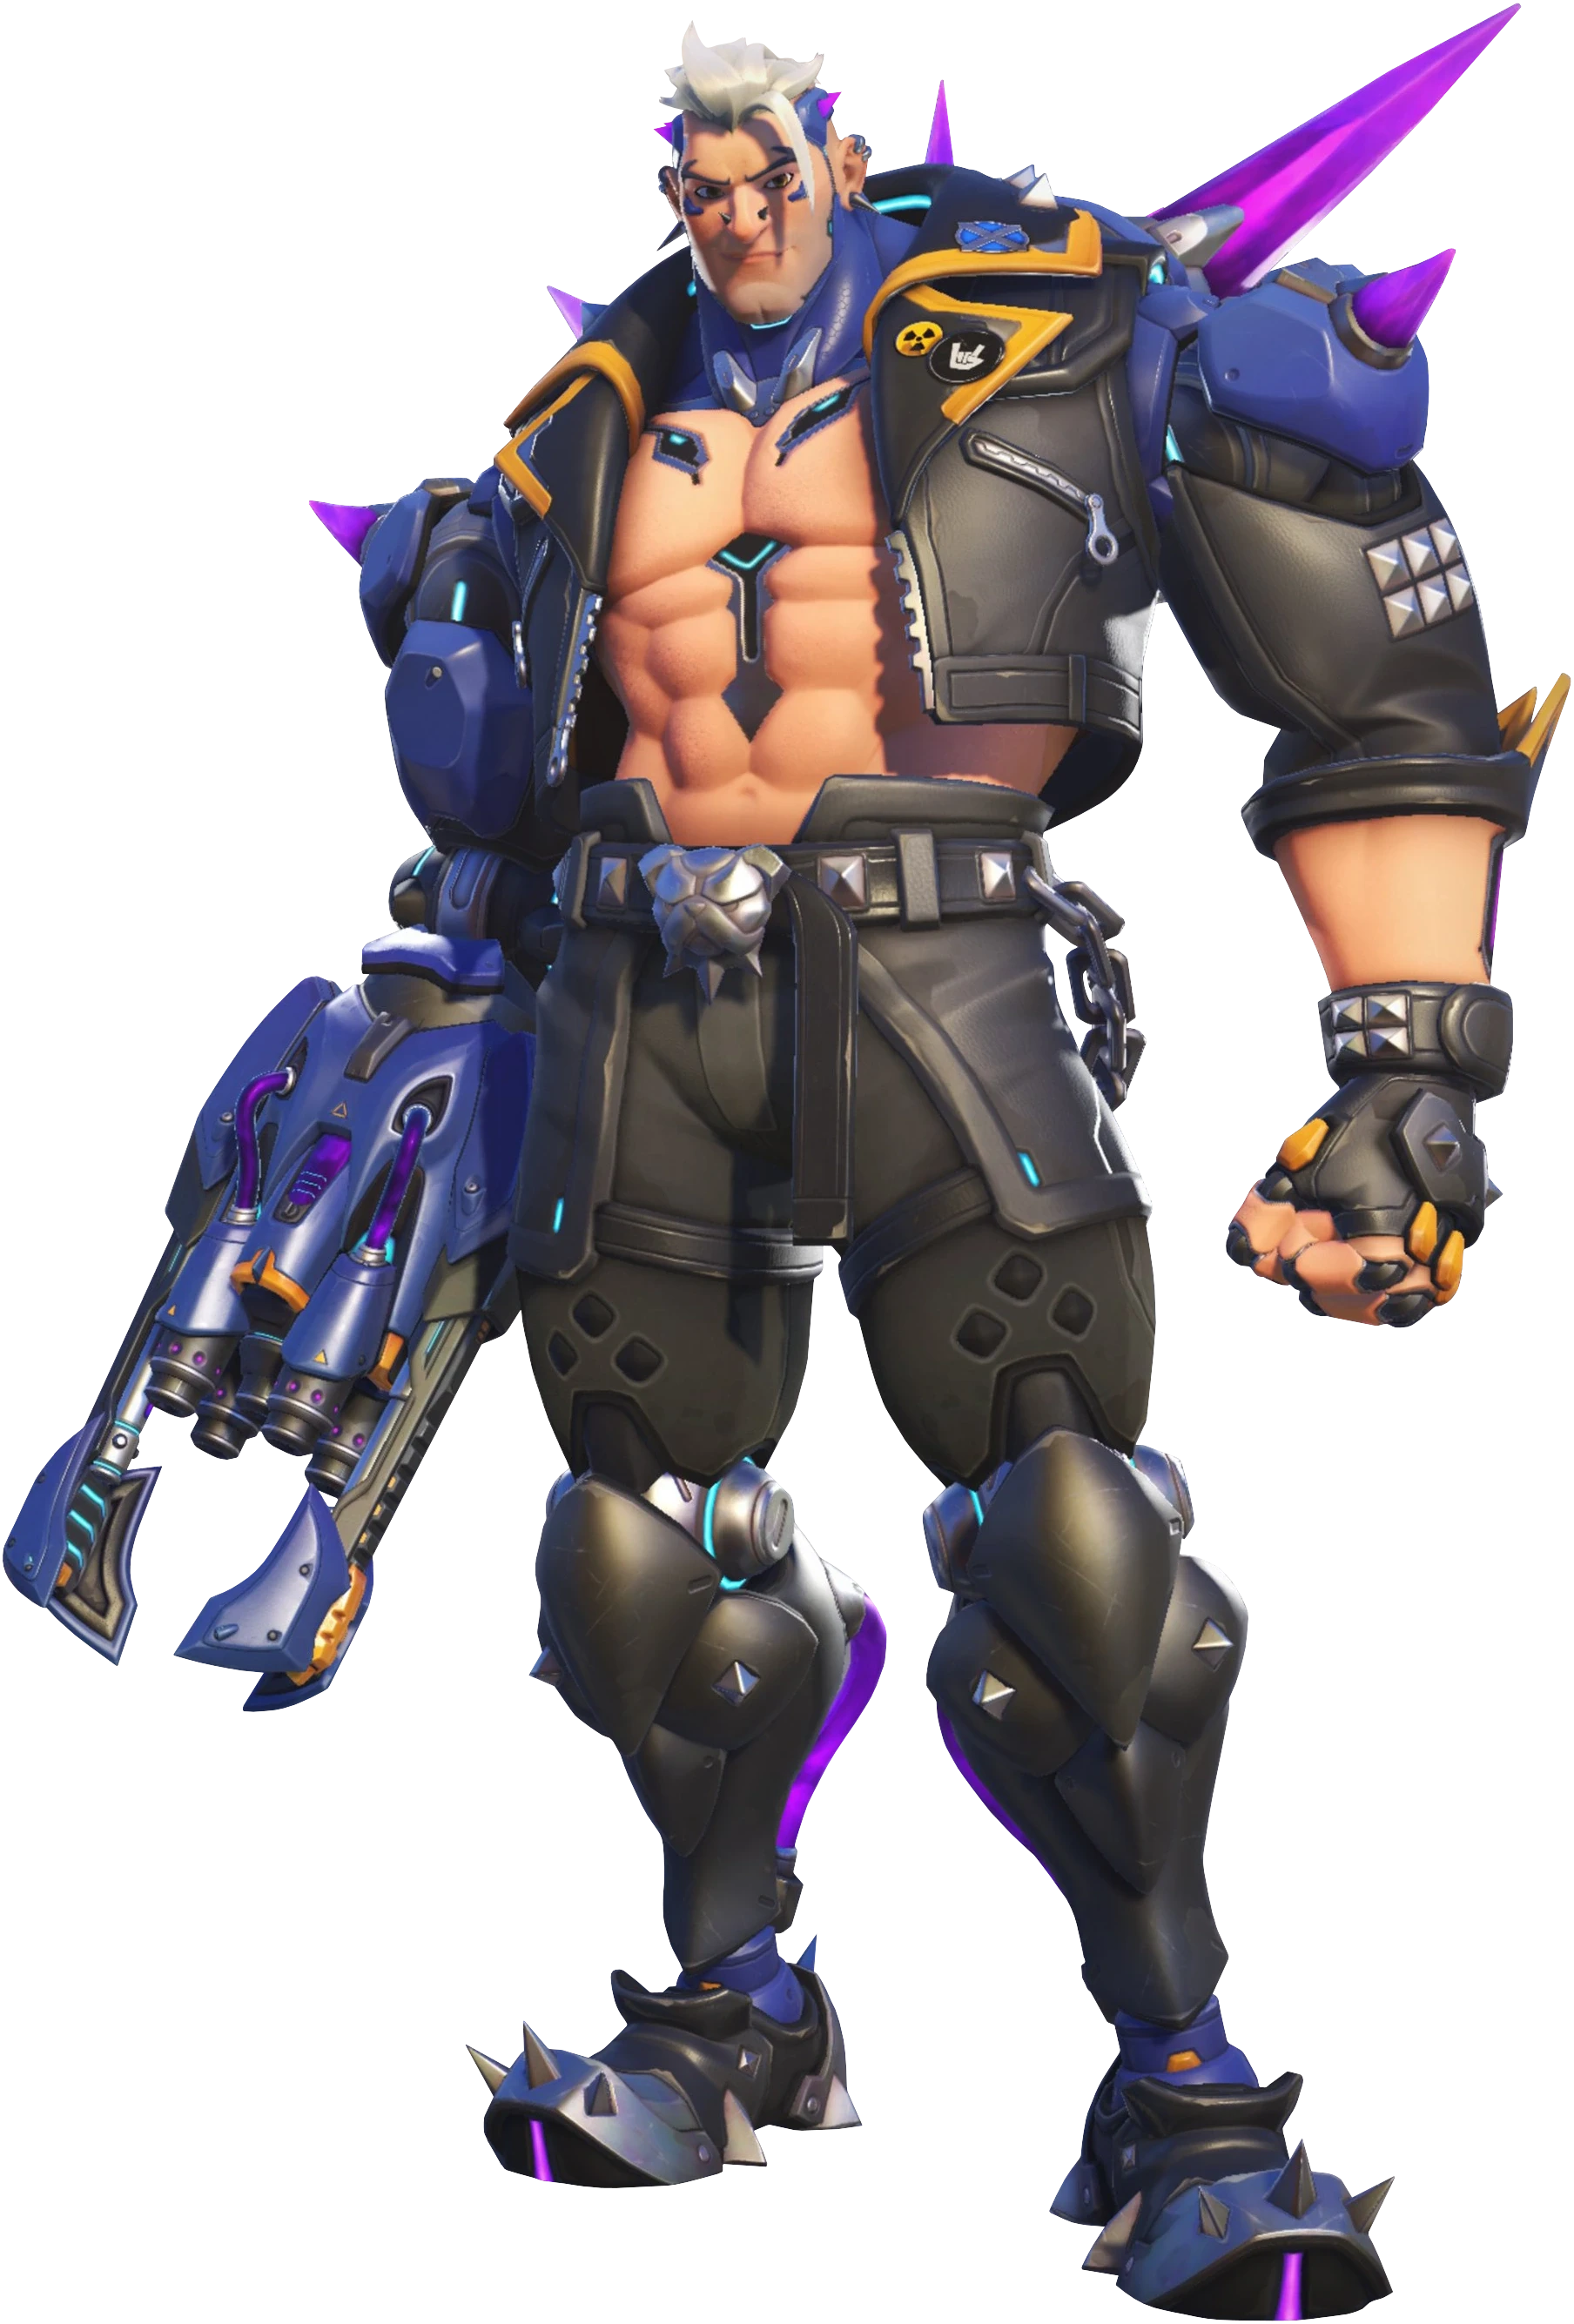
Stop playing Hazard like a discount Doomfist — the real value is in the delays
You've got the mechanics. You hit the leap, you throw the wall, you spray the Backbreaker. So why are you still losing games you should win?
The answer isn't aim. It isn't cooldown management at the surface level. It's the gap between “using” Hazard’s kit and winning with it. Hazard is a decision-making sink: his mobility is so flexible that it tempts you into taking every fight, every angle, every dive. The climb separates players who learn to not press the button from those who hit it on instinct.
This guide isn’t about new combos. It’s about the deliberate habits that keep your HP pool from being free ult charge for the enemy. You’re going to see real footage of Hazard’s perk trade-offs, his wall-climb extension, the defensive timing on , and why your current approach to engagements is leaking value. Each embed is one sharp take you can apply in your next queue — no filler, no hype.
Then we move to matchups. Every dive tank has to answer the same question: How do I make the enemy’s best tools irrelevant? For Hazard, the answers are concrete — a wall here, a block there, a leap timed to deny a cooldown. You don’t outplay D.Va or Ana or Sojourn by being faster. You outplay them by knowing exactly which button to press one second before they do.
Perk choice is a pace decision, not a preference
Deep Leap vs. Explosive Impalements isn't about playstyle — it's about win condition timing. Deep Leap (20% range) lets you skip slow rotates and hit backline angles before the enemy sets, ideal for maps where high-ground control dictates the fight. Explosive Impalements gives you a 30-damage burst on , which turns your defensive tool into a kill-confirm in tight brawls. If your team lacks follow-up damage, Explosive is a bait — you'll survive longer but still lose the fight. Pick Deep Leap when you need to arrive first and Explosive when your DPS already win the 1v1 and just need you to hold space.
Shoot through the leap — don't wait for the slam
The source shows something obvious that most Hazards ignore: you can fire during . If you jump in, land the 70-damage strike, and then shoot, you're giving the enemy a full reaction window. Instead, start your primary fire mid-air, hit the target with spikes as you close, then connect the leap knockback for the finish. The burst becomes near-instant — roughly 90 damage from spikes + 70 from the strike before they can react. This is the difference between a kill and a traded cooldown.
Wall-climb resets: Hazard's hidden high-ground key
The footage demonstrates a mid-climb that resets your wall-climb height, letting you scale ledges normally out of reach. This isn't a niche trick — it's a core mobility extension that opens flanks on every point with a vertical element. Without it, Hazard is a ground-bound brawler who can be denied by a single enemy standing on a balcony. With it, you contest high ground on maps like Gibraltar, King's Row, and Numbani without using a full leap cooldown. The tech is simple: climb, leap, climb again. The payoff is winning positional fights before the enemy even sees you.
The same mechanic, different context: verticality as a win condition
This is the same wall-climb reset from a different angle, reinforcing that it's not a trick — it's a baseline movement tech. Pros use this to take positions that force the enemy tank to choose between contesting you or holding the main lane. When you're on high ground as Hazard, your becomes more valuable because you control the drop-down timing. The enemy has to use resources to clear you, which opens space for your team. Practice this in custom games until it's reflex — it's the single highest-ROI tech in his kit.
Spike Guard is a tempo tool, not a damage button
The source makes a clean point: should not be used on cooldown. Deploy it only when you're eating heavy damage to survive a burst window, or when you need to finish a low-HP target while reloading. Using it early means you're standing still, taking damage, and feeding supports ultimate charge. The discipline is to hold it until the enemy commits cooldowns — then press it to turn their tempo into your survival, and your survival into space.
Block delayed damage — Pulse Bomb and stickies are free negates
This footage shows something critical that most players don't know: blocks delayed damage like Pulse Bomb or Echo stickies even after they're attached. If Tracer sticks you, or Echo lands her sticky bombs, pop immediately. The explosion happens, the block nullifies the damage, and you walk away full HP. This turns two of the highest-value abilities in the game into a wasted cooldown. The only requirement is reaction speed — and since the block has no cast time, it's purely about having the mental read ready.

D.Va's ammo perk is a mobility trap — punish her for taking it
D.Va· TANK // INITIATOR→D.Va ammo generation perk gives her 150 ammo instantly, but the footage shows the cost: to use it as a quick reload, she burns her Boosters. That means she's giving up her mobility to avoid a traditional reload. As Hazard, that's your queue. When you see D.Va use Boosters, especially if she doesn't fly anywhere aggressive, she's low on ammo and stuck in a slow reload animation. That's your window to into her face, apply to isolate her from heals, and force her out of mech. She can't escape because she already spent her movement.
Wait for D.Va to use Boosters (often to reload via the perk), then onto her, behind her to cut off heals, and primary fire her armor while she's trapped. She has no escape until Boosters come back.

Flash Heal's delay is your window — burst through it
Mercy· SUPPORT // MEDIC→Mercy Flash Heal provides 60 burst (120 below half HP) but has a slight activation delay. The footage shows Mercy using it mid-Guardian Angel to clutch-save a critical ally. For Hazard, that delay is your kill window. If Mercy is pre-casting Flash Heal, she's committing to a stationary moment after the GA. That means you can to her landing spot, to survive her team's peel, and primary fire + melee before she can fly away again. The key is to not let her get the heal off on a low-HP target — if you see her gliding toward a critical teammate, turn your attention to the Mercy instead.
Pre-aim the GA landing point, to close, use to block her escape path, then burst her down before she can Flash Heal herself.

Sierra's Anchor Drone counters mobility — Hazard's wall counters her setup
Sierra· DAMAGE→The footage shows Sierra using Anchor Drone mid-air to intercept and block Shion Joyride bike. That drone is a zone-denial tool that can ruin Hazard's mobility if placed near your approach path. But Hazard has a direct answer: . If Sierra pre-places the drone to block your path, you can wall it off — the wall's knockback and damage will destroy the drone or displace it, clearing your lane. Alternatively, use + wall-climb reset to take a different angle that the drone doesn't cover. Don't fight through the drone; fight around it.
When Sierra throws Anchor Drone to block your leap path, throw at the drone to destroy or displace it, then use the cleared lane to past her.
Sojourn's slide rollout gives her an off-angle — cut it off with a wall
Sojourn· DAMAGE // SHARPSHOOTER→Sojourn Power Slide combo lets her reach an elevated off-angle with a disengage tool on a short cooldown. The footage shows her using a bridge corner to get an unexpected angle. As Hazard, you can't always chase her, but you can deny the value. If you see Sojourn slide toward a high-ground position, pre-place on the landing spot. The wall's knockback will displace her before she can set up, or at least force her to use the second slide to escape, wasting her cooldown. Then you've won the space without taking damage.
Predict the slide landing zone, place just as she arrives — the knockback displaces her and forces her to burn her disengage, neutralizing the off-angle.

Ana + Nano Shion is a win condition — isolate Ana before the ult
Ana· SUPPORT // TACTICIAN→The footage shows Ana using Nano Boost on Shion during her ultimate, turning a vulnerable Shion into a nearly unkillable team-wipe machine. For Hazard, the counter is pre-emptive: if you see Ana holding Nano and Shion has ult, you cannot let Ana stay in position. Dive Ana with , forcing her to use Sleep Dart or her own Nano early. If you can't kill her, at least make her reposition, which wastes the Nano timing window. If the combo happens anyway, use to survive the initial burst and to separate Shion from her team while she's powerful but immobile.

Anran's melee-cancel ult is high burst — Hazard blocks it with timing
Anran· DAMAGE // SPECIALIST→Anran ultimate deals 180 damage per hit, and the footage shows a melee weave to push it to 220. That's a two-or-three-tap death for Hazard if you eat it raw. But blocks frontal damage. The key is timing: Anran ultimate has a slight cast animation. If you see him ult, pop immediately, face him, and the damage is nullified. Your team can then collapse while he's committed to the ult. Don't try to out-damage him — just block, survive, and let your DPS clean up.
The instant Anran activates his ultimate, pop facing him — the frontal block negates the burst, turning his team-wipe into a wasted cooldown.