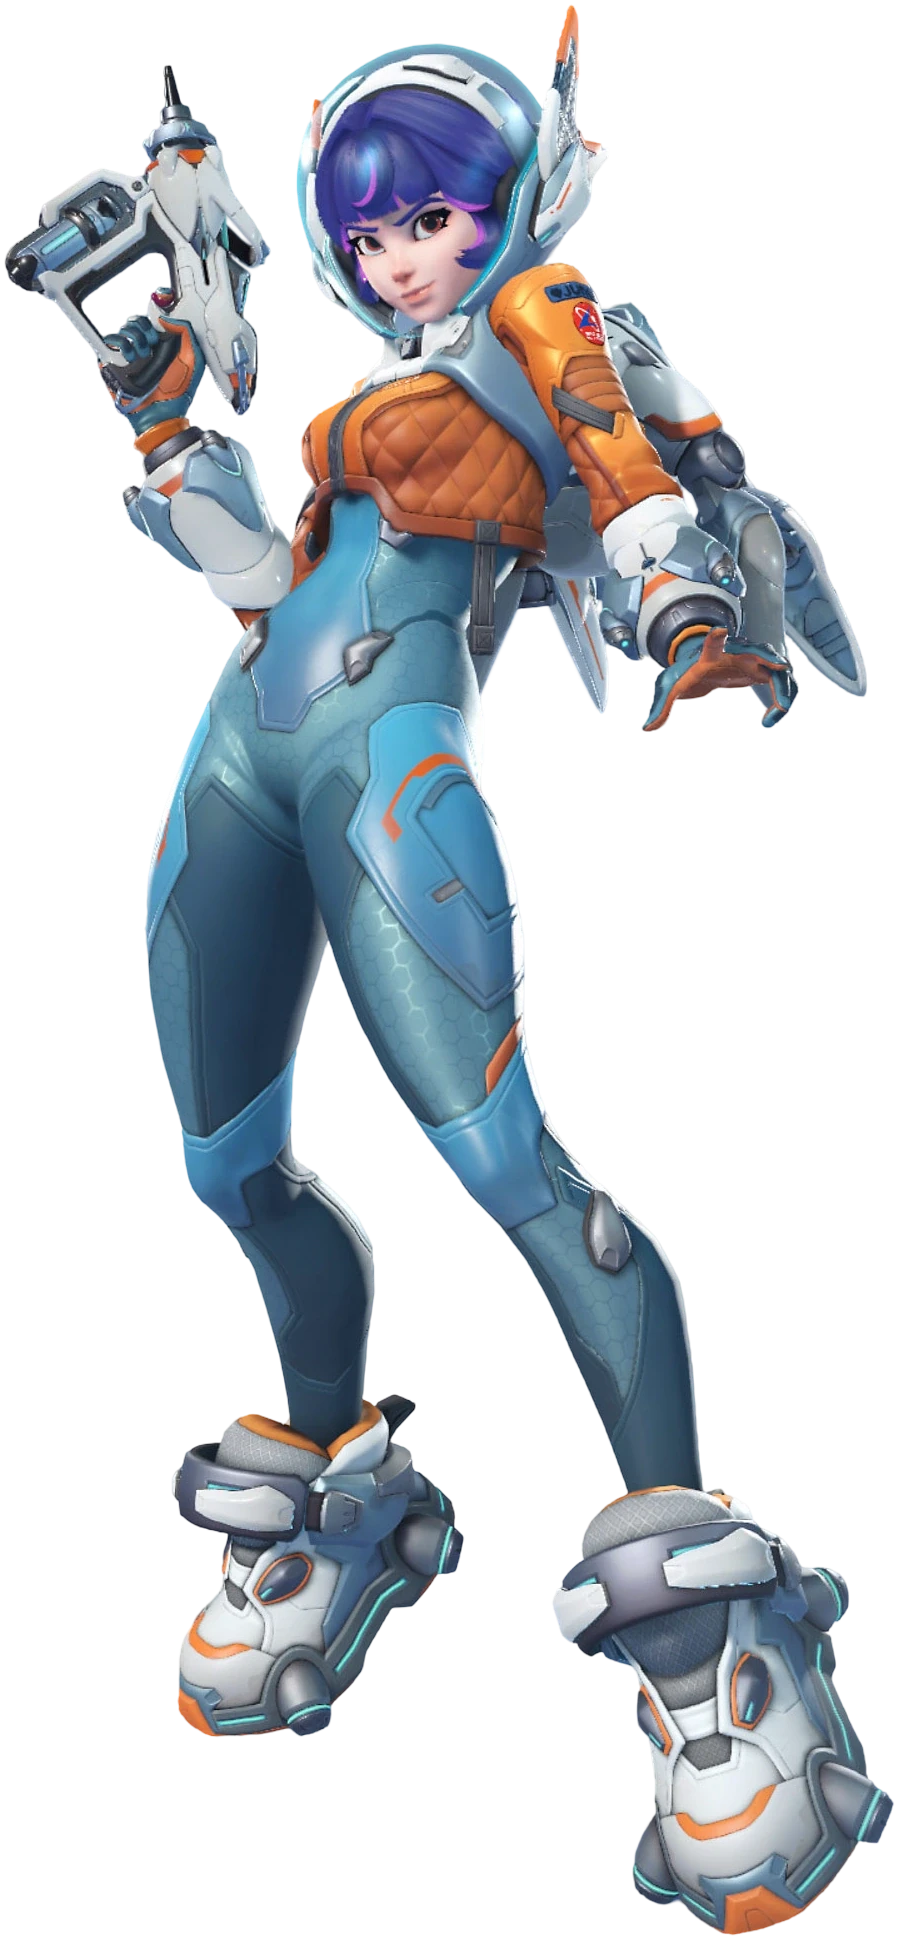
The close calls that aren't: resource discipline on juno
Stop losing winnable fights by fixing the timing and positioning habits that bleed value on Juno.
TL;DR
- →Hear the dynamite, leave the zip code
- →Trade vertical for volume when the burst is too heavy
- →Orbital Ray is a mid-fight win condition, not a pre-fight buff
- →Deadeye loses reduction late — make him hold or die
- →Make Roadhog guess where you'll be
- →Burn ring and boost on the spawn rotate for fight-ready uptime
The close calls that aren't: resource discipline on juno
If you're dropping games on Juno that should be wins, the problem isn't your aim — it's your timing. Every death, every wasted ult, every missed ring is a habit you can fix.
Juno's kit looks simple on paper, but the difference between a player stuck in plat and one climbing through diamond is how deliberately they deploy her resources. You don't lose because you missed a Pulsar Torpedo — you lose because you threw into a rotation that was already over, or burned into a fight the enemy had already disengaged from.
This guide is built around exactly those margins. Every embed below isolates one concrete habit — audio discipline, burst heal timing, ult patience, movement versus specific threats — that separates a Juno who feels like dead weight from one who dictates the pace of the fight. The matchups are where the ladder punishes you hardest: Roadhog hook, Ashe two-tap, D.Va dive, Junker Queen bleed pressure, Kiriko suzu, Tracer uptime. For each, you'll get the threat the opponent is trained to execute, then the exact Juno counter that neutralizes it.
You don't need to play faster. You need to play at the right tempo. That starts here.
Hear the dynamite, leave the zip code
Ashe Dynamite has a loud, distinct ignition sound, and Reaper Teleport has an audio cue that gives you a full second to react. If you stay in position after hearing either, you're gambling your life on the enemy missing. Position is a resource — don't hold it through a known threat window. Disengage preemptively, re-angle, and let the cooldown expire before you recontest.
Trade vertical for volume when the burst is too heavy
Triple Jump gives you evasion, but when your tank is eating a full Rein Zarya beam or your DPS is getting pressured through a choke, evasion doesn't keep anyone alive. Faster Blaster pushes your healing rate from 16 shots per second to 22 — that six extra rounds per second is the difference between your Winston living through a full clip from their Tracer or dying on cooldown. Pick the perk based on what the enemy comp is trying to do to your frontline, not what they're trying to do to you.
Orbital Ray is a mid-fight win condition, not a pre-fight buff
If you drop as your team peeks the first corner, the enemy just backs up for three seconds and your ult does nothing. If you hold it until both teams have committed key resources — a friendly Nano, an enemy Grav, a Rein who just pressed W — then your ray sustains through the critical exchange where fights are actually decided. The clip shows exactly that window: the moment the enemy tank commits, not the moment the fight starts.
Deadeye loses reduction late — make him hold or die
Cassidy damage reduction starts at 40% and drops to 0% the longer he channels. If your team is in cover when he pops ult, don't peek early and give him value. Wait until the late window — roughly two seconds — then have your tank or DPS peek and force the shot or kill him. As Juno, you can bait the lock by hovering in and out of line of sight, wasting his channel time while your team rotates.
Make Roadhog guess where you'll be
Hog's hook is a prediction skillshot — he throws it where you're going to be, not where you are. Juno's strafe acceleration, , and double jump let you break that prediction. The clip shows that erratic lateral movement with occasional vertical dips makes the hook miss consistently. If you habitually glide in a straight line, you're asking to get hooked. Mix your movement cadence and Hog will either hold the hook forever or waste it.
Burn ring and boost on the spawn rotate for fight-ready uptime
On New Junk City first point, if you ring right as the doors open and then immediately Boost, you arrive at the fight with and both available again by the time contact starts. This means you enter the first teamfight with full cooldowns instead of needing to wait thirty seconds for your ring to come back. It's a small tempo win that stacks — you're on your cooldowns first, your team gets the speed advantage first, and you control the pace of the opening fight.
Hog's hook is a mobility cancel — he's hunting your glide
Roadhog· TANK // BRUISER→Roadhog Chain Hook can pull Juno out of , double jump, and even her standing strafe animation. The threat is that Hog doesn't need to predict your path perfectly — he just needs to fire hook when you're committed to a movement direction. If you're gliding toward your tank or a corner, Hog knows exactly where you'll be in 0.2 seconds. He's fishing for the cancel, not the raw hit.
Juno's counter is hesitation: never commit while Hog has hook. Instead, stay grounded, spam from cover, and only Boost reactively after he whiffs. If he hooks you, pop immediately on the way in — the heal-over-time ticks will keep you alive through his one-shot combo, and your team can punish his cooldown.
Ashe is hunting your head from high ground you can't reach
Ashe· DAMAGE // SHARPSHOOTER→Ashe entire win condition against Juno is the two-tap: one scoped headshot followed by a quick scoped body shot kills you through your sustain. She wants to play high ground that your can't reach without a massive commitment, and she knows your need line of sight to lock on. If she's on Dorado balcony or Route 66 scaffolding, she will farm you unless you force her off with a coordinated DPS.

D.Va's ammo perk rewards aggression — respect the burst window
D.Va· TANK // INITIATOR→D.Va ammo generation perk gives her 150 rounds instantly, but the trap is that many D.Va players use it as a panic reload, wasting their Boosters. Good D.Va activate it during a rotation or aggressive dive, meaning she has full Boosters + full ammo when she reaches you. That's a 150-damage burst she can unload into your face while using Defense Matrix to eat your .
Punish her cooldown commitment: bait the initial Dive by peeking, then perpendicular as she lands and immediately fire — she can't eat them while shooting. Force her to either stop shooting to Matrix or take the torp damage. If she chases, lead her into your tank's pressure zone with speed.
Junker Queen bleeds to survive — deny her the wound
Junker Queen· TANK // BRUISER→Junker Queen entire sustain loop depends on landing Jagged Knife or axe swings to apply wound, then healing massive chunks from those wounds. If she lands a knife on your tank, she gets 100+ healing over the next few ticks. If she lands it on you, she's healing AND zoning your backline. Her aggression scales with her wound uptime — no wound, no lifesteal, no pressure.
Juno's counter is range and angle denial: stay max range, use to kite her axe swing (it has a fixed arc), and only peek when she's used Knife. If she throws Knife at you, strafe vertically with double jump — the knife arc is horizontal-predominant. out-heal her wound damage as long as you don't get hit by the initial ability. When she uses Commanding Shout, disengage with and wait it out.

Kiriko suzus herself through your pressure — force her to choose
Kiriko· SUPPORT // MEDIC→Kiriko Suzu gives invulnerability and a burst heal, but it's on a 14-second cooldown. The clip shows her saving it reactively against a Tracer engage — she pools Suzu for self-sustain rather than peeling for teammates. That's the read: if you can force her Suzu with or chip damage, she either suzes herself and leaves her tank vulnerable, or saves it and takes damage she can't cleanse.
Apply pressure that forces the choice: spam and from an off-angle so Kiriko has to Suzu herself or take damage. Once Suzu is burned, call it out for your team to hard-engage with abilities like Graviton Surge or Earthshatter that Suzu would have blocked. Do not try to duel her directly — her healing output and two-tap headshot kill you faster.
Tracer feeds on health packs — deny her the reset
Tracer· DAMAGE // FLANKER→Tracer flanker sub-role passive doubles mini health pack healing from 75 to 150. This means a single mini pack refills her entire health bar, letting her spam engages without ever needing her supports. She wins by attrition — clip you, recall, grab a pack, repeat. The clip shows exactly how she leverages small packs to stay in your backline indefinitely.
Control the packs: track the two nearest minis to your position and ping them so your DPS or tank pressures that space. If Tracer is on a pack cycle, she's predictable. Juno's mobility lets her hover between two pack locations and from above while escapes pulse bomb range. When Tracer recalls, fire into her recall location — she can't dodge them on reappearance and the heal-over-time denies her ability to re-engage immediately.