Stop losing on lifeweaver: The resource discipline that wins ranked
Your flower boy is throwing games because you don't understand tempo, timing, and what your kit actually denies.
TL;DR
- →Your tree kills mei walls: Use it to delete defensive setups
- →Petal platform is a second life grip: Use it to cancel delay-based ults
- →Double-height platform: Learn the map-specific high grounds
- →Tree of life as a wall: Block chokes, not just health bars
- →Life grip stops mizuki's chain: Save your teammates from follow-up
- →life grip cleanses now: Enable aggressive plays your team wouldn't try
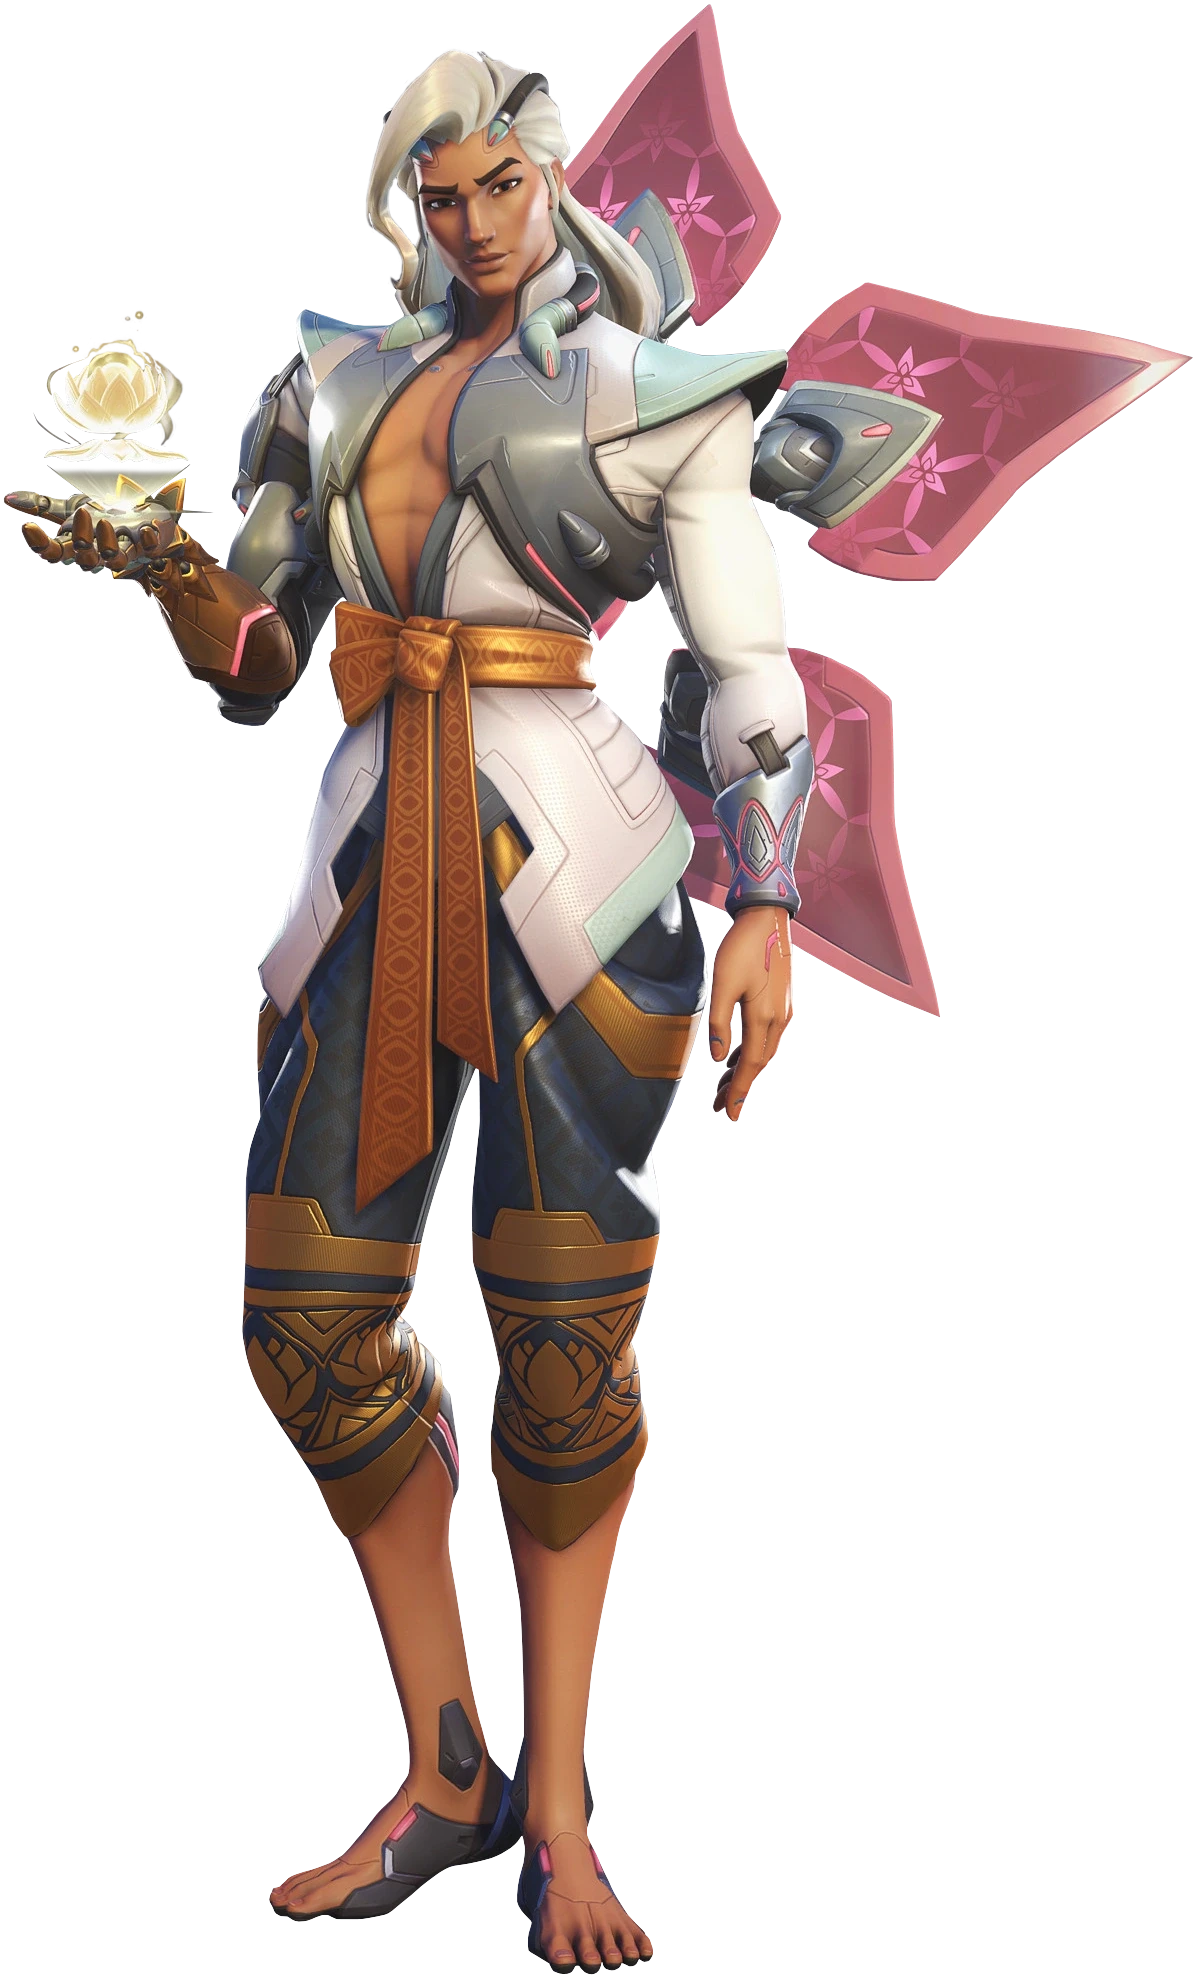
Stop losing on lifeweaver: The resource discipline that wins ranked
Lifeweaver has a reputation as a throw pick in ranked. That reputation is earned — but not by the hero. It's earned by players who treat his kit like a panic button instead of a resource-management toolkit.
The difference between a Lifeweaver who hard-carries and one who feeds ult charge is tempo discipline. You don't have Ana damage output or Kiriko suzu on a six-second cooldown. What you have is the most oppressive ultimate denial in the support roster, a repositioning tool that doubles as a second , and a that can cancel ultimates that other supports can't touch. But none of that matters if you burn cooldowns on autopilot.
Every embed in this guide is a specific, repeatable mechanic that wins rounds. is not a heal-bot ultimate — it's a line-of-sight blocker that deletes Mei walls and seals chokes. isn't just high-ground access; it's a delayed-ultimate cancel that lifts your whole team out of Graviton Surge or Terra Surge. cleanses now. That means your Genji can dive, your Reinhardt can overextend, and your Ana can play aggressive angles knowing you can pull them clean.
The matchups are where most Lifeweaver players bleed ranks. You don't counter Zarya with barriers; you deny her the clump she farms energy from by lifting your team out of her grav or pulling the target she's beaming. Against Ana, your cleanses anti-heal before the follow-up damage lands. Against Genji, you don't try to duel him — you deny his dash reset by pulling his target before he can confirm the kill. Junker Queen wins on wound uptime; your platform denies her the brawl clump she needs to survive. Mei wall is free value for her until you place on it and delete her entire defensive setup.
This isn't a guide about mechanics. This is a guide about timing. When to hold Tree, when to bait , when to save for the Zarya ult you know is coming. Every ability in Lifeweaver's kit is a hedge against the enemy's win condition. If you treat them as reaction buttons instead of proactive counters, you'll keep dropping games you should win.
Your tree kills mei walls: Use it to delete defensive setups
When Mei places Ice Wall to split your team, your ultimate becomes a counter-ultimate. instantly destroys the wall sections it overlaps with. That single interaction collapses an entire defensive setup and frees your team to push. Don't waste Tree as a heal-over-time button — hold it for the moment Mei commits her wall, then place it directly on top. You clear the obstruction, create your own cover, and force the enemy to re-position while your team heals from the burst.
Petal platform is a second life grip: Use it to cancel delay-based ults
Most Lifeweaver players think is just a mobility tool. It's actually a soft ultimate counter for the entire team. When Zarya lands Graviton Surge, drop platform under the clump. When Orisa starts Terra Surge, lift your team before the damage ticks. When Reinhardt Earthshatters, a perfectly timed platform can lift your teammates off the ground before the stun registers. You cannot react to these ults — you have to read them. Pre-position platform near where you expect the fight to collapse, then trigger it on the sound cue. That single platform swing can save three teammates and turn a lost fight into a won one.
Double-height platform: Learn the map-specific high grounds
Standard gives you predictable verticality. The double-height trick gives you map geometry that enemies don't expect. By placing the platform against a high surface, stepping on it to trigger the rise, letting it descend, then stepping on again, the platform ascends to roughly double its normal height. This isn't a meme. On maps like Route 66 or King's Row, it opens sightlines and escape angles that break the standard flow. Practice the timing in the practice range, then learn one double-height spot per map. It's a tempo advantage that forces the enemy to climb or rotate, buying your team space for free.
Tree of life as a wall: Block chokes, not just health bars
has 1200 health. That's more than a Mei wall segment. When you place it in a doorway or a narrow choke, you create a line-of-sight block that splits the enemy team. They cannot shoot through it. They cannot walk through it without destroying it. That buys your team three to five seconds of free positioning while the enemy dumps damage into a 1200-health object instead of your players. Place it between the enemy tank and their supports. Place it to block a high-value angle like the window on King's Row first point. The healing pulse is secondary to the area denial. If you use Tree only for the heal, you're leaving half its value on the table.
Life grip stops mizuki's chain: Save your teammates from follow-up
Mizuki chain ability is a setup tool: it pulls or tethers a target, then the team follows up with burst damage. hard-counters that. The moment you see the chain land on your teammate, pull them before the follow-up damage arrives. The pull breaks the tether, cleanses any ongoing effect, and puts your ally behind cover. This is a read, not a reaction — you have to anticipate the chain. If you wait until you see the damage, it's too late. Watch the Mizuki position and cooldown cycle, then hold for the moment the chain animation starts.
life grip cleanses now: Enable aggressive plays your team wouldn't try
The cleanse is the single strongest buff Lifeweaver has received. When you pull an ally, they come out clean — no anti-heal, no slow, no debuff. This changes the entire risk calculus for your team. Your Ana can hold Nano and take a risky angle because you can pull her out before the flanker finishes. Your Reinhardt can swing deep into the enemy backline because you'll yank him back the second he's antied. Your Genji can dash through a Bastion turret form because you cleanse the damage-over-time on pull. The key is communication: tell your team before the fight, 'I have cleanse grip, take a risk.' If you play as a save button after the mistake, you're five seconds late. The cleanse enables the mistake to not happen at all.

Zarya: Don't feed her charge — lift her clump target
Zarya· TANK // BRUISER→Zarya lives and dies on energy. She farms charge from predictable burst patterns — Junker Queen knife-pull into axe, Roadhog hook combo, Pharah directs. The video shows how easily she converts a Junker Queen pull into 40 energy with Particle Barrier. Every time you a teammate who's been hit by the knife, you deny Zarya that charge opportunity. But there's a second answer: . When Zarya commits Graviton Surge, drop platform under the clump and lift your entire team out. She gets zero value. If you don't have platform, you can also place inside the Grav — the burst heal keeps teammates alive long enough to survive. Do not try to heal through a Zarya at full charge. Deny her the target.
Use to lift your team out of Graviton Surge before the damage ticks. If platform is on cooldown, inside the Grav to sustain through it. Against her teamfight presence, pre-place platform and trigger it the moment you hear the Grav voice line.

Mei: Tree of life deletes ice wall and blocks her blizzard
Mei· DAMAGE // SPECIALIST→Mei wins fights by splitting your team with Ice Wall and then freezing your isolated target. The video shows how she uses the wall to separate the tank from the supports, creating an easy pick. Your answer is placed directly on the Ice Wall. The wall segments it overlaps are instantly destroyed. This single interaction collapses Mei entire tempo and frees your team to rotate. Even if you have Tree on cooldown, you can use to lift your team over the wall or to pull the isolated teammate through the wall before she lands the freeze. Against Blizzard, provides line-of-sight cover and burst healing that can save your team while they break out. Do not let Mei dictate the geometry of the fight.
When Mei places Ice Wall, immediately plant overlapping the wall segments. The destruction is instant. Use to lift teammates over the wall if Tree is unavailable, or to pull the split target before she freezes them.

Anran: Petal platform lifts your team out of his ultimate
Anran· DAMAGE // SPECIALIST→Anran ultimate deals 180 damage per shot, and the video shows how melee-canceling each shot pushes that to 220 — a burst threshold that kills squishies in two shots. You cannot out-heal that damage. The correct counter is . When Anran activates his ult, drop platform under your team and lift them out of his effective range. The platform's vertical displacement breaks his tracking and forces him to reposition or waste his duration on nothing. If platform is down, provides healing-over-time and line-of-sight cover that can keep teammates alive through the burst. Do not try to heal through Anran ultimate. Deny him the angle entirely.
As soon as Anran ultimate activates, drop under your team's position and trigger it. The vertical lift breaks his los and forces him to rotate. If platform is unavailable, place in the middle of your team for burst healing and cover.
Genji: Life grip denies his dash reset and forces overextension
Genji· DAMAGE // FLANKER→Genji entire offensive loop depends on dash reset. He pokes until someone is low, dashes in for the kill, then dashes out. The video emphasizes that using dash to escape costs him tempo — but if he secures the kill, he resets and continues pressuring. Your job as Lifeweaver is to make sure he never gets that reset. When Genji dashes at a low-health teammate, them immediately. The pull interrupts Genji damage and denies the kill. He now has no dash and no reset, stuck in your backline with no mobility. That's a dead Genji. You can also use to lift the low-health target out of his slash range, forcing him to waste his dash on empty air. Track Genji blade. When he Dragonblades, hold for the teammate he targets first.
Hold for the moment Genji dashes toward a low-health teammate. Pull them before the slash lands to deny the reset. Against Dragonblade, track his first target and pull them immediately — he cannot get value on a second target if he never gets the first blade kill.
Junker queen: Petal platform denies her brawl clump and bleed uptime
Junker Queen· TANK // BRUISER→Junker Queen wins by stacking wounds through Jagged Knife pulls and axe swings, then healing herself through Commanding Shout. The video shows that her survivability is direct to her aggression — she needs to apply bleeds to stay alive. As Lifeweaver, you deny her that loop in two ways. First, when she pulls a teammate with Jagged Knife, them before the Carnage axe hits. The pull breaks the knife's tether and denies her the wound stack. Second, and more importantly, lifts your team out of her brawl range. Junker Queen has no vertical mobility. If you lift your team on platform when she uses Commanding Shout, she has no one to bleed and her self-healing falls to zero. She then becomes a slow tank with no sustain. Force her to burn shout to close distance, then lift and watch her melt.
When Junker Queen lands a knife pull, the pulled teammate before the axe swing lands. In teamfights, use to lift your team out of her brawl range when she activates Commanding Shout. She cannot sustain without bleed targets.