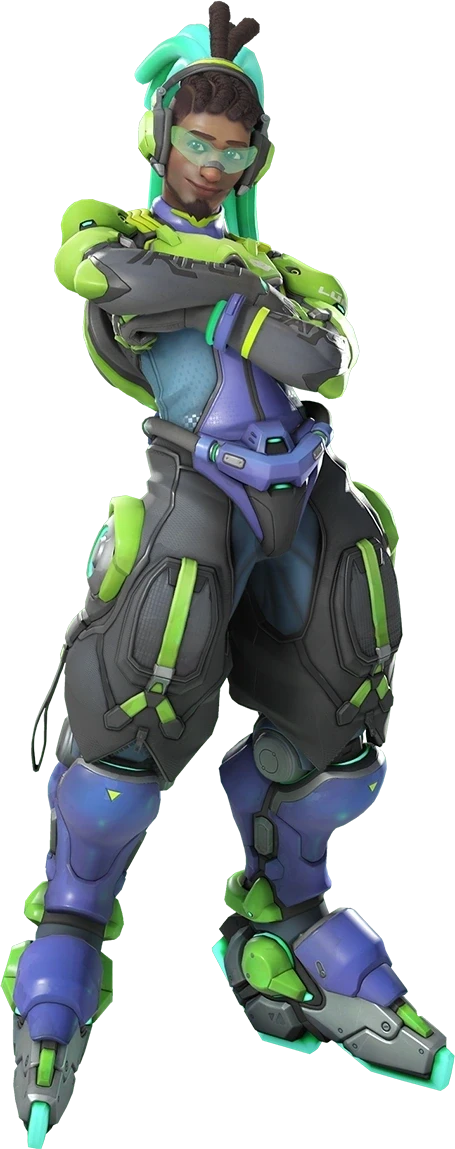
The habits that cost you games on Lucio
Stop grinding plateaus — these six reads show exactly where your resource discipline leaks value on Lucio.
TL;DR
Stop over-rotating — start winning
You know Lucio's kit. You don't need a wall ride tutorial. What's costing you games is timing — when you press Amp, when you stall, when you Sound Barrier, and when you don't punish the right targets.
The gap between a Lucio who climbs and one who plateaus isn't mechanics — it's discipline. Every second you waste crossfading on autopilot or holding for a fantasy multikill is a second your team doesn't have tempo. Ladder is a pace game, and Lucio sets that pace. If you're rotating wrong or stalling early, you're bleeding value before the fight starts.
These six sources aren't theorycraft. They're real footage of real interactions — stall timing, erratic movement under pressure, aggressive reads, and matchup counters that punish enemy win conditions. Each clip shows a specific habit that separates a winscreen from a loss screen.
Take the counter sections seriously. Lucio doesn't duel cleanly into every matchup, but he can deny nearly every enemy ultimate or engage with the right ability chain. The difference between a slept Ana and a slept tank decides whether that CC creates a kill or just delays the inevitable. Learn the tier list of your boop and your beat — and stop wasting the best mobility cooldown in the game on repositioning you didn't need.
The 96.5 stall cheat code
Don't touch point at 99%. Touch it at 96-97% on control, 95% on Flashpoint, then jump off. You buy the full 3-second grace period plus the 5-second overtime timer — up to 10 seconds of regroup time without burning your body. If you wait until 99%, you're stuck on point eating damage and your team respawns too late to stabilize. This isn't a highlight; it's a rotation tool that wins rounds you should have lost.
Flickering crossfade against snipers
Rapidly swapping between Speed and Healing songs breaks your acceleration profile hard enough to throw off Hanzo arrows, Widow scopes, and Ashe headshots. It works because the human reaction to a speed change is slower than the swap speed. Do not spam this all game — you bleed healing uptime. But when you know a sniper has angle on you, flickering for 1-2 seconds saves your head from the hitbox lottery.
Boop the squishy, not the tank
Your boop, like Sleep Dart or Shield Bash, is a kill-enabler. Use it on a 200 HP target — Soldier, Ashe, Zen — and that target dies if your team has half a brain. Booping the Reinhardt or Winston? You delay space for a second and gain nothing. The clip shows a slept squishy turning into a guaranteed kill. Same logic applies to your . Only CC the tank if they're about to pin your backline or you're peeling a shatter. Otherwise, your boop is a squishy elimination tool.
Amp heal on the way down
You jump, you press Q, you die mid-drop because a Junkrat tire or Cass grenade hit you in the face. That's your fault. The beat cast has a long descent — you're vulnerable. If you suspect lethal damage during that window, pop on healing before or during the drop. The HPS bump keeps you alive through the fall, the beat lands, and everyone lives. Don't gamble on the cast completing if you're already burning.
Late beat earns more health
Don't on full HP as a pre-engage crutch. The overhealth from decays, but damage taken first is damage negated. Let your team eat some chip — a Pulse Bomb stick, a Rein firestrike, poke damage — then drop the beat. You effectively convert that eaten damage into free EHP. The clip shows exactly this: wait for initial contact, then beat. Patience adds 600+ effective HP to your ult that a panic beat never gets.
Speed boost collapses the Widow window
Widowmaker entire value is based on having time to line up a shot. The moment your team closes distance, her difficulty spikes. Lucio's Speed Boost cuts that gap time in half. Tell your tank to hold W, to speed, and she has to flick or reposition. She can't farm headshots if she's already in boop range. This isn't about killing her — it's about denying her the time to shoot. Speed is your counter-play to hitscan range.

Baptiste's lamp is your beat's worst friend
Baptiste· SUPPORT // TACTICIAN→Baptiste anchored in grouped comps is the anti-Lucio: he sustains through your tempo with AoE grenades and negates your kill windows with Immortality Field. His win condition is simple — lamp your burst, heal-shoot-heal, never die. He wins through attrition, not burst. You cannot out-sustain him; you out-mobility him.
Your boop can displace Baptiste off high ground or off an angle to break his Immortality Field placement. If you see lamp go down, ping it and boop him away from it — he can't heal or protect it from range. On KOTH, above his LOS, drop beat after lamp expires (not during), and speed your team into his body. Do not fight in his grenade range; rotate out of his comfort zone and force him to reposition.

Super Jump Rez is bait without Valkyrie
Mercy· SUPPORT // MEDIC→Mercy Super Jump Rez lifts her into the sky, making her safe from ground fire during the cast — but it commits her GA cooldown for roughly 0.5 seconds. If she doesn't have Valkyrie, that half-second after the rez leaves her floating with no escape. A smart Mercy will only take that risk if immediate escape isn't critical. In ranked, most Mercy press it out of habit. Punish that.
When Mercy starts a Super Jump Rez, upward to match her height and boop her mid-rez or immediately after the cast completes. The boop interrupts her GA reset and drops her into your team's LOS. If she Valkyries after the rez to negate the GA downtime, switch to speed and chase — Valkyrie Mercy is fast but Lucio's wall speed matches her glide, and you can boop her out of rez range on the next one.

Venom Mine is Lucio's alarm system
Widowmaker· DAMAGE // SHARPSHOOTER→Widowmaker Venom Mine isn't just damage — it's her vision. She places it on flank routes, on walls at head height to block headshots, or beside her as a duel trigger. The moment you trigger it, she knows your position and you take a DOT. The mine is her anti-flank and anti- weapon.
Do not directly into Widow's sightline if you haven't seen the mine break. Use the to regen the DOT damage if you trigger it early. If you must commit, shoot the mine from a safe angle before moving in. Once it's down, speed boost your team on a wide flank — you close distance before she can recharge the mine. At close range, Lucio's erratic pattern and sonic projectiles outduel her scoped shots. Stay unpredictable.

Winston's bubble trades are about cooldown discipline
Winston· TANK // INITIATOR→Winston players who climb always advance with a defensive ability ready — Bubble for you, Fortify for Orisa, Matrix for D.Va. They push, use the ability to protect HP, then immediately move to cover before the ability expires. They don't stand in the open and blame healers. Winston win condition is forcing cooldowns with his engagement range.
When Winston drops his Barrier, do not stand inside it. Speed your team out of the bubble immediately — you deny him the Tesla tick damage and split his focus. Amp speed to disengage the engagement entirely. If he dives your backline, boop him away from your Ana or Mercy the moment he lands, before he can Barrier. Without bubble cover, he eats your team's damage. Your also directly counters his Primal Rage damage window.

Bubble the knife pull, feed Zarya energy
Zarya· TANK // BRUISER→Zarya players know that Junker Queen Jagged Blade pull into Carnage axe gives predictable burst damage. A good Zarya will read the pull and apply a Particle Barrier to the pulled target, absorbing the follow-up axe hit and gaining charge. The energy conversion is efficient — one pull-bubble cycle gives 40 charge for free. Zarya thrives on that kind of scripted damage.
Lucio cannot burst through Zarya bubble fast enough to punish it alone. Your answer is to deny Zarya the opportunity to bubble reactive targets. Do not speed your team into Junker Queen pull range if Zarya has bubble up — call that out. If Zarya bubbles a pulled ally, boop Zarya away from her team to isolate her, immediately switch to healing Amp to stabilize the target, and force her to use the bubble on herself or lose the angle. A Zarya with no target to bubble is a Zarya with no charge.

Ana's Nano save is your anti-clutch read
Ana· SUPPORT // TACTICIAN→In ranked, Ana players don't wait for the perfect Nano Blade combo. They Nano the tank who's about to die, or the DPS who can secure a kill right now. The Nano grants damage reduction AND damage boost — it turns a dying Reinhardt into a living threat. Ana win condition in uncoordinated play is reactive, not proactive.
Lucio's is the hard counter to Nano engages — beat through the damage boost and reduction to keep your team alive. If you hear Nano go off, you have roughly a second to react. Pre-emptively to high ground before the fight, so you can drop beat cleanly even if Ana Nanos a diving tank. If Ana Nanos a squishy (like Genji), boop Genji away from your backline mid-blade to waste the Nano duration. Speed Amp your team away from the Nanod target and kite until it expires.