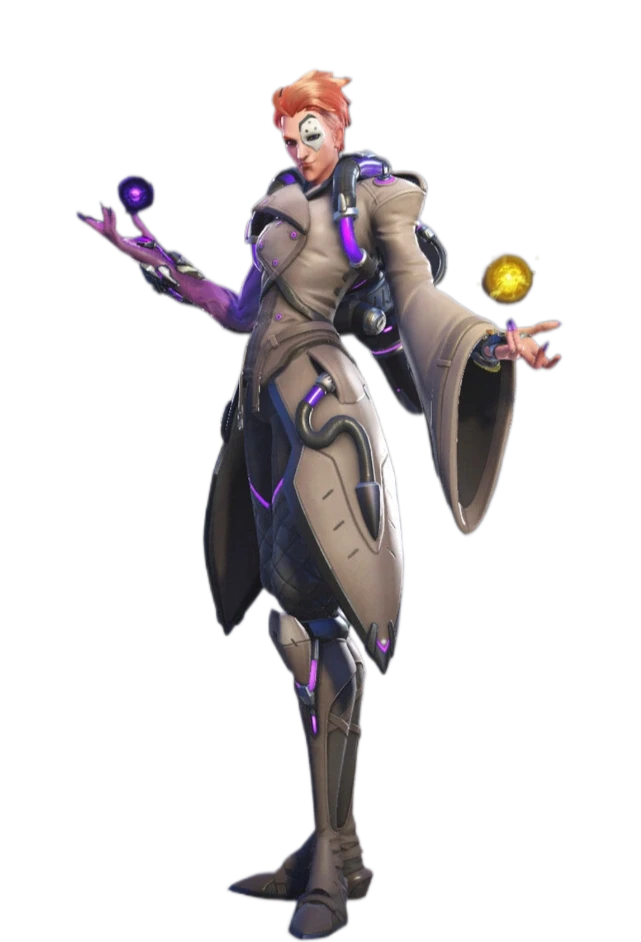
Stop leaking value: the resource discipline that makes or breaks your Moira
Moira players plateau when they treat her kit as a firehose; climbing demands you meter every orb, every fade, every tick of biotic energy with intent.
TL;DR
You're not a healbot — you're a tempo support with a hard ceiling
The difference between a Moira who hard-stomps plat and one who hard-stalls diamond isn't mechanics — it's how deliberately you throttle your own resources.
Moira's kit is famously forgiving: auto-aim heal spray, a get-out-of-jail-free card in , and orbs that do double duty. That low skill floor is a trap. It lets you ignore the discipline that actually converts won fights into won games — managing your biotic energy meter, forcing cooldowns instead of trading them, and knowing exactly when to save versus spend.
Every clip below shows a specific habit that separates grinders from climbers. The tap-damage trick to juice your energy refill in a pinch? That's not a niche tech — that's a recovery mechanic you should have mapped to muscle memory yesterday. The D.Va matchup breakdown? If you're right-clicking through Defense Matrix instead of holding left-click, you're farming enemy value for free. The Junkrat RIP-Tire sequence alone will save you multiple deaths per session if you internalise the delay.
This guide doesn't tell you how to play Moira — it tells you how to stop giving away games by bleeding resource efficiency. Read the footage, lock in the adjustment, and watch your winrate tighten.
Tap to reload, hold to throw
Holding secondary fire to regen your biotic energy is a noob trap — it's slow, predictable, and leaves you dry in the middle of a teamfight. The correct refill cadence is rapid, rhythmic taps on the damage beam. Each tap ticks energy back faster than the sustained drain, and on PC binding mouse wheel to secondary fire turns it into a one-handed spam. This tech doesn't increase your raw output — it buys you a crucial extra second of heal spray in the exact moment your tank is about to eat it.
Beam beats matrix — don't respect the void
D.Va players believe Defense Matrix makes them invincible. It doesn't — not against beams. Moira's primary fire, Zarya beam, Symmetra tether, Mei freeze — these cut straight through the pink glow. If D.Va drops Matrix in your face, hold left click and watch her eat full damage while her biggest cooldown accomplishes nothing. This single piece of matchup knowledge flips the D.Va-Moira interaction from a stalemate into free pressure. She cannot trade with you effectively if you never stop healing your team through her 'shield.'
Bait the tire, save the fade
The worst in Overwatch is the one you use before the threat commits. Against RIP-Tire, your instinct is to vanish the second you hear the noise. That's exactly what Junkrat wants — he baits your escape, then rolls the tire into your backline while you're invisible and useless. Instead, hold until you see the tire round a corner or hear the detonation cue. If he targets you, you still escape; if he doesn't, you've saved your only defensive cooldown for the follow-up push. This single read limits Junkrat ult to one kill instead of four.
Fade forward to finish the fight
Most Moira players treat as a panic button — backward, sideways, anywhere away from the enemy. The source clip shows the other use case: aggressive pursuit. When a hero is low and skittering behind natural cover, closes that gap instantly and sets up a clean damage-orb + tap-finish. You don't need the escape cooldown if the fight is already won. Using to chase is a read — you're betting that the remaining enemy can't punish you in the 2.5 seconds you're locked out of healing. It's a tempo play, not a gamble.
Fade is your reset button, not your crutch
grants invulnerability and movespeed — it's the best escape cooldown on a support short of Teleport. The footage shows what good Moira players already know: you don't reactively to poke damage. You to negate a stun, dodge a one-shot, or reposition to a new off-angle. The tick of chip damage is not worth burning your get-out-of-jail card. Every wasted is a 6-second window where a Doomfist or Tracer can freely farm you. Use it like Nano Boost — impactful, intentional, and rare outside of high-leverage moments.
Hold left click through the defense matrix
D.Va players love holding Matrix when they see a Moira. Most Moiras oblige by throwing an orb (which gets eaten) and switching to damage beam (which misses). Wrong play. Hold left click — your heal spray is a beam, not a projectile, and Defense Matrix doesn't block beams. You can heal your entire team through her shield while she patiently stands there absorbing nothing. The correct rotation: heal primary through Matrix, throw damage orb when Matrix drops, and save for the moment she commits to diving your backline. You win the resource war by making her cooldown irrelevant.

D.Va's mobility is her real cooldown — track it, punish it
D.Va· TANK // INITIATOR→The source clip shows D.Va ammo generation perk: a flat 150 ammo on use, but it costs Boosters — her only mobility tool. When she blows Boosters to reload, she's a slow, fat target for 4 seconds. That's your window. Moira's damage beam has no falloff and ignores Matrix. The moment you see her burn Boosters for ammo, step into her effective range and right-click her face through every Matrix she throws. She can't escape, she can't eat your beam, and she has to either commit harder or eat 100 DPS until she demechs. Map this read: hear Boosters — see her boost forward — hold left click and call her out.
When D.Va uses Boosters (ammo perk or escape), you have a 4-second window to primary fire + damage orb through her Matrix. Hold left click; is a beam. If she tries to retreat on foot, forward and finish with a damage orb bounce.

Domina's shield is a patience check — don't feed into it
Domina· TANK // STALWART→The source clip shows Domina using her shield to neutralise Shion poke — the shield blocks the primary hitscan and eats the secondary shot entirely. For a Moira, this is free intel. Domina is a poke brawler who wants you to dump damage into her barrier while she recovers cooldowns. Don't take the bait. Your damage orb does nothing to her shield, and your beam range is too short to contest her at mid-long. The correct response: heal your flankers to contest her off-angles, and only commit damage orb when the shield drops. If she closes the gap to bypass your range, that's your cue to out and reset — Moira loses the close-range trade against Domina burst combo.
Do not damage orb into Domina shield — it's a wasted cooldown. Instead, heal teammates who are pressuring her flanks. If she pushes close, backward to maintain 15m range and tap her with primary fire. Save to burst through her shield when she's low and committed.

Freja's execution perk turns half health into a death sentence — deny her the trigger
Freja· DAMAGE // SPECIALIST→The source clip highlights Freja Execution major perk: 20% bonus damage to targets below half HP. This is a win-more mechanic — if Freja gets anyone low, she suddenly hits like a burst DPS. Moira cannot outheal Execution Freja on a single target. Your job is to prevent the trigger condition. Keep damage orb pressure on her before she can safely position for the low-hp shot. If a teammate dips below 50%, your should be on heal bounce, not damage. And never, ever stand still in a Freja sightline — her projectile hitbox is generous, and one headshot under 50% kills through your sustain.
When a teammate drops below 50%, immediately throw a heal orb into the space between them and Freja. Do not peak Freja angle alone — force her to duel you in close range (15m beam > her projectile falloff) or give up the sightline. If she dashes in for the execute, perpendicular to break her crosshair and punish with damage orb + beam.

Junkrat's win condition is the direct-hit combo — deny him the mine detonation
Junkrat· DAMAGE // SPECIALIST→The source clip shows the Junkrat bread-and-butter: direct grenade hit followed by instant Concussion Mine detonation for a kill. This combo does 160 burst — enough to kill a Moira in one clip if both hit. Your counter is timing. If you see a mine fly in your direction before the grenade, you can dodge the combo entirely. But the real read is positional: Junkrat wants to get above you with mine jumps to land the combo from high ground. Never stand under a ledge he can mine-jump onto. And if you hear the mine cooking, expect the grenade — pre-emptive strafe left or right, through the explosion, then punish his long reload with full damage beam.
Stay out of direct grenade range (20m~). If Junkrat mine-jumps toward you, strafe unpredictably. The mine detonation has a 2m radius — use mid-air to avoid the burst and land behind him. After the combo, he has 1.5s reload; that's free damage beam + damage orb window.

Mei's wall is a tempo tool — respect the split, don't feed into it
Mei· DAMAGE // SPECIALIST→The source clip shows Mei Ice Wall used vertically to split the enemy tank from their supports. This is the exact play that kills Moira's value. If Mei walls off your frontline from your heal beam, you cannot output any healing — your spray is blocked, your orb bounces off the wall, and your team melts on the other side. The counter-position is simple: stand on the same side of the wall as your frontline, or stay close enough to a corner that you can rotate around the wall in time. If Mei walls you off from your tank, through the wall and heal on the other side before she can freeze you. Never let a Mei wall isolate you from your value.
If Mei throws a wall to separate you from your tank, through it instantly ( passes through Ice Wall). On the other side, throw a heal orb into the tank's position and hold primary fire. If Mei is low after the wall breaks, punish her 300 HP with damage orb + beam before she can Cryo-Freeze.

Sombra's hack denies your escape — force her to use it on someone else
Sombra· DAMAGE // RECON→The source clip shows Sombra hacking Shion Joyride to prevent the bike launch — it's a targeted utility denial. For Moira, Hack is a death sentence: losing for 6 seconds means you're a 200 HP target with no disengage. Your counter-strategy is positioning and timing. Never stand alone on a flank at low HP — that's the Sombra invitation. If you hear the hack sound, immediately locate her and either damage orb her location (she'll decloak and TP away) or pre-emptively if you see the hack start ( breaks the hack channel). The best counter is giving her no value: play close to your other support, heal through chip damage, and force her to hack a tank instead of you.
Stay within 20m of your second support so hack is not solo-kill. If you see the hack indicator, immediately before the channel completes — breaks hack. If hacked, hug natural cover and damage orb the Sombra last known position to force her out. After the 6s hack expires, punish her 225 HP with beam + orb if she's still visible.