The patience tax: Why your orisa is feeding and how to stop
Stop wasting fortify. Stop blowing every cd at once. The climb demands cooldown discipline, not mechanics.
TL;DR
The patience tax: Why your orisa is feeding and how to stop
You have the mechanics. You hit your javelins. You still lose games you should close out. The problem isn't aim — it's timing.
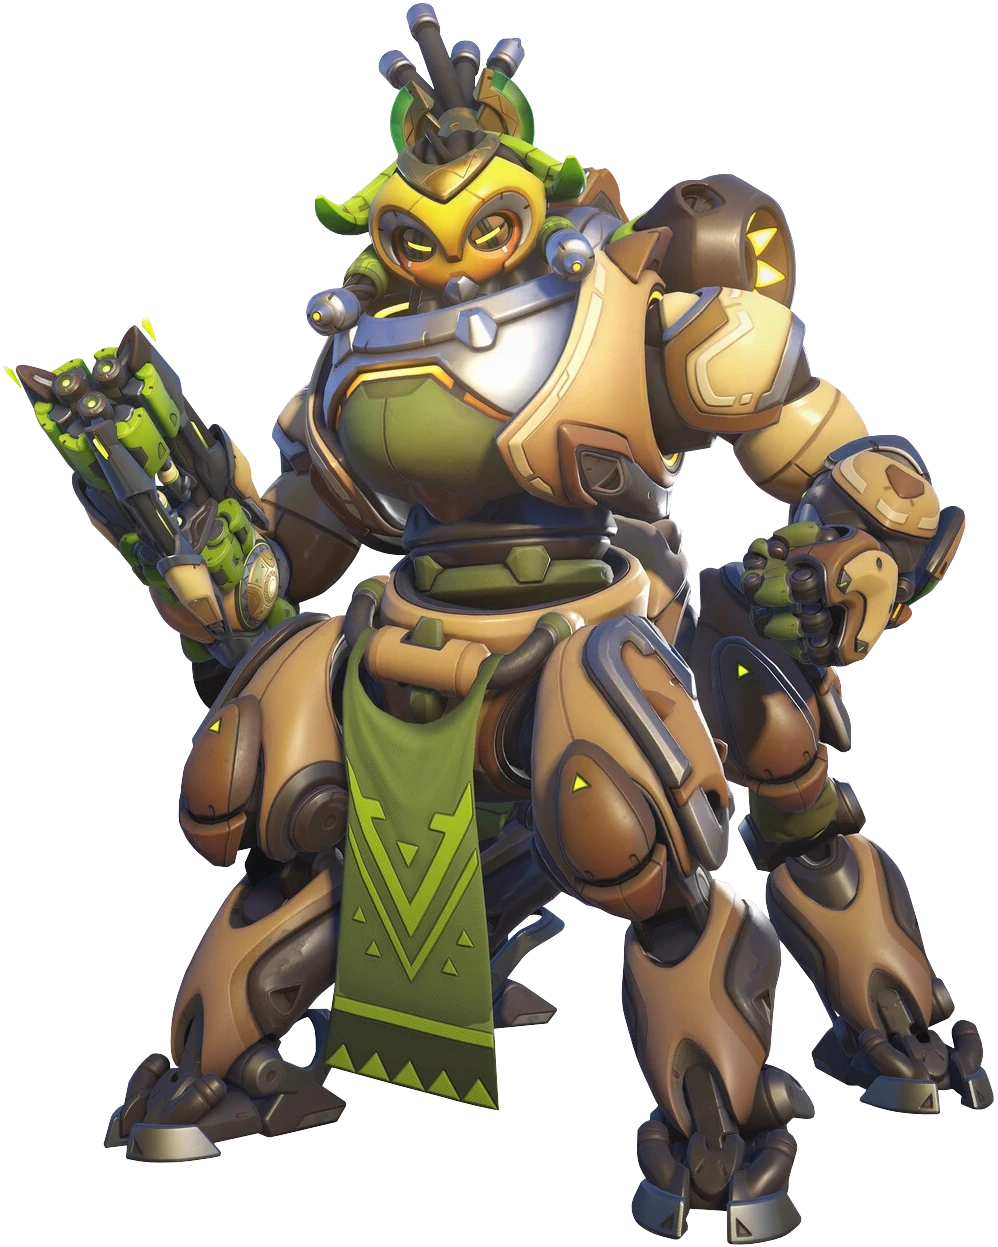
Orisa is the most forgiving tank in the ladder right now. makes you unkillable for four seconds. eats entire ultimate lines. deletes engages from human beings. And yet you're sitting on a 47% win rate wondering why you can't break Diamond.
The answer is ugly: you're impatient. You press the second you take chip damage from a Mercy pistol. You Spin+ simultaneously because it feels safe, then stand in main with nothing left while the enemy Reinhardt presses W. You blame your supports for not healing through a full team focus fire while you stand in the open with no cooldowns. That's not a healer gap — that's a resource management gap.
Every embed below shows one specific discipline that separates a scared Orisa from a tempo-dictating one. is not a "get out of jail free" card; it's a reaction to a real threat. is not a damage tool; it's a deflection window you use when your armor is gone. is not a team-wipe button; it's a repositioning tool that punishes greedy positioning.
Read each clip, internalize the cooldown rhythm, then go queue. The only thing between you and the next rank is a bad habit you're about to break.
Fortify is not a panic button — it's a reactive read
Every time you press while standing behind a corner with both supports alive, you are handing the enemy team a free engagement window. The source clip shows exactly why: lasts four seconds, but its cooldown is eleven. That seven-second gap is when you die. Use only when you are about to eat a stun, a sleep dart, a shatter, or a full burst rotation. If you're safe, hold it. The discipline to sit on your strongest cooldown while taking poke damage is what buys you the ability to absorb a real fight.
Move with your ability, not before it
The source shows a fundamental tank rule: advance with a defensive ability as your cover, and when it expires, already be moving to hard cover. Orisa players love to walk forward, take free damage, then panic- when they hit half health. That's backward. You use to claim space, eat the spam during the push, and by the time the four-second window ends, your feet should be carrying you behind a wall. If you blame your supports for not healing through a dps passive and a Kiriko knife, you ignored this clip's lesson.
Don't stack your safety — cycle it
The clip demonstrates the difference between 'safe now' and 'safe for a fight.' If you press and at the same moment, you get four seconds of near-immortality followed by seven seconds of being a fat ult battery. Instead, watch your armor bar. When the orange health is gone, use Spin to deflect the incoming damage. When Spin ends, pop to eat the next rotation. You double your effective uptime. This single toggle is the difference between a frontline that collapses in five seconds and one that holds a choke for an eternity.
Cooldown sequencing: the three-step survive chain
The source lays out a perfect sequence. to fight, Spin to retreat, Javelin to create distance from chasers. If you blow and Spin together, you have no escape, no follow-up block, no way to reset. The sequencing isn't about maximizing damage reduction on paper; it's about being able to answer each phase of a fight. A Reinhardt that sees you with no cooldowns just presses shift. A Doomfist that sees you helpless dives for free. Sequence your abilities so you always have an answer to the next threat, not just the current one.
Orisa vs. Junker Queen: she wins if you let her close
The source shows Junker Queen kill condition — landing Carnage. Orisa has the exact tool to deny that spacing. If you play within 15 meters, Carnage hits you through walls. If you stand at 20+ meters and poke her down with your Fusion Driver, she has to eat damage to close. The moment she commits with her axe animation, you her in the face. She goes flying, her tempo is ruined, and now she has nothing while you still have and Spin. Respect the range. Javelin is your get-back button.
Terra Surge is a kill floor, not a kill button
The source reveals hidden tech: the vertical pull. Most players see the damage charge and tunnel on getting kills. Good Orisa players see environmental kill angles. Jump at the edge of Ilios well, pop Surge, and drag the enemy tank into the abyss with you. Yes, you die — but their main tank disappears and your team cleans up a 5v4. On maps like Route 66 or Rialto, you can pull enemies off high ground entirely, denying their position. Stop treating Surge as a win-condition and start treating it as a positioning denial tool that, yes, can also wipe the team if they're bad enough to stand in it.

Doomfist trades into your backline — you trade into his soul
Doomfist· TANK // STALWART→The source shows exactly what every smart Doomfist does: check his cooldowns before he dives. He wants a Rocket Punch or Seismic Slam ready to escape after the kill. That means his threat is staggered — he has downtime between those escapes. You punish that downtime. When Doomfist commits into your backline, wait for the engage, then him mid-punch. He stops, stuns, and eats a full team focus fire. the slam follow-up if he tries to reset. He has nothing left while you still have Spin to block his escape route. Doomfist players live on tempo. You take their tempo by punishing every engage that doesn't end in a kill.
Wait for Doomfist to commit Rocket Punch or Seismic Slam into your team, then hit to interrupt his engage and stun him. Immediately to absorb his follow-up burst, then to block his escape and push him deeper into your team.

Zarya wants your spam — starve her, then burst her
Zarya· TANK // BRUISER→The source shows how Zarya pumps energy: she takes a Junker Queen knife pull and uses Particle Barrier to convert that engage into 40 free charge. Orisa feeds Zarya harder than any other tank because you spam Fusion Driver into her barriers constantly. Stop doing that. The second Zarya bubbles, you stop shooting her and swap to her supports. She gets no charge, no value, and her barrier ends with zero energy. When her bubbles are on cooldown (they're long — 10 seconds each), you her, , and walk into her face. Without charge, Zarya is a slow, fat target with no burst. You control the engagement by controlling her charge.
Track Zarya Particle Barrier usage. When she bubbles, stop firing at her and shoot her supports or teammates. When both barriers are down, to stun her, then and walk forward with Fusion Driver pressure while she has zero energy.

Hazard picks a perk — you pick the punish
Hazard· TANK // STALWART→The source shows Hazard perk choice determines his playstyle: Deep Leap for flanking, Explosive Impalements for brawl burst. You read his perk in the pre-match, but more importantly, you read his first engage. If he Deep Leaps behind you, you immediate to deny his spike combo and to push him back toward your team. If he goes Explosive, you play further back and him the second he tries to close. Hazard has no sustain — he lives entirely on disruption and cooldown rotation. Your negates his entire engage. Your Spin eats his primary fire. He's a mosquito. Swat him.
Read Hazard first engage to identify his perk. If he Deep Leaps behind, as he lands and to body him back toward your team. If he uses Explosive Impalements, track Spike Guard and him the moment it ends to cancel his follow-up.

Ana sleeps you — you sleep on your positioning
Ana· SUPPORT // TACTICIAN→The source shows Nano Boost turning a vulnerable hero into an unkillable monster. Ana threat isn't her damage; it's Sleep Dart and Anti-Heal. Every Orisa that stands in main with down is an Ana dream target. You get anti'd, you have no , and you drop before your supports can react. The counter is simple: play corners. Ana nade has travel time. If you are already on cover when she throws it, you dip back and take zero value. Save for when you see the sleep dart animation or when you are anti'd and forced to tank damage. Nano Boost combos are scary, but a dead Orisa contributes nothing. Respect the sightline.
Play hard cover to block Ana sightlines. When Biotic Grenade hits you, immediately to reduce the healing penalty and survive the window. Track Sleep Dart — if you haven't seen it in the last 4 seconds, expect it. through the sleep if you have to eat it.

Ashe outranges you — you out-position her
Ashe· DAMAGE // SHARPSHOOTER→The source shows Ashe kill condition: high ground, distance, two-taps. She wants you in her scope at 40+ meters where your Fusion Driver spread falls off and her dynamite denies your supports. You answer by closing the gap using cover. Ashe has no mobility cooldown — her only escape is Coach Gun. You walk a flank angle, force her to drop off high ground, and then you hold that space. If she stays, you her from 30 meters — the javelin has no damage falloff and stuns her out of scope. She dies. If she Coach Guns away, you take her high ground and she loses the angle entirely. Do not trade poke for poke at long range. You lose that war.
Use natural cover to close to 25-30 meters. Ashe out of her scope when she is stationary. If she takes high ground, spin jump with to close distance or take an alternate route to force her off. through dynamite burn damage if you are caught in the open.

Baptiste's lamp wins fights — you break the lamp player
Baptiste· SUPPORT // TACTICIAN→The source shows Baptiste entire identity: Immortality Field that negates burst. If you try to kill through lamp, you lose. Orisa's answer is not to shoot the lamp (though you can, it's 200hp) — it's to reposition the fight. Baptiste out of his lamp radius. Once he is separated from his safety, he dies in two seconds. Alternatively, if the lamp is down, you through his Regen Burst and force Baptiste to use Exo Boots to escape. Without lamp, Baptiste is a squishy hitscan with no sustain. You when lamp is on cooldown and watch his team panic. Duration tracking wins this matchup.
Wait for Immortality Field to be deployed, then Baptiste out of its radius. If the lamp is on cooldown (20 seconds), and walk at him with to absorb his grenade spam. when lamp is down to guarantee the pull damage kills him before he can react.