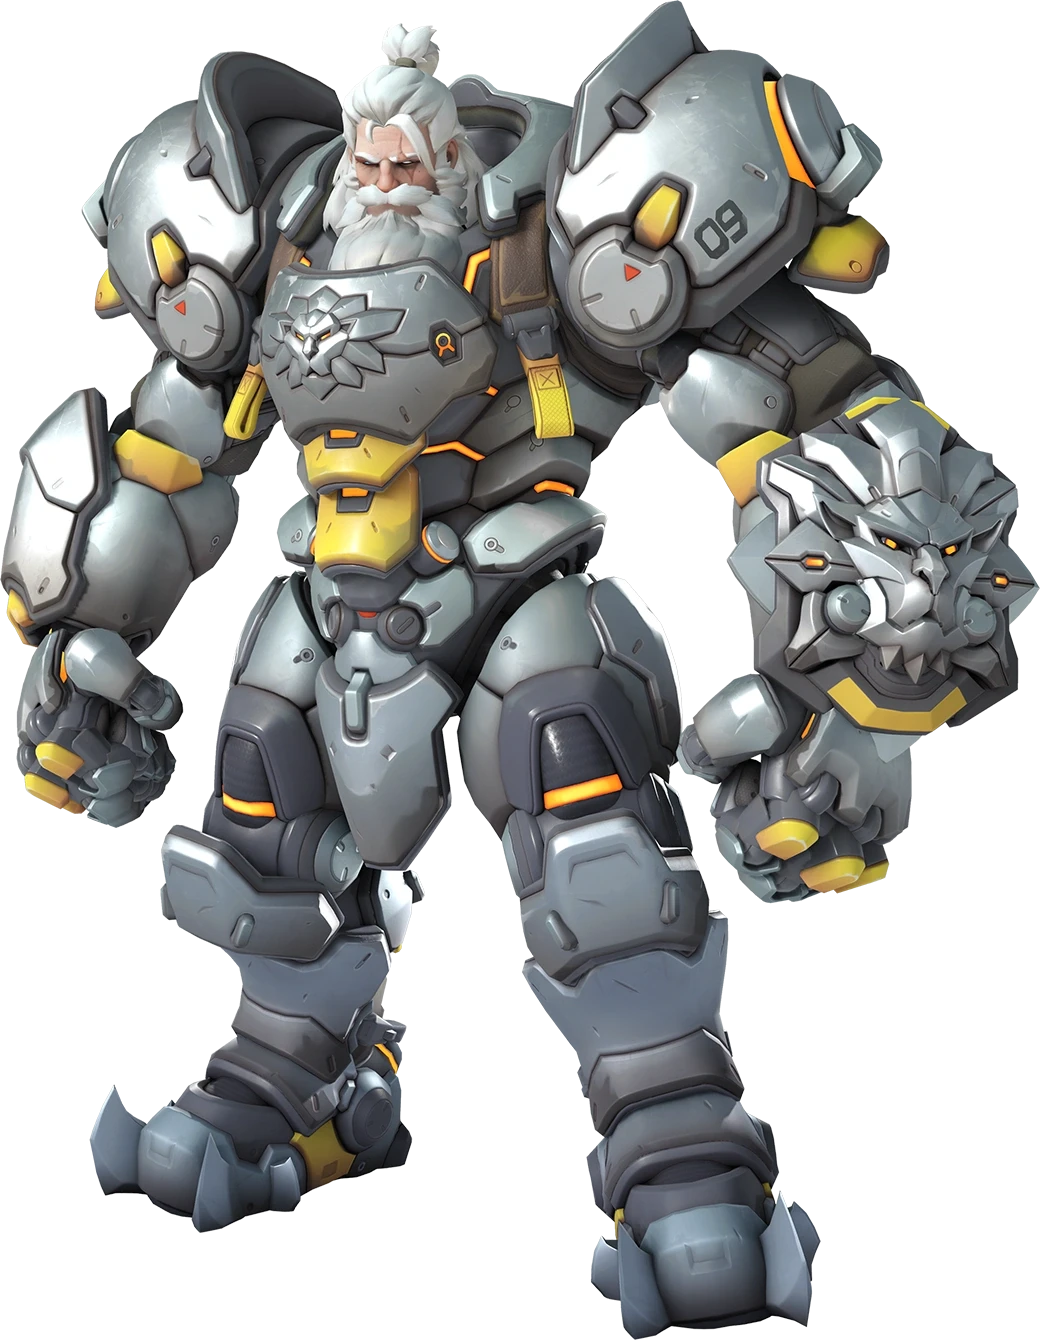
The resource war you're losing on Reinhardt
Stop feeding your life on the front line and start treating every cooldown like it's the deciding factor in a teamfight.
TL;DR
- →Charge is a movement cooldown first, a pin second
- →Short pines keep you in the fight, not out of it
- →Bait the enemy Reinhardt's Charge before you Shatter
- →Earthshatter cancels Graviton Surge — if you react fast enough
- →You can Shatter out of Grav — but only if you plan for it
- →Three modes, one Reinhardt: brawl, sponge, or dive — know which one you're in
The resource war you're losing on Reinhardt
You're not getting outplayed — you're outspent. Reinhardt's kit looks simple, but the difference between a hard-stuck plat and a climbing diamond is how you treat every ability as a resource with a price tag.
Most Reinhardt losses don't come from bad aim or slow reactions. They come from dumping resources into the wrong fight. You into their backline and wonder why your supports can't outheal the entire enemy roster. You hold shield until it breaks because you think „absorbing damage“ is your job. It's not. Your job is to dictate tempo — when the fight starts, where it happens, and whether your team trades up or down.
The footage below shows three critical layers of discipline: economy — using it as a mobility tool, not a suicide button; shatter timing — baiting enemy abilities before you ult; and matchup awareness — knowing when to hold, when to swing, and when to eat a cooldown as bait. Every embed here is a specific habit that, if you internalize it, stops you from being the reason your team loses a winnable game.
You're not here to „play tank.“ You're here to win the resource war. That means knowing that a short is worth more than a long pin, that your shield is a timer not a wall, and that every enemy cooldown you bait is a teamfight you've already half-won. Watch these clips with the lens of: What am I spending, and what am I getting back?
Charge is a movement cooldown first, a pin second
You're pinning one enemy and feeding your whole team's tempo. This source shows Reinhardt using strictly as a repositioning tool — sliding from cover to cover, taking space without committing to a suicide run. The value isn't the kill, it's the positional advantage you create without leaving your supports' LoS. If your ends with you behind the enemy team and your team two screens back, you didn't make a play — you threw the fight.
Short pines keep you in the fight, not out of it
The clip explicitly demonstrates the mechanical tap — you feather the key to bump an enemy or move a few meters instead of holding it for the full distance. This keeps you tethered to your support's range, reduces the risk of getting collapsed on, and lets you continue applying shield pressure or swinging immediately after. If your takes you out of your support's LoS for more than two seconds, you've already made a mistake the enemy can punish.
Bait the enemy Reinhardt's Charge before you Shatter
This is a high-level read of enemy psychology: you fake a , cancel it, and let the enemy Rein think he's got a free pin on you. The moment he commits, you Shatter and catch him mid-animation. It only works if you're 100% sure he doesn't have his own Shatter ready — because if he does, you're the one getting stunned mid-cancel. This is a tempo play that punishes aggressive enemy tanks who think they're outplaying your positioning.
Earthshatter cancels Graviton Surge — if you react fast enough
While trapped in Zarya Graviton, Reinhardt can activate . The ult animation briefly frees him from the pull, allowing you to stun the entire clumped enemy team before they can follow up with damage. This is a read, not a reaction — you need to already know the enemy Zarya has Grav and be holding your ult for exactly this moment. If you panic-spam it, you waste it; if you wait too long, the combo kills you through the activation window.
You can Shatter out of Grav — but only if you plan for it
Repeated confirmation of the mechanic: animation breaks Graviton's hold. This means you don't need to „escape“ Grav — you just need to press Q at the right time. The enemy team clumps around you, confident in their combo, and you stun every single one. This is not a trick — it's a hard counter that wins the fight on the spot. If you're not actively holding Shatter into a known Zarya Grav, you're missing free wins.
Three modes, one Reinhardt: brawl, sponge, or dive — know which one you're in
The source breaks down Reinhardt's game into three distinct playstyles: brawling (swing + the tank), sponging (shield up, absorb pressure — best into Bastion/Orisa early fight), and diving (pin to delete a squishy). The mistake most players make is sticking to one mode no matter the situation. If you're sponging when you should be brawling, you give the enemy free space. If you're diving when you should be sponging, you feed. Read the fight state and switch.
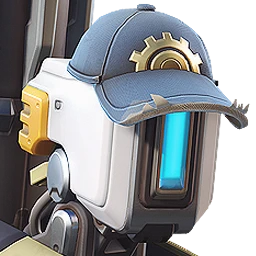
Wait out Fortify before you commit any CC or burst
Orisa· TANK // BRUISER→The Orisa footage shows her using Fortify at the right moment — when she's about to get CC'd or take burst damage, not when she's safe behind cover. The threat is clear: Fortify negates your pin, your Shatter stun, and your entire burst window. If you commit your cooldowns while she's glowing, you get zero value and she farms free ult off your wasted resources.
from max range to bait Fortify early, then immediately into her the moment the golden glow fades — you have a 11-second window to pin her while Fortify is on cooldown.

Nano Boost turns any DPS ult into a teamfight win — respect the combo
Ana· SUPPORT // TACTICIAN→The source shows Ana using Nano Boost on a high-damage DPS (Shion) during her ultimate. The threat is clear: Nano + any damage ult creates a damage-threshold that your shield cannot outlast and your supports cannot outheal. You cannot facetank this combo — you must either block line of sight entirely or Shatter the combo before the Nano'd target gets value.
When you hear Ana Nano a DPS, immediately look for the Nano'd target's position — if they peak, them before they can fire more than one clip; the stun buys your team 2.5 seconds to delete the Nano'd target while the boost is still active.
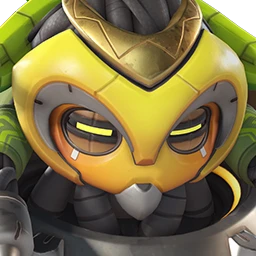
Bastion's Recon mode is now a legit threat — don't just wait out Assault form
Bastion· DAMAGE // SPECIALIST→The source highlights Bastion buffed Recon mode — faster fire rate, consistent 23-damage bullets that pressure your shield and your health bar outside of his turret form. The threat is that Bastion can now build ult and apply sustained damage without ever going into Sentry mode. If you treat Bastion as „only dangerous in Assault,“ you eat free damage and give him .
Use shield to close distance while taking minimal Recon poke, then time your for the moment he transforms into Assault — the transformation animation is a free pin window where he cannot move or shoot.

Domina's shield blocks your shatter's line of sight — play around it
Domina· TANK // STALWART→The source shows Domina using her shield to completely negate Shion mid-range poke, including the deadly secondary shot. The threat for you as Reinhardt is the same: Domina shield blocks cone entirely. If Domina holds shield toward you, your ultimate does nothing to anyone behind it. She can also shield-bash you if you get greedy with close-range swings.
Wait for Domina to commit her shield to another target or angle, then from a flank where she cannot face you — alternatively, + her shield to drain her stamina, then punish the moment her shield drops.
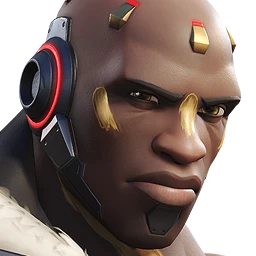
Doomfist without escape cooldowns is a free kill — track them
Doomfist· TANK // STALWART→The source emphasizes Doomfist core weakness: he must check his cooldowns before diving, because without Rocket Punch or Seismic Slam, he has no escape. The threat is that Doomfist can one-combo your supports from full HP if you let him close distance. But if you can force him to burn his escape, he becomes a walking ult sitting in your backline.
When Doomfist engages, immediately + swing toward his landing position — he has no defensive cooldown during his combo; one swing + pin secures the kill before his Rocket Punch comes back off cooldown (4 seconds).
Tracer heals off mini packs — don't chase her into the flank alone
Tracer· DAMAGE // FLANKER→The source shows Tracer flanker passive: health packs heal her for 150 instead of 75, doubling her sustain. The threat is that Tracer can stay on your backline indefinitely without needing her supports, resetting off any small health pack in her recall loop. If you chase her into the flank to kill her, you leave your team exposed and she just blinks around a corner, heals to full, and re-engages.
Do not chase Tracer — instead, position your shield so she cannot poke your supports for free; when she blinks close to shoot, one swing covers a 5-meter arc that forces her to Recall or die — follow the recall marker with a for the clean-up.