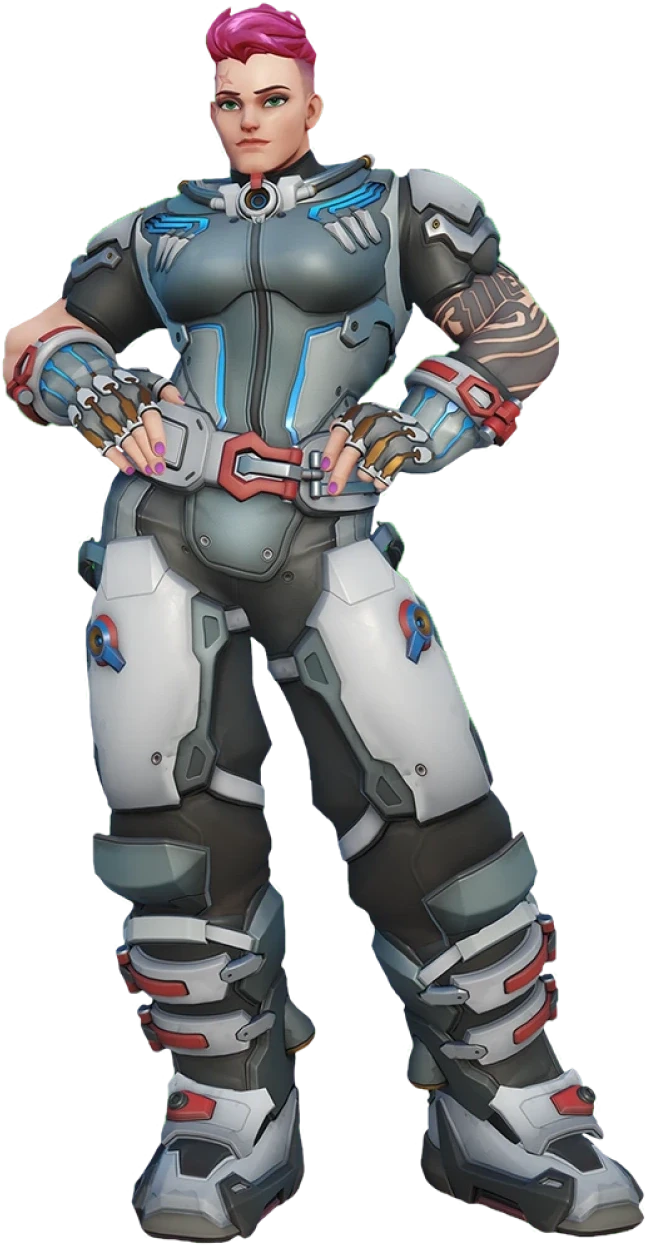
The resource discipline that turns Zarya from a charge farmer into a ladder winner
Stop chasing 100 energy and start winning the fights that matter — these are the habits that cost you games and the small adjustments that fix them.
TL;DR
- →Free energy off Junker Queen's combo — it's the most punishable ability in the game
- →Graviton clips through walls — use it to catch players who think they're safe
- →Wall-hack Gravs: the geometry abuse that wins teamfights
- →The double rocket jump gets you to high ground — but it's a pre-fight tool, not a panic button
- →Your secondary fire is a Graviton rangefinder — use it to never miss a blind throw
- →A 5-energy bubble that enables aggression is worth more than a 40-energy bubble on a passive teammate
The resource discipline that turns Zarya from a charge farmer into a ladder winner
If you're grinding the climb and dropping winnable games on Zarya, the problem isn't your mechanical tracking — it's your resource timing and matchup discipline. Here's what actually separates a plat plateau from a diamond push.
Every Zarya player knows the dopamine hit of 100 . But the players who climb understand that is a tool, not a win condition. The real leverage comes from knowing when not to bubble, which engagements to take, and how your ultimate actually works in live games — not in the practice range.
The footage below breaks down the specific mechanical habits and matchup reads that ladder Zaryas overlook. From bubble timing against Junker Queen axe to Graviton placement through walls, these are the micro-adjustments that turn lost fights into won teamfights. The counter sections show you exactly which button to press and when — no filler, no guesswork.
If you're tired of feeling like you pop off individually but still lose the match, this is the guide for you. Every source here was chosen to fix a concrete leak in your game. Watch the video, read the take, and then go apply it in your next queue.
Free energy off Junker Queen's combo — it's the most punishable ability in the game
Junker Queen players are addicted to the knife-axe sequence. The second you see Jagged Blade connect on you or a teammate, that's your cue to the target. You absorb the Carnage burst, gain free charge, and deny her self-heal window. This isn't a reaction check — it's a read. If the Queen has her knife up, you should be holding bubble for the follow-up.
Graviton clips through walls — use it to catch players who think they're safe
If you're only throwing Graviton at enemies you can see, you're leaving value on the table. The ultimate's effect hitbox ignores thin geometry, so you can launch it past a corner, through a doorframe, or over a low wall and still pull the entire backline. This turns safe positions into death traps and wins fights before the enemy reacts.
Wall-hack Gravs: the geometry abuse that wins teamfights
Same principle, different application: if you're in a corridor fight and the enemy tank uses a pillar for cover, your Graviton still lands on them. The projectile's landing radius penetrates thin barriers. On ladder, players constantly hide behind flimsy cover expecting invincibility. You punish that habit by throwing through the wall they're hiding behind.
The double rocket jump gets you to high ground — but it's a pre-fight tool, not a panic button
Most Zaryas never use this because it feels clunky. Here's the rhythm: fire a secondary shot while airborne, then fire another at your feet right as you land. The three-shot cadence in the clip is your metronome. This gets you onto high ground that a single jump can't reach, but you need setup time and ammo. Use it between fights or during rotations — never in the middle of a brawl.
Your secondary fire is a Graviton rangefinder — use it to never miss a blind throw
Graviton shares the exact trajectory as your secondary fire projectile. So before you ult, fire one alt-fire shot. Watch where it lands — that's where your Graviton will go. This eliminates guesswork on long-range or blind throws, turning your existing flick accuracy into consistent ult placement. If you can hit an alt-fire, you can hit a Graviton.
A 5-energy bubble that enables aggression is worth more than a 40-energy bubble on a passive teammate
Stop judging your bubbles by the return. If you bubble a Reinhardt who's swinging into the enemy backline and he gets the kill, that bubble did its job at 5% charge. The real metric is whether your bubble allowed a teammate to take space they otherwise couldn't. Forced cooldowns, secured kills, denied stuns — that's the value. is a bonus.
Junker Queen lives off aggression — starve her wounds and she collapses
Junker Queen· TANK // BRUISER→The Junker Queen footage shows her entire sustain loop: hit knife, pull, axe, heal from wounds, shout to run over your team. She is the engine of brawl. If you let her hit that loop, she never dies. The threat is her ability to extend fights by healing through your damage while her team closes distance.
The counter is clean: the moment her knife hits a teammate. You deny the Carnage damage, the wound, and the heal. She then has no sustain and is stuck in your frontline with cooldowns. If she shouts to retreat, you've forced her out. If she doesn't, she dies to your beam.

Nano-boosted ults are dangerous — but Ana herself is vulnerable and immobile
Ana· SUPPORT // TACTICIAN→The Ana clip shows Nano being used to enable a teammate's ultimate into an uncounterable team-wipe combo. The threat is clear: Ana gives an ally damage reduction and a massive damage boost, turning any decent ult into a fight-winner. But Ana has no mobility, no self-peel beyond Sleep Dart, and no defensive cooldown once her abilities are used.
When Ana uses Nano, she typically does it from a safe angle. Your counter is to track her Sleep Dart, then Graviton + beam her position. She cannot escape Graviton. If you catch her in the ult, you remove the Nano target's support and kill the enabler. If she's already used Sleep, you dive her freely.

D.Va's ammo perk rewards rotation, not panic reloads — punish her when she uses Boosters poorly
D.Va· TANK // INITIATOR→The D.Va clip shows she can generate 150 ammo instantly, but using it as a quick reload sacrifices her Boosters cooldown. Smart D.Va activate it during repositioning. The threat is that a disciplined D.Va has near-infinite uptime and can eat your Graviton with Defense Matrix, then still contest space.
Force D.Va to use Defense Matrix by threatening your beam. Once Matrix drops, she's a fat target. If she uses Boosters to reposition, you have a window: bubble yourself, step forward, and beam her face. She can't eat damage while boosting. If she holds Matrix, she can't shoot. You win the resource war by making her choose.

Lifeweaver's Tree destroys walls — use that to your advantage when he counters your setup
Lifeweaver· SUPPORT // TACTICIAN→The Lifeweaver clip shows Tree of Life instantly destroying Mei Ice Wall. The threat is that Lifeweaver can negate some defensive ultimates and terrain advantages. His Tree also provides massive healing and area denial, making him a potent sustain pick who can punish bad engages.
Lifeweaver has low survivability and poor escape if caught. Your counter is Graviton + high- beam. He can Lifegrip someone out of Grav, but he cannot save himself. Bubble through his Thorn Volley, close the gap, and burn him. Without Lifeweaver, his team loses sustain and the Tree disappears.

Emre's bike knockback is fixed speed, not fixed distance — bubble through the boop
Emre· DAMAGE // SPECIALIST→The Emre clip shows his bike's knockback operates at 10 m/s, meaning enemy movement affects the final position. The threat is that Emre can displace you off the map, separate you from your team, or knock you into enemy fire. He excels at creating space with his mobility and disruption.
Emre kill threat is low without follow-up. Use Personal Barrier as he initiates the knockback — you absorb the damage, ignore the displacement, and gain charge. Then beam him. He has no sustain and modest hitbox. If he's knocked you into a bad position, bubble after the boop to buy time to walk back.