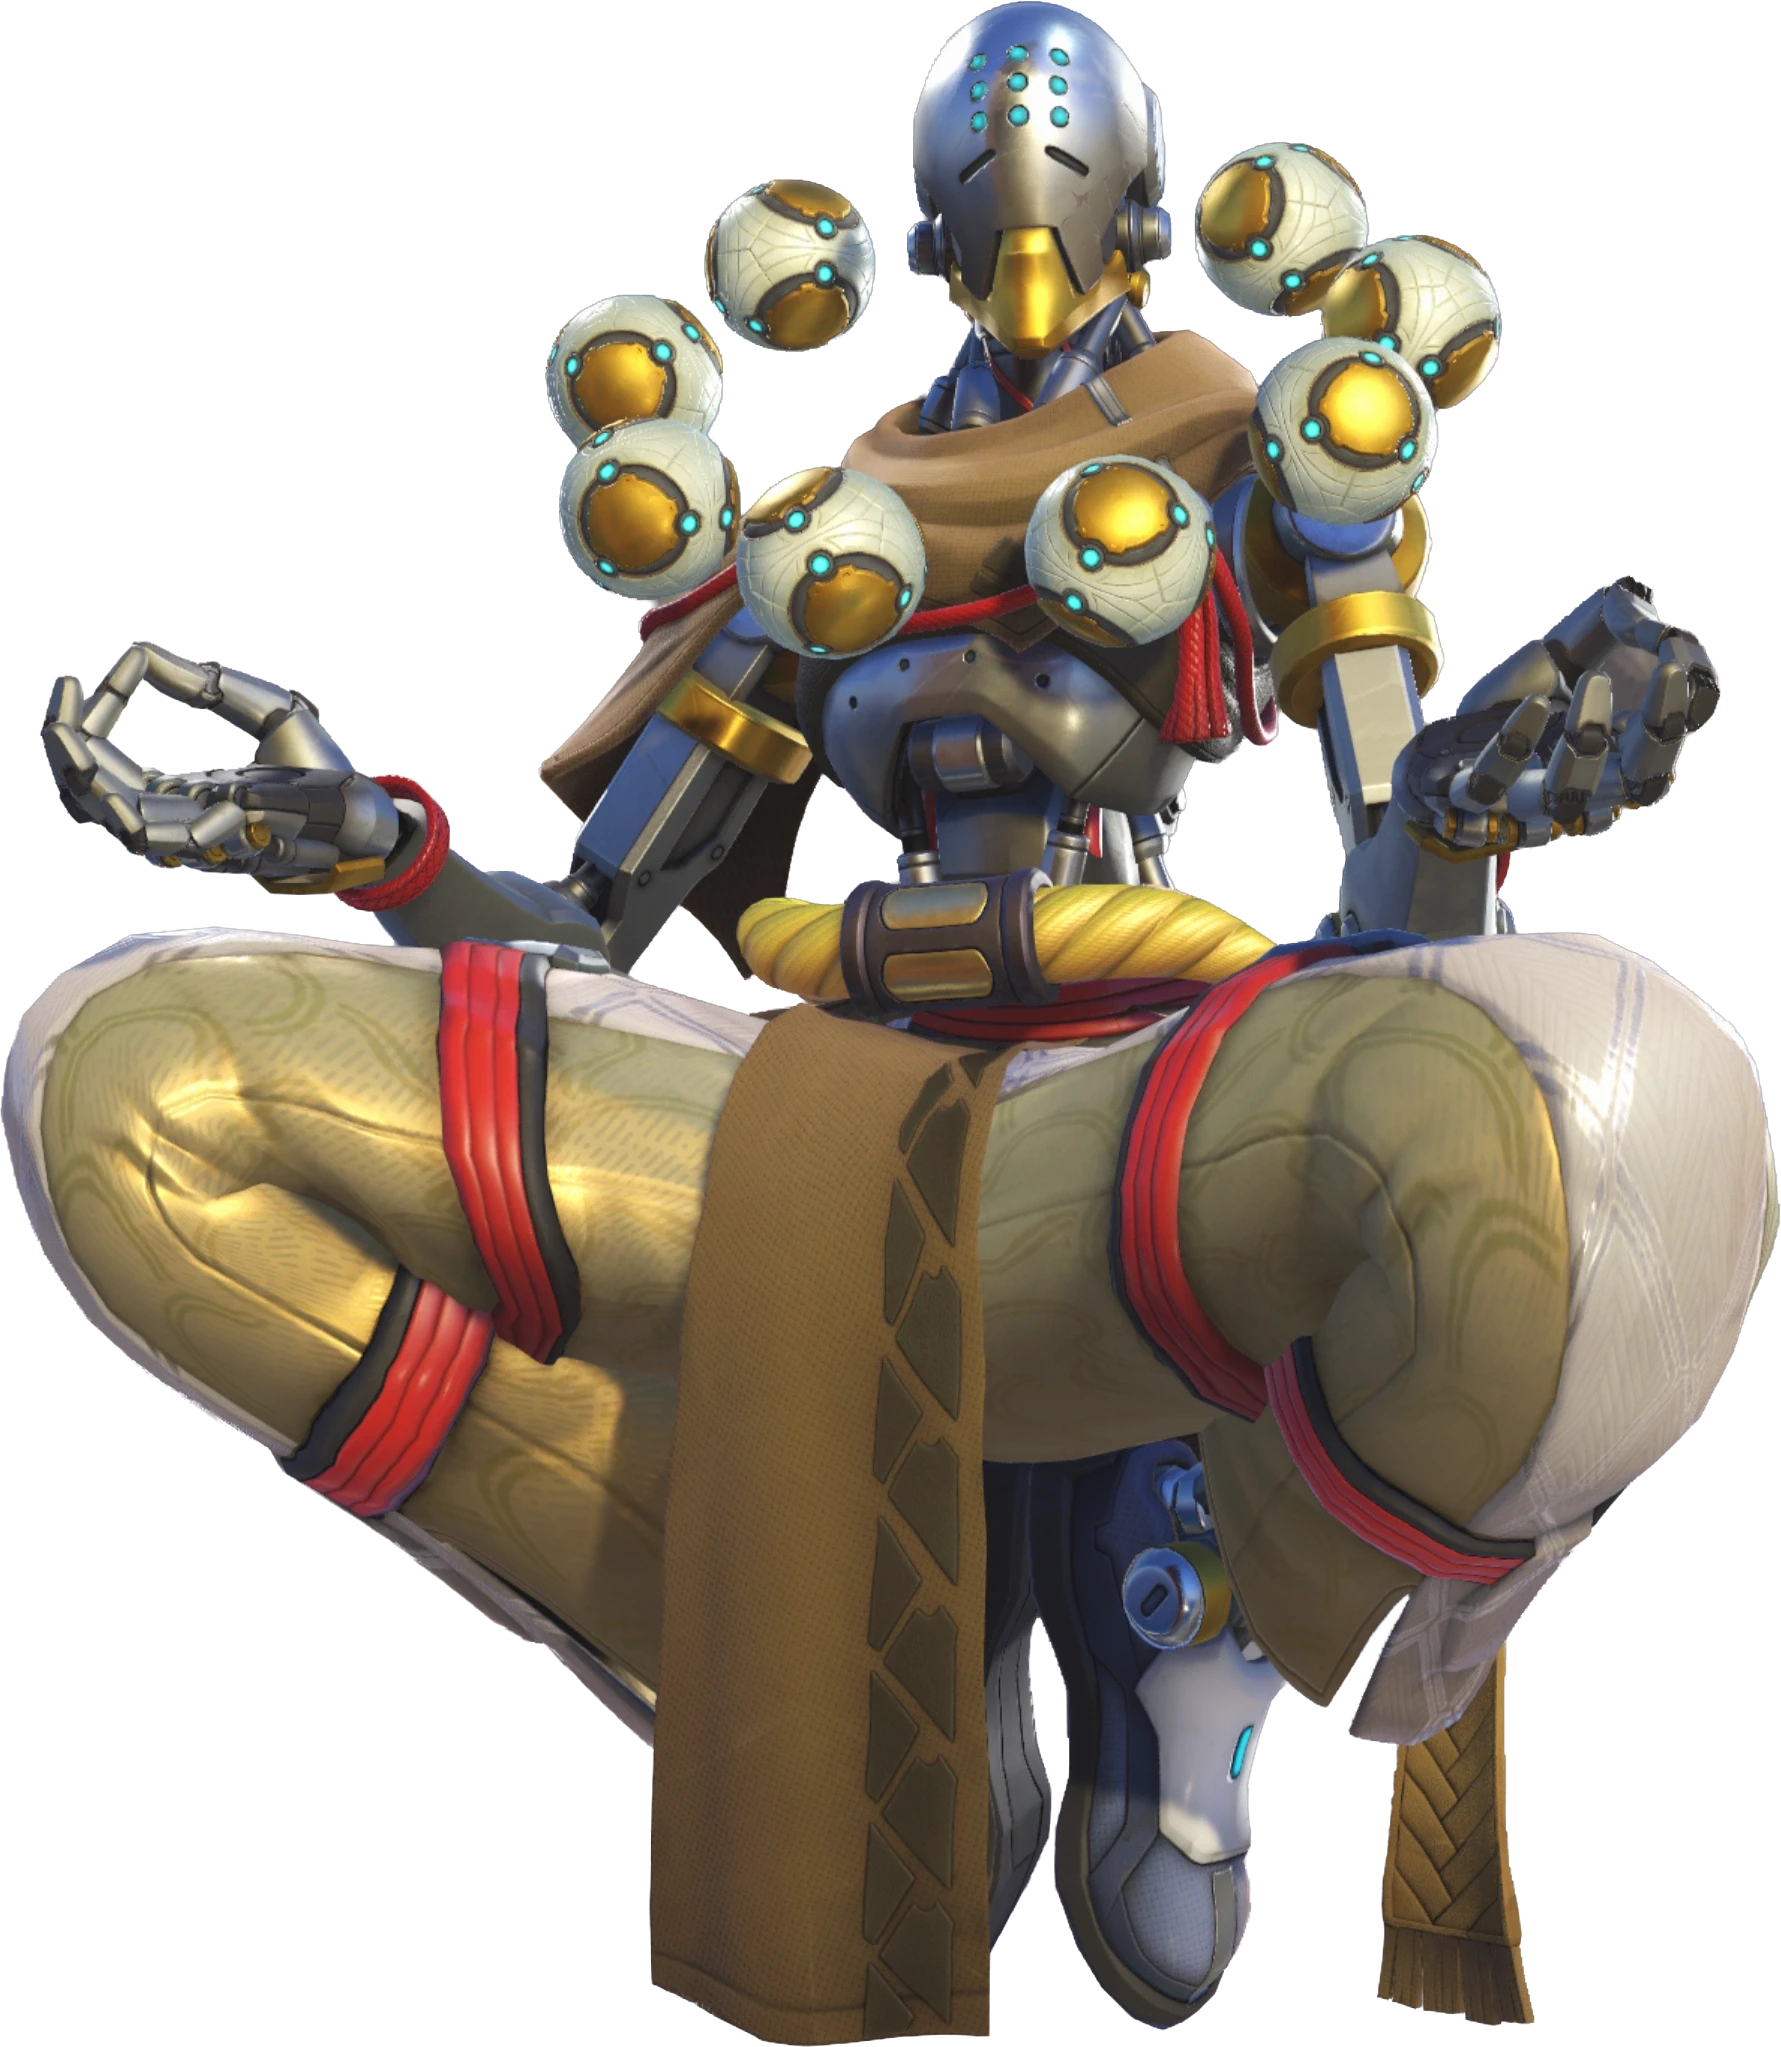
The hidden costs of playing Zenyatta: Why your orbs aren't carrying
Stop losing winnable games by mastering Zenyatta's resource discipline — the tight reads and positional habits that convert 55% winrate supports into climb material.
TL;DR
The hidden costs of playing Zenyatta: Why your orbs aren't carrying
If you're dropping games on Zenyatta, it's not because you can't aim. It's because you're bleeding value from the two most expensive resources in your kit: Discord uptime and Transcendence timing.
Zenyatta is the only support whose entire value proposition is built on a single debuff that requires constant target focus. Most Zenyatta players below Diamond treat Discord like a free sticker — slapping it on whoever walks into frame. That habit costs you fights. The six-second cooldown after removal means every careless swap is a 25% damage amp you're denying your team for an eternity in Overwatch time.
The footage you're about to see breaks down exactly where plateaus form. You'll see that Zenyatta's real power doesn't come from high-volume healing or flashy frags — it comes from disciplined positioning that lets your orbs stay active while you stay alive. The off-angle philosophy is non-negotiable: if you're standing next to your other support on main, you're begging to get dove and you're wasting your sightline advantage.
And then there's . The best Zenyatta players in the ladder treat it as a counter-ultimate, not a panic button. They track enemy support ults the way a DPS tracks blade or visor. If you're using Trans to save yourself from a single Tracer clip, you're trading a teamfight-winning ultimate for a personal get-out-of-jail card. That math doesn't work above Platinum.
We've paired seven matchup videos — each from the opponent's perspective — so you can see exactly what those heroes want to do to you. Learn their win condition, then learn how your kit breaks it. By the end, you'll stop asking "why am I losing these games?" and start knowing exactly which resource you mismanaged at the turning point.
The pressure valve: Why backing up is throwing
When you're getting spammed at a choke, the instinct is to shuffle backward and play passive. This footage shows exactly why that instinct loses games. Zenyatta's value comes from his orbs being active — if you're not shooting, you're not pressuring, and pressure is the only thing keeping the enemy frontline from walking through your tank. The solution is counterintuitive: instead of retreating, take an off-angle. A single high-ground flank forces the enemy to split attention, which relieves your frontline more than any heal orb ever could. Your job isn't to survive the choke; it's to make the choke unplayable for them.
Zarya counterplay: Discord timing wins bubbles
Zarya is one of the tank matchups you can actually farm, but only if you understand bubble discipline. The clip shows exactly when Discord matters: after Zarya personal bubble expires. If you Discord a bubbled Zarya, you're giving her free charge while your orb does nothing. Wait for her to use both bubbles, then apply Discord. The burst potential from your team — especially hitscan or another flex DPS — will force her to either bubble early or feed. The read is simple: watch for the bubble animation, count one second, then orb. This single habit turns Zarya from a hard matchup into a farm lane.
The six-second tax: Stop flicking Discord
This is the single most common mistake I see in Platinum and below. Flicking Discord onto every enemy that walks through a doorway looks active, but it's actually trolling your team. The clip demonstrates the punishment: once you remove Discord from a target, you cannot reapply it for six seconds. That's an eternity. Every time you swap off a target before confirming the kill, you're locking yourself out of the damage amp your team needs to finish that fight. Stick your Discord on the highest-priority target — usually the tank or the squishy out of position — and leave it there until they're dead or completely out of range. Learn the discipline to hold the orb on one threat.
Transcendence is a counter, not a crutch
The best use of is shown clearly here: it's a defensive answer to enemy support ultimates. Lúcio Sound Barrier, Moira Coalescence, Baptiste Window — these are the timings you hold Trans for. But the clip also reveals the secondary use case: survival when hard-focused. If you're getting dove by a Genji blade with Nano, that's an acceptable Trans. What's not acceptable is using it to save yourself from a single headshot dink. You need to track enemy support ult charge and hold your Trans as a direct counter. If you pop it for no reason, you give the enemy support a free fight to build their ultimate uncontested. That's how you lose games you should win.
Bastion needs open sightlines — you control them
The clip makes it obvious: Bastion in Sentry form is a sitting duck for your Discord, but only if you can see him. Your win condition against Bastion is creating long, open sightlines where he cannot dodge your orb. If you're playing corners and peeking, Bastion will just rotate or force your team into a bad angle. Instead, claim a high-ground off-angle that gives you a clean view of his position. Once Discord is applied, your DPS and tank will melt him through his self-repair. The counterintuitive part: you want Bastion to see you. If he's shooting at you, he's not shooting your tank. Use your movement and the corner to bait his Recon fire, then snap Discord the moment he commits to a position.
The off-angle principle: Never stand next to your other support
This is the core positional philosophy that separates consistent Zenyatta players from the ones who feed. The footage shows exactly why: when you take an off-angle from your other support, you create a crossfire that splits the enemy's attention. They can't focus both you and your Ana at the same time without leaving a flank open. The key detail is maintaining line of sight to your team for Harmony and Discord. If you take an angle that breaks LOS, you're just a free kill. The rule is simple: find a position that lets you see both your team and the enemy team, but not from the same lane as your co-support. This gives you the ability to apply pressure while making yourself a harder target to dive.
Bastion's new recon identity: A sustained pressure threat
Bastion· DAMAGE // SPECIALIST→The Bastion rework has changed this matchup fundamentally. His Recon mode now fires faster with consistent 23-damage bullets, meaning he's no longer just a turret bot waiting for Assault form. The footage shows a Bastion who stays in Recon for extended periods, building ultimate charge without downtime. This is dangerous because a Bastion who's always shooting is a Bastion who's always threatening. His Recon damage output is enough to force you off angles if you take too much chip. You cannot afford to trade body shots with a Bastion in Recon — you will lose the long-range war. The threat is that he will gradually pressure your health pool while setting up for Assault form rotations that punish your team.
Use your melee at close range to boop Bastion out of Sentry form if he sets up unexpectedly. Otherwise, apply Discord from max range and force him to either rotate or get melted by your team. Hold for his Assault form if he gets Nano'd or damage boosted — Trans outheals his Assault DPS entirely.

Doomfist's escape discipline: He kills you, then dies
Doomfist· TANK // STALWART→The Doomfist footage reveals his biggest weakness: he must check his cooldowns before committing. If he burns Rocket Punch or Seismic Slam to engage, he has no escape. A good Doomfist will always keep one ability in reserve to get out after the kill. The threat for you as Zenyatta is that Doomfist will try to one-shot you with a charged Rocket Punch into Seismic Slam combo. If you survive the initial burst, you win — because he's now standing next to you with no escape cooldowns and your team turns him into paste. The key read is audio: listen for the charge sound of Rocket Punch and pre-charge your secondary fire around corners.
on Doomfist the moment you hear Rocket Punch charge. Pre-fire a volley of five orbs around the corner where he's coming from. If he connects, use to boop him away after the stun ends, buying time for your team to help. Keep on yourself preemptively.
Genji's dash economy: Commit to kill or commit to feed
Genji· DAMAGE // FLANKER→The Genji clip highlights a critical flaw in his kit: Dash is his only mobility, and it's also his execute. If Genji uses Dash to escape, he cannot return to the fight quickly. This means as Zenyatta, you can bait his Dash by positioning at low HP. A Genji who sees a half-health Zenyatta will instinctively try to Dash + right-click combo. If you predict that and pre-orb him with Discord, then strafe unpredictably, his first burst misses and he's stuck in melee range with no escape. The threat is real — a good Genji can one-clip you from range with primary fire — but his real danger comes from blade with Nano. Track his ultimate charge, and hold Trans for that specific timing.
Discord Genji immediately after he uses Dash. Charge a five-orb volley and release at his landing spot — the high projectile speed will catch him as he finishes the dash animation. Use if he gets close with Blade to boop him away and buy time. Save for Nano Blade specifically.

Nano Shion: Ana's win condition is your read
Ana· SUPPORT // TACTICIAN→The Ana footage reveals a distinct pattern: she Nano's her strongest DPS (Shion) during their ultimate to create an uncounterable push. For you, this means two things. First, you need to track Ana Nano charge — if she's been farming tanks, she'll have it fast. Second, if the Nano target uses an ultimate that makes them invulnerable or untargetable (like a Genji blade or a Reaper blossom), your is the only counter. The threat is that Ana will wait for you to use Trans on something else, then Nano her DPS when you're empty. Never blow Trans on a single threat if Ana is alive with Nano. The mind game is real: hold Trans as a hard counter, or bait Ana into using Nano at a bad time.
Use on the Nano target immediately to amplify your team's damage. If the Nano target is a squishy (Genji, Reaper), your team can burst them through Nano's damage reduction with Discord active. Save specifically to counter Nano-boosted ultimate combos. Use high ground to break Ana sightline if she's trying to sleep you through your Trans.

Tracer's health pack economy: Deny her sustain, deny her game
Tracer· DAMAGE // FLANKER→The Tracer clip reveals her hidden economy: flankers restore double healing from small health packs. A single mini-pack heals 150 HP for Tracer, effectively giving her a second life. This means if you're playing map control as Zenyatta, you need to understand which health packs are in your territory. A Tracer who can freely farm the mini-pack near the fight will never need to retreat to her supports. The threat is that she can sustain indefinitely if you don't pressure her off those packs. Your job is to position so that you can see the health pack from your off-angle. When Tracer dips to grab it, tag her with a single orb to deny her the full heal, or force her to take the pack while under fire.
Keep on yourself whenever Tracer is alive — the 30 HPS regen offsets her one-clip potential. Discord her the moment she recalls, as her cooldown is then committed and she's stationary. Pre-charge a five-orb volley around corners she's blinking through. Use to boop her out of your face if she gets close after a blink.

Low ceilings are your shield against the ball
Wrecking Ball· TANK // INITIATOR→The Wrecking Ball clip gives you a critical positional read: he needs high ceilings to generate unpredictable momentum. When you force him into low-ceiling areas, his movement becomes linear and trackable. This is your single biggest advantage as Zenyatta. The threat is that Wrecking Ball will use his grapple to build speed, then pile-drive you into a squishy kill. If you can't see him coming, you die. Position in doorways, under bridges, or near enclosed rooms where his grapple has no vertical space. A Wrecking Ball forced to roll straight at you is a Wrecking Ball that eats five orbs to the face and a Discord. He becomes a huge hitbox with no evade option.
Discord Wrecking Ball the moment he starts his grapple swing — the orb stays active while he's spinning, making him take 25% extra damage from your entire team. Pre-charge a five-orb volley aimed at his landing spot after pile-drive. Use to boop him away after his slam stun ends. Save for when he combines Piledriver with a Genji or Cassidy ultimate.